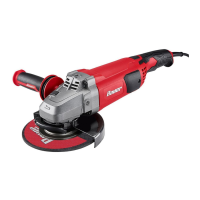
Page 12 ;&(%$*4.8"4,7%I'*#$"&8#>%/7*,#*%4,77%JKLLLKLMMKNOPO1 Item 56401
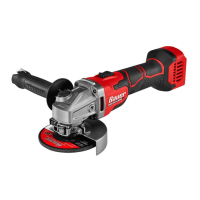
HB;6QR ST6=BQUSV WBUVQ6VBVG6H6Q?T
E("89"83%U8#$('4$"&8#
QS%T=6!6VQ%H6=US?H%UVh?=R-%%E("/%$.*%$&&7%2"(57D%"8%+&$.%.,89#1
1. Make sure that the Trigger Switch is in the
“OFF” position, then connect the battery pack.
2. Place one hand on the motor housing and the
other on the side handle before starting the tool.
3. Start the tool by pressing the Trigger Switch
down and then forward until it locks in place.
4. Allow the tool to come up to full speed
before touching the work material.
5. Apply the wheel to the work material at a 10°– 15°
angle, allowing the tool to operate at full speed.
If the tool bogs down, use lighter pressure.
6. To create a smoother surface,
keep the tool moving over the work surface.
7. QS%T=6!6VQ%BGGUY6VQH>%B;Q6=%?H6-%
Turn off the tool by pushing the
Trigger Switch backward.
FB=VUVEi%%QS%T=6!6VQ%H6=US?H%UVh?=R-%%B77&)%
$.*%$&&7%$&%4&5*%$&%,%4&5/7*$*%#$&/%+*2&(*%#*$$"83%
"$%9&)81
Remove the tool’s Battery Pack. Clean, then
store the tool indoors out of children’s reach.