11
Moving the Trigger
Some Float models allow you to install the trigger in the left or right shoulder strap, depending on
your preference. Models with zippered pockets on both shoulder straps allow for this feature.
Removing
1.Openthezipperontheshoulderstrapcontainingthetrigger.
2.Loosenthesmallscrewthatattachesthetriggertothewebbingloopinsidetheshoulderstrap.
3. Pull the trigger and cable out (a) through the shoulder strap zipper.
a
Installing
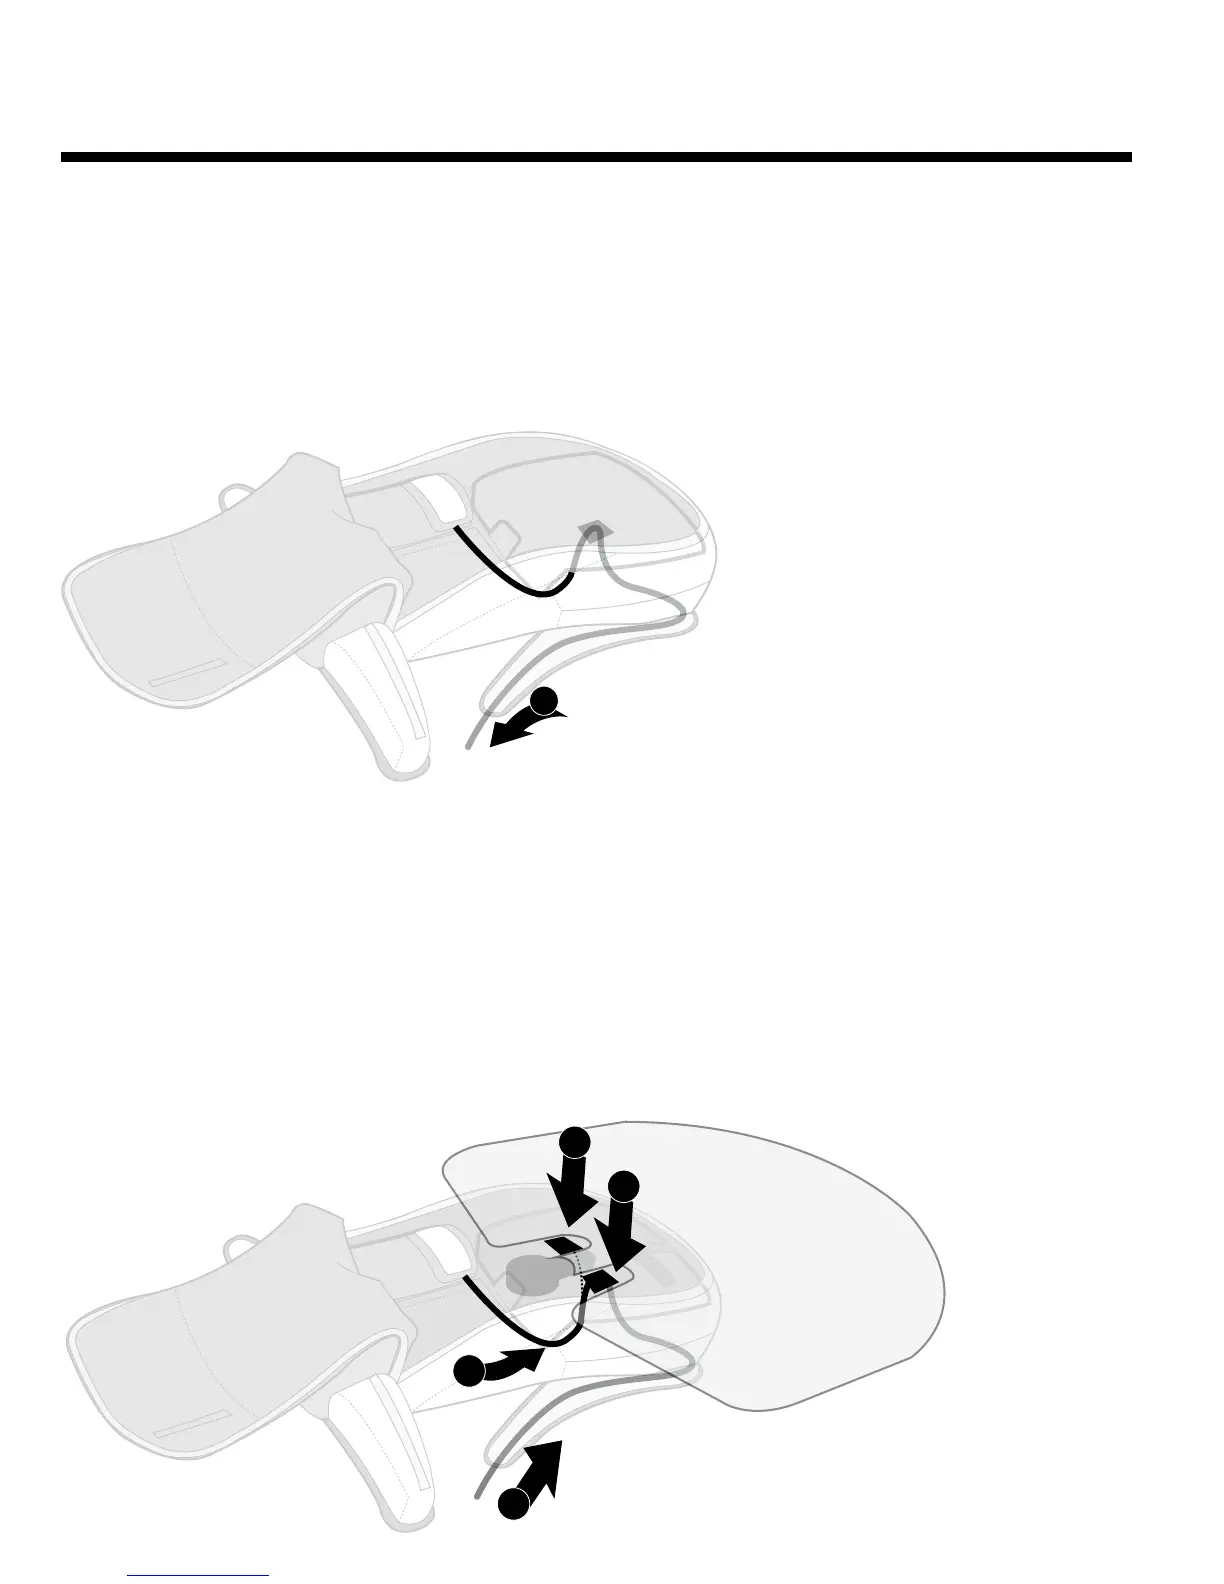
1.Startingattheshoulderstrapzipper(a),threadthetriggercable,leadingwiththetriggercover,
back into the pack (b). WARNING: Be sure the trigger cable is fed underneath the airbag
components, and take care not to kink the cable during installation.
2.Feedtriggercablethroughtheopeninginbottomrightcorneroftheairbagcompartment(c)into
the main storage pocket that stores the cylinder.
3. Inside the shoulder strap zipper, secure the trigger cable by fastening the screw on the trigger
assembly to the webbing loop. Confirm that the trigger assembly screw has been properly
fastened to the webbing loop by pulling on the trigger handle and ensuring that the trigger
assembly is fixed to the webbing loop. WARNING: Improper installation of trigger may prevent
system from deploying.
a
b
b
c
Installing