20
photo contact and then press the Call key
(green key).
The selected photo appears in the photo
contact directory. Carry out the following
steps in order to assign a photo to this
contact:
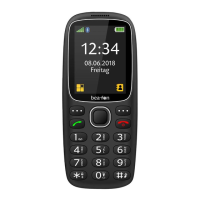
Create photo contact
1. In the default screen, press the Arrow
key (downwards) in order to go to the
photo contact menu.
2. Use the arrow keys to scroll.
3. To edit a photo contact, press “Options”
(M1 key), select Edit and confirm with the
“OK” (M1 key).
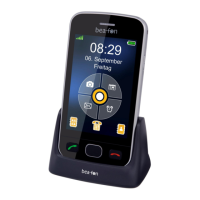
4. Enter the name and telephone number
and add a caller picture.
5. You have the option to take a picture
directly with the camera (from Camera)
or to select an already saved photo (from
a folder) using the file manager.
6. After that, press “Options” and select the
predefined method under menu item 2.
7. Add the photo and confirm with
“Continue” (M1 key)
8. After you have finished editing the
contact, to save it press “Option” (M1
key), select “Save” and press “OK” (M1
key).
Note: To save several pictures, you need a
Micro SD memory card. (Not included in the
accessories)