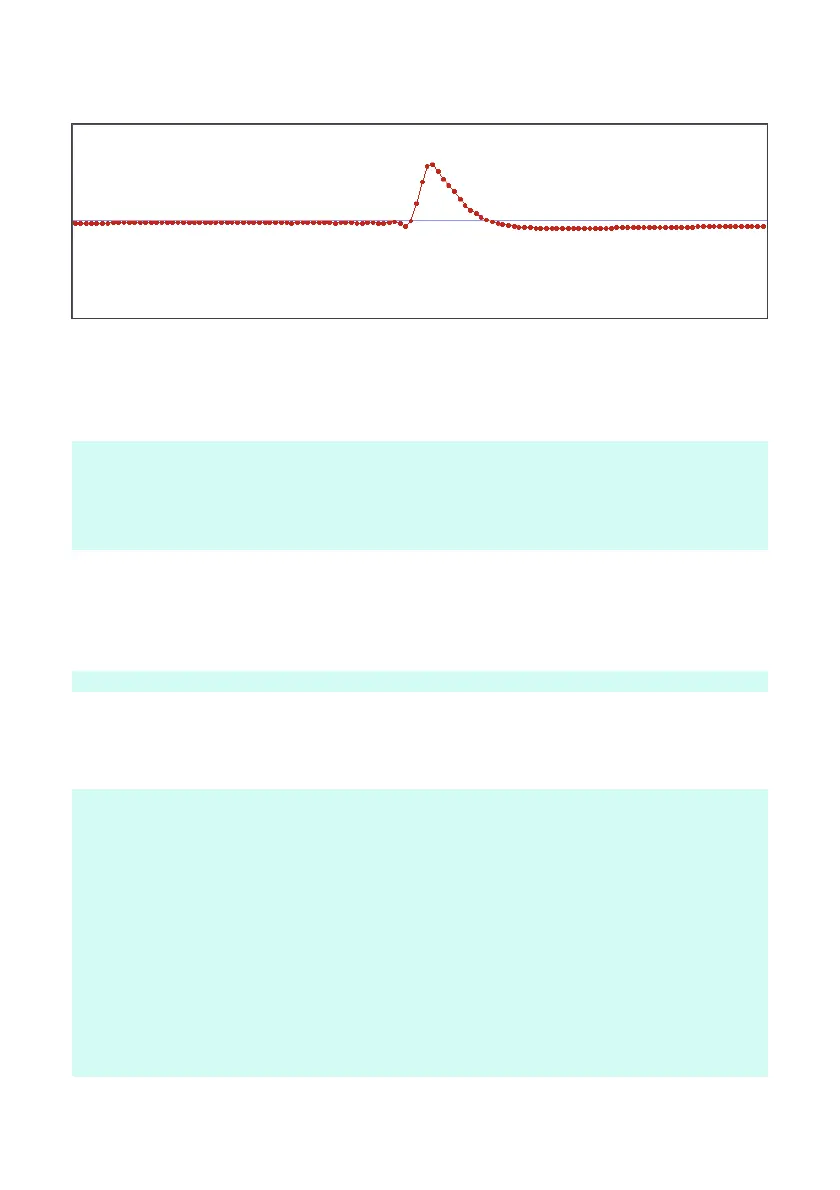
7. Adjust the volume, observe the pulse height and adjust the
volume (D) up or down using the small screwdriver provided, until
most of the pulses are within range of your window. (the occasional
cosmic ray may overshoot the scale)
note: if the sound card range does not allow sufficient adjustment the
detector bias voltage can be adjusted up for additional gain,
For spectrometry of naturally occurring isotopes, the optimum volume is when
the K40 (1460 keV) peak sits at 50 arb.u.
If calibrating with Cs137 the 662 keV peak should be around 25 arb.u.
8. Adjust the pulse length (C), this setting has been factory preset to
around 100 µs which should give good results. A combination of
shorter pulse and less sample points can be used to minimise
dead-time. A good way to check is that your entire pulse fits within
audio input window..
note: Faster sampling will put the dots closer together.
9. Action >> Stop Pulse Shape Acquisition (PSA), a window
showing the mean sample points will pop up and ask you to confirm
by clicking OK.
note: The pulse peak is always around sample 30, so deselecting equal
number of samples at the beginning and the end will create a narrower
window.
note: If you make adjustments to any of the hardware parameters you will
need to repeat the Pulse shape acquisition again..
Why are we doing this?
Random pulses from the detector occasionally overlap, this results in pulse
pile up (PPU), these malformed pulses need to be filtered out. The PSA action
records the mean pulse shape and uses this shape factored by the tolerance
setting to discriminate bad pulses.
 Loading...