V21 SR Plus V7.2 EU.C
Part 3: System Preparation, Start-up and Programming
For 220v countries while pressing program button A insert the power cord’s plug into your power source. Your
system display should show 220. Now press Start. The 220 will disappear from the display and you are now
ready to perform your next steps.
For 230v countries while pressing program button B insert the power cord’s plug into your power source. Your
system display should show 230. Now press Start. The 230 will disappear from the display and you are now
ready to perform your next steps.
For 240v countries while pressing program button C insert the power cord’s plug into your power source. Your
system display should show 240. Now press Start. The 240 will disappear from the display and you are now
ready to perform your next steps.
Should the display not show the respective voltage initially repeat the process.
System Check: To ensure all functions are working properly press each button within each group in the
following order:
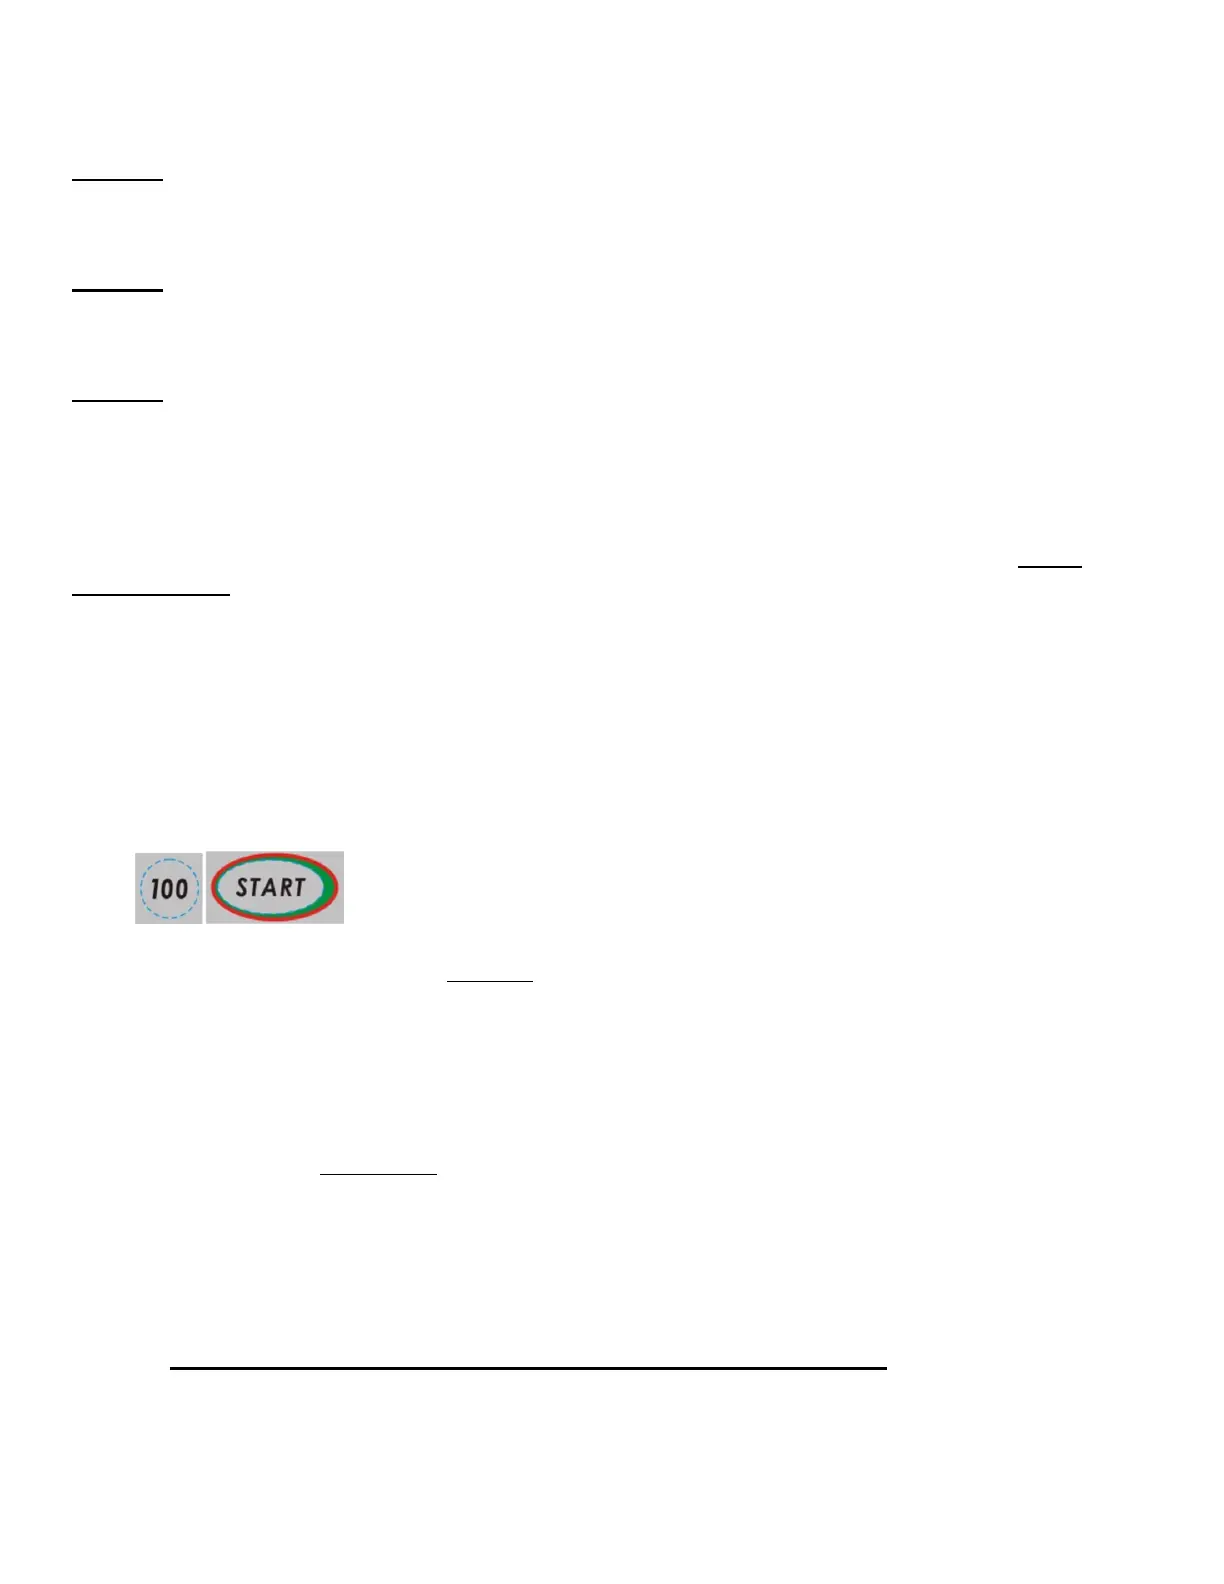
Press all “Weight” buttons starting with 100, 200, to 400, noting time in the display changes.
Press the “Profiles” buttons starting with P1 through P5, noting changes on the display.
Press each time increment (+ then -), Light, Cool, then OFF.
Start will be tested in the next step.
Preparing the Behmor 2020SR Plus for first Use: Before the first time you use your roaster, remove the
cleaning brush from the roasting drum, remove stray pieces of packing material from the roasting chamber, and
clean the interior with a moist cloth.
Press:
This procedure, also referred to as a dry burn, is necessary to help eliminate any residue left in the roaster
during the manufacturing process while also serving to “season” the roaster and door gasket. During the first
few roasts you may see some very faint smoke from the exhaust or gasket area but this should cease as the
system self-cleans, seasons and fine-tunes itself. This same procedure is used for periodic system self-cleaning
coupled with Simple Green or other non-caustic, non-abrasive cleaner, as described later in “Part 6:
Maintenance.”
Getting Started: Insert 100 grams* of green coffee beans in the roasting drum, close and make sure the
roasting drum clasp is securely in place.
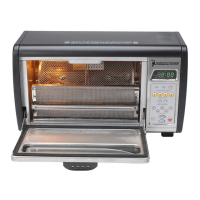
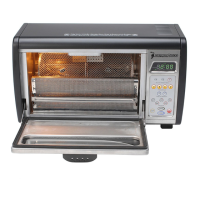
Next, carefully place the roasting drum into the roasting chamber as shown above, inserting the right end
(square peg – red arrow in diagram) into the motor drive while laying the left end (round peg with groove – blue
arrow in diagram) onto the holder. You may find the square peg requires slight rotation of the roasting drum for
it to slide fully into place. You will know it is place when the left (round) side’s groove drops into the holder’s
cut away. Always double-check to ensure the roasting drum is properly in place.