Power Connection Conexión Eléctrica
Installation Instalación
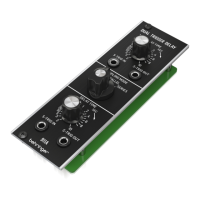
8 9Quick Start Guide911A DUAL TRIGGER DELAY
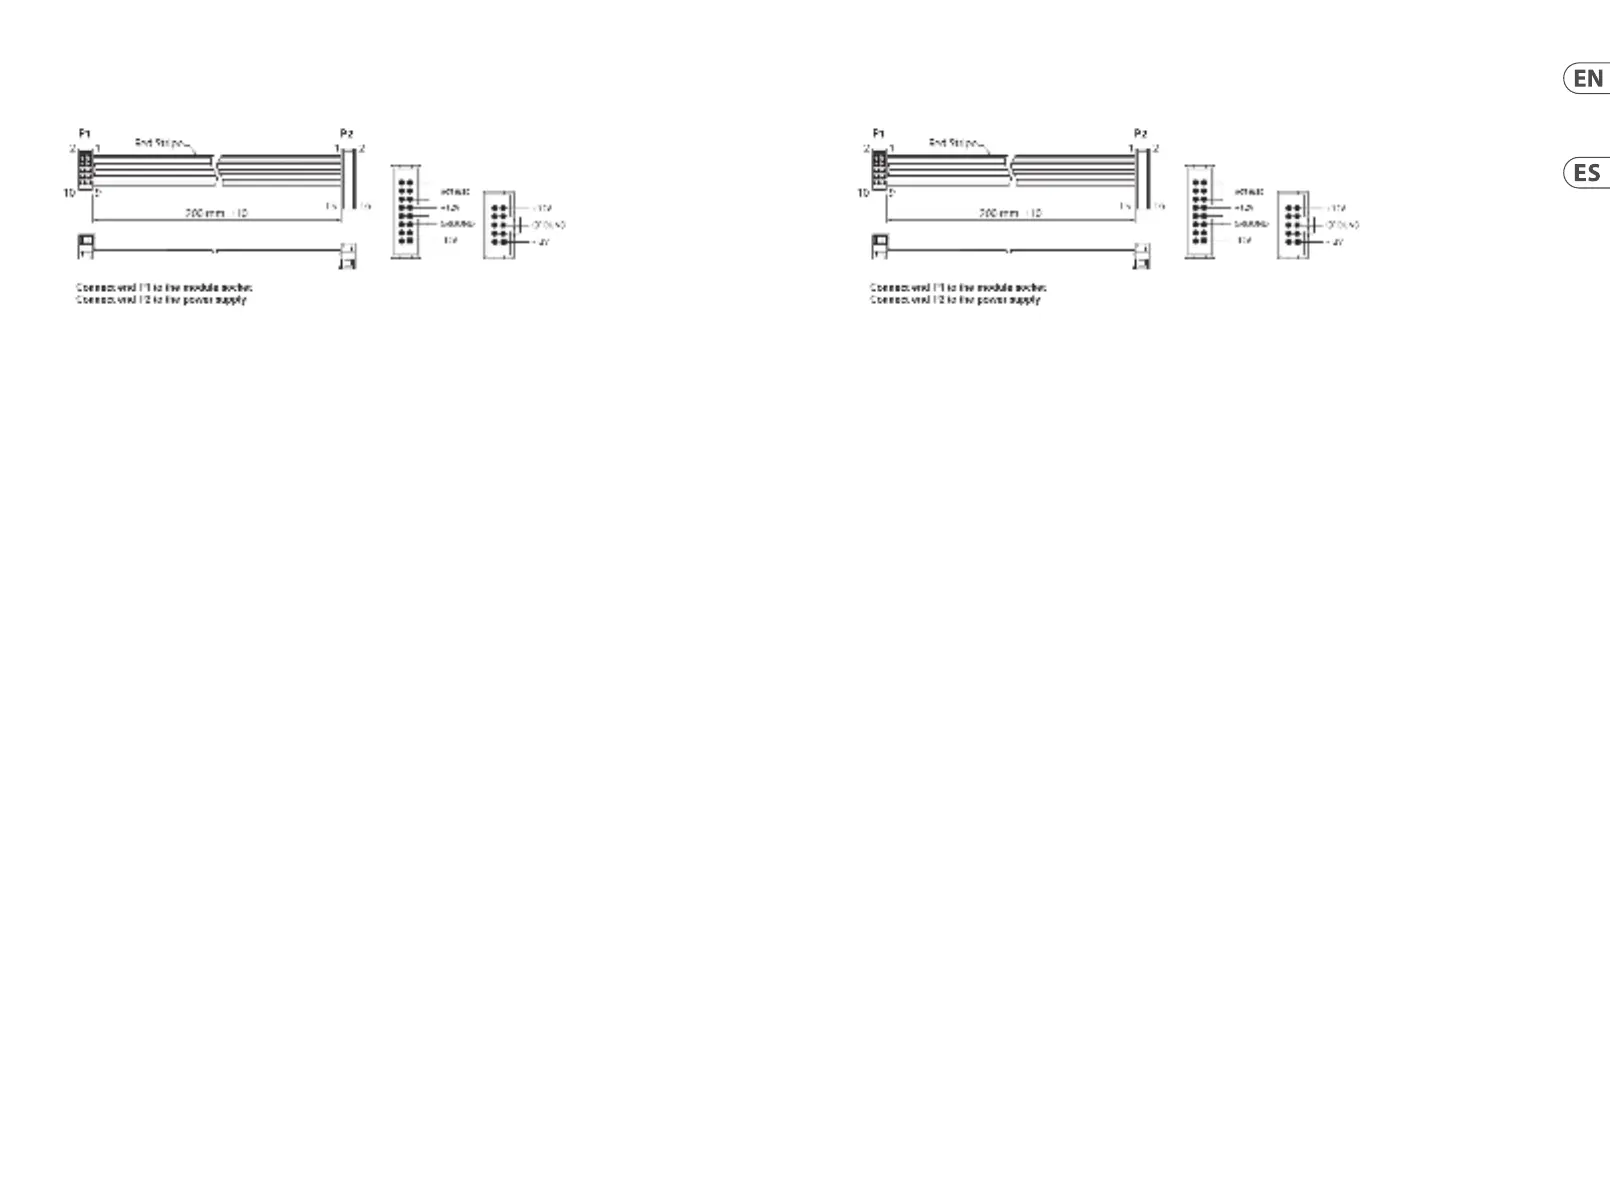
The module comes with the required power cable for connecting to a standard Eurorack power supply system. Follow these steps to
connect power to the module. It is easier to make these connections before the module has been mounted into a rack case.
1. Turn the power supply or rack case power o and disconnect the power cable.
2. Insert the 16-pin connector on the power cable into the socket on the power supply or rack case. The connector has a tab
that will align with the gap in the socket, so it cannot be inserted incorrectly. If the power supply does not have a keyed
socket, be sure to orient pin 1 (-12 V) with the red stripe on the cable.
3. Insert the 10-pin connector into the socket on the back of the module. The connector has a tab that will align with the
socket for correct orientation.
4. After both ends of the power cable have been securely attached, you may mount the module in a case and turn on the
power supply.
El módulo viene con el cable de alimentación necesario para conectarlo a un sistema de alimentación estándar Eurorack. Siga
estos pasos para conectar la alimentación al módulo. Es más fácil realizar estas conexiones antes de que el módulo se haya
montado en una caja de rack.
1. Apague la fuente de alimentación o la caja del bastidor y desconecte el cable de alimentación.
2. Inserte el conector de 16 clavijas del cable de alimentación en la toma de la fuente de alimentación o en la caja del bastidor.
El conector tiene una pestaña que se alineará con el espacio en el zócalo, por lo que no se puede insertar incorrectamente.
Si la fuente de alimentación no tiene un enchufe con llave, asegúrese de orientar el pin 1 (-12 V) con la raya roja del cable.
3. Inserte el conector de 10 pines en el zócalo en la parte posterior del módulo. El conector tiene una pestaña que se alineará
con el enchufe para una orientación correcta.
4. Después de que ambos extremos del cable de alimentación se hayan conectado de forma segura, puede montar el módulo en
una caja y encender la fuente de alimentación.
The necessary screws are included with the module for mounting in a Eurorack case. Connect the power cable beforemounting.
Depending on the rack case, there may be a series of xed holes spaced 2 HP apart along the length of the case, or a track that
allows individual threaded plates to slide along the length of the case. The free-moving threaded plates allow precise positioning
of the module, but each plate should be positioned in the approximate relation to the mounting holes in your module before
attaching the screws.
Hold the module against the Eurorack rails so that each of the mounting holes are aligned with a threaded rail or threaded plate.
Attach the screws part way to start, which will allow small adjustments to the positioning while you get them all aligned. After
the nal position has been established, tighten the screws down.
Los tornillos necesarios se incluyen con el módulo para el montaje en una caja Eurorack. Conecte el cable de alimentación antes
del montaje.
Dependiendo de la caja del bastidor, puede haber una serie de oricios jos separados 2 HP a lo largo de la caja, o una pista que
permite que las placas roscadas individuales se deslicen a lo largo de la caja. Las placas roscadas de movimiento libre permiten un
posicionamiento preciso del módulo, pero cada placa debe colocarse en una relación aproximada con los oricios de montaje en
su módulo antes de colocar los tornillos.
Sostenga el módulo contra los rieles Eurorack de modo que cada uno de los oricios de montaje queden alineados con un riel o
placa roscada. Coloque los tornillos parcialmente para comenzar, lo que permitirá pequeños ajustes en la posición mientras los
alinea todos. Una vez establecida la posición nal, apriete lostornillos.