BEHRINGER B-CONTROL Programming Guide
9
2. Programming in the automatic LEARN mode
Now you will learn hot to program your B-CONTROL in LEARN mode using the examples in the first chapter
of this programming guide. In doing so, you will not have to pay attention to the PRO-53’s MIDI
implementation parameters.
Note: All the steps in LEARN mode only work if the B-CONTROL was wired via a USB connection (U1
through U4) or via a “double” MIDI connection in one of the stand-alone operating modes (S1 through S4).
2.a Programming encoders (BCR2000 only)
Assigning the RESO, ENV AMT and KBD parameters of the PRO-53 to the first three
B-CONTROL encoders.
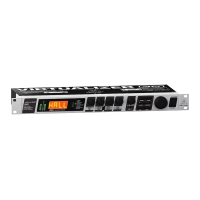
Programming the first encoder for controlling the RESO parameter:
1. Keep the LEARN key pressed and briefly turn the first encoder, then release the LEARN key.
2. Turn the RESO rotary control on your PRO-53 using the mouse. The B-CONTROL display shows
the received MIDI data. As soon as the data transfer is completed, “GOOd“ appears in the display.
Repeat these steps again to program the second and the third encoder for controlling ENV AMT
and KBD parameters of the PRO-53.
2.b Programming push encoders
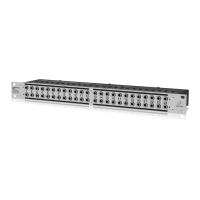
Assigning the CUTOFF parameter of the PRO-53 to the rotary function of the first B-CONTROL push
encoder.
1. Select one of the four push encoder groups by using the respective keys.
2. Keep the LEARN key pressed and briefly turn the first push encoder, then release the LEARN key.
3. Turn the CUTOFF control on your PRO-53 using the mouse. The B-CONTROL display shows the
received MIDI data. As soon as the data transfer is completed, “GOOd“ appears in the display.
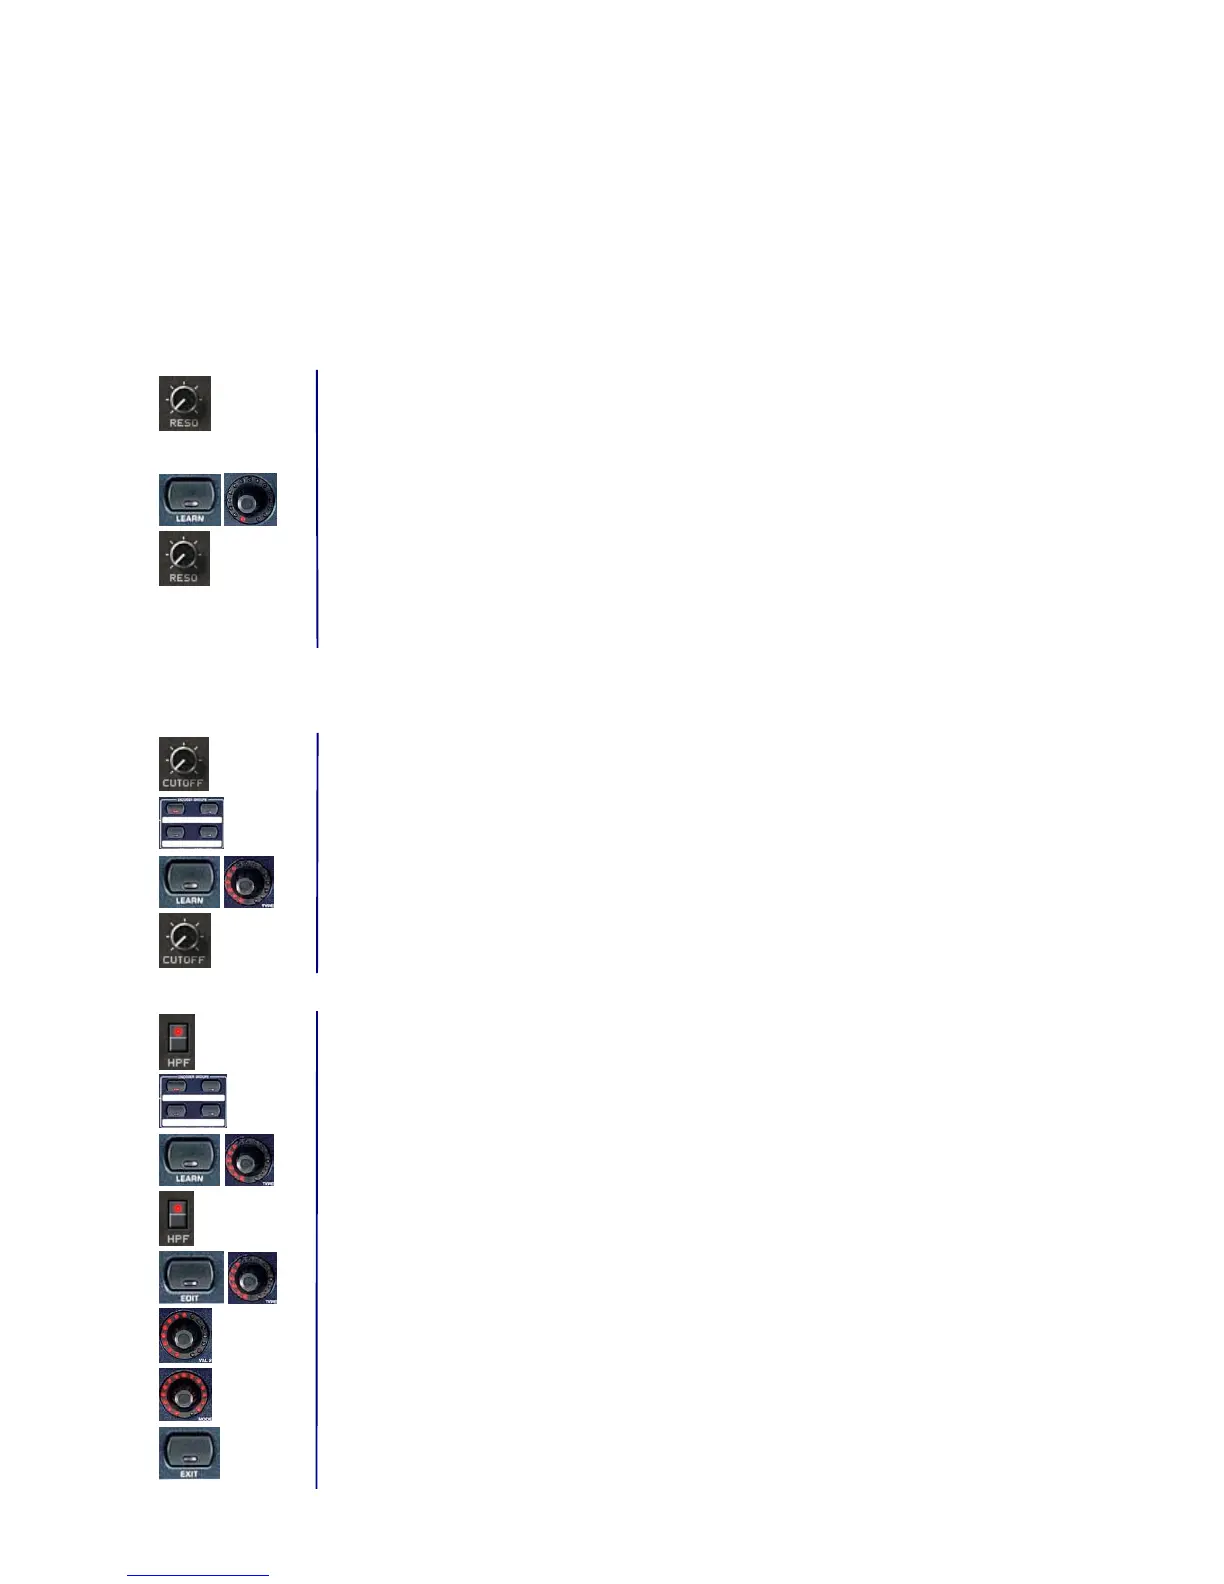
Assigning the HPF parameter of the PRO-53 to the key function of the first B-CONTROL push encoder.
1. Using the ENCODER GROUP key LEDs, you can make sure that the previously selected push
encoder group is still active.
2. Keep the LEARN key pressed and briefly push the first push encoder, then release the LEARN key.
3. Press the HPF key on your PRO-53 using the mouse. The B-CONTROL display shows the received
MIDI data. As soon as the data transfer is completed, “GOOd“ appears in the display.
4. You will have to program the second key function value in the EDIT mode. To do that, keep the EDIT
key pressed and briefly press the push encoder that is already partially programmed, and then
release the EDIT key.
5. Push Encoder 5 (VAL 2 = OFF value): Select 0 as your value.
6. Push Encoder 6 (MODE): Select ”Toggle ON.“
7. Exit the edit mode by pressing EXIT.
 Loading...