17 Quick Start Guide16 DJ CONTROLLER CMD STUDIO 4A
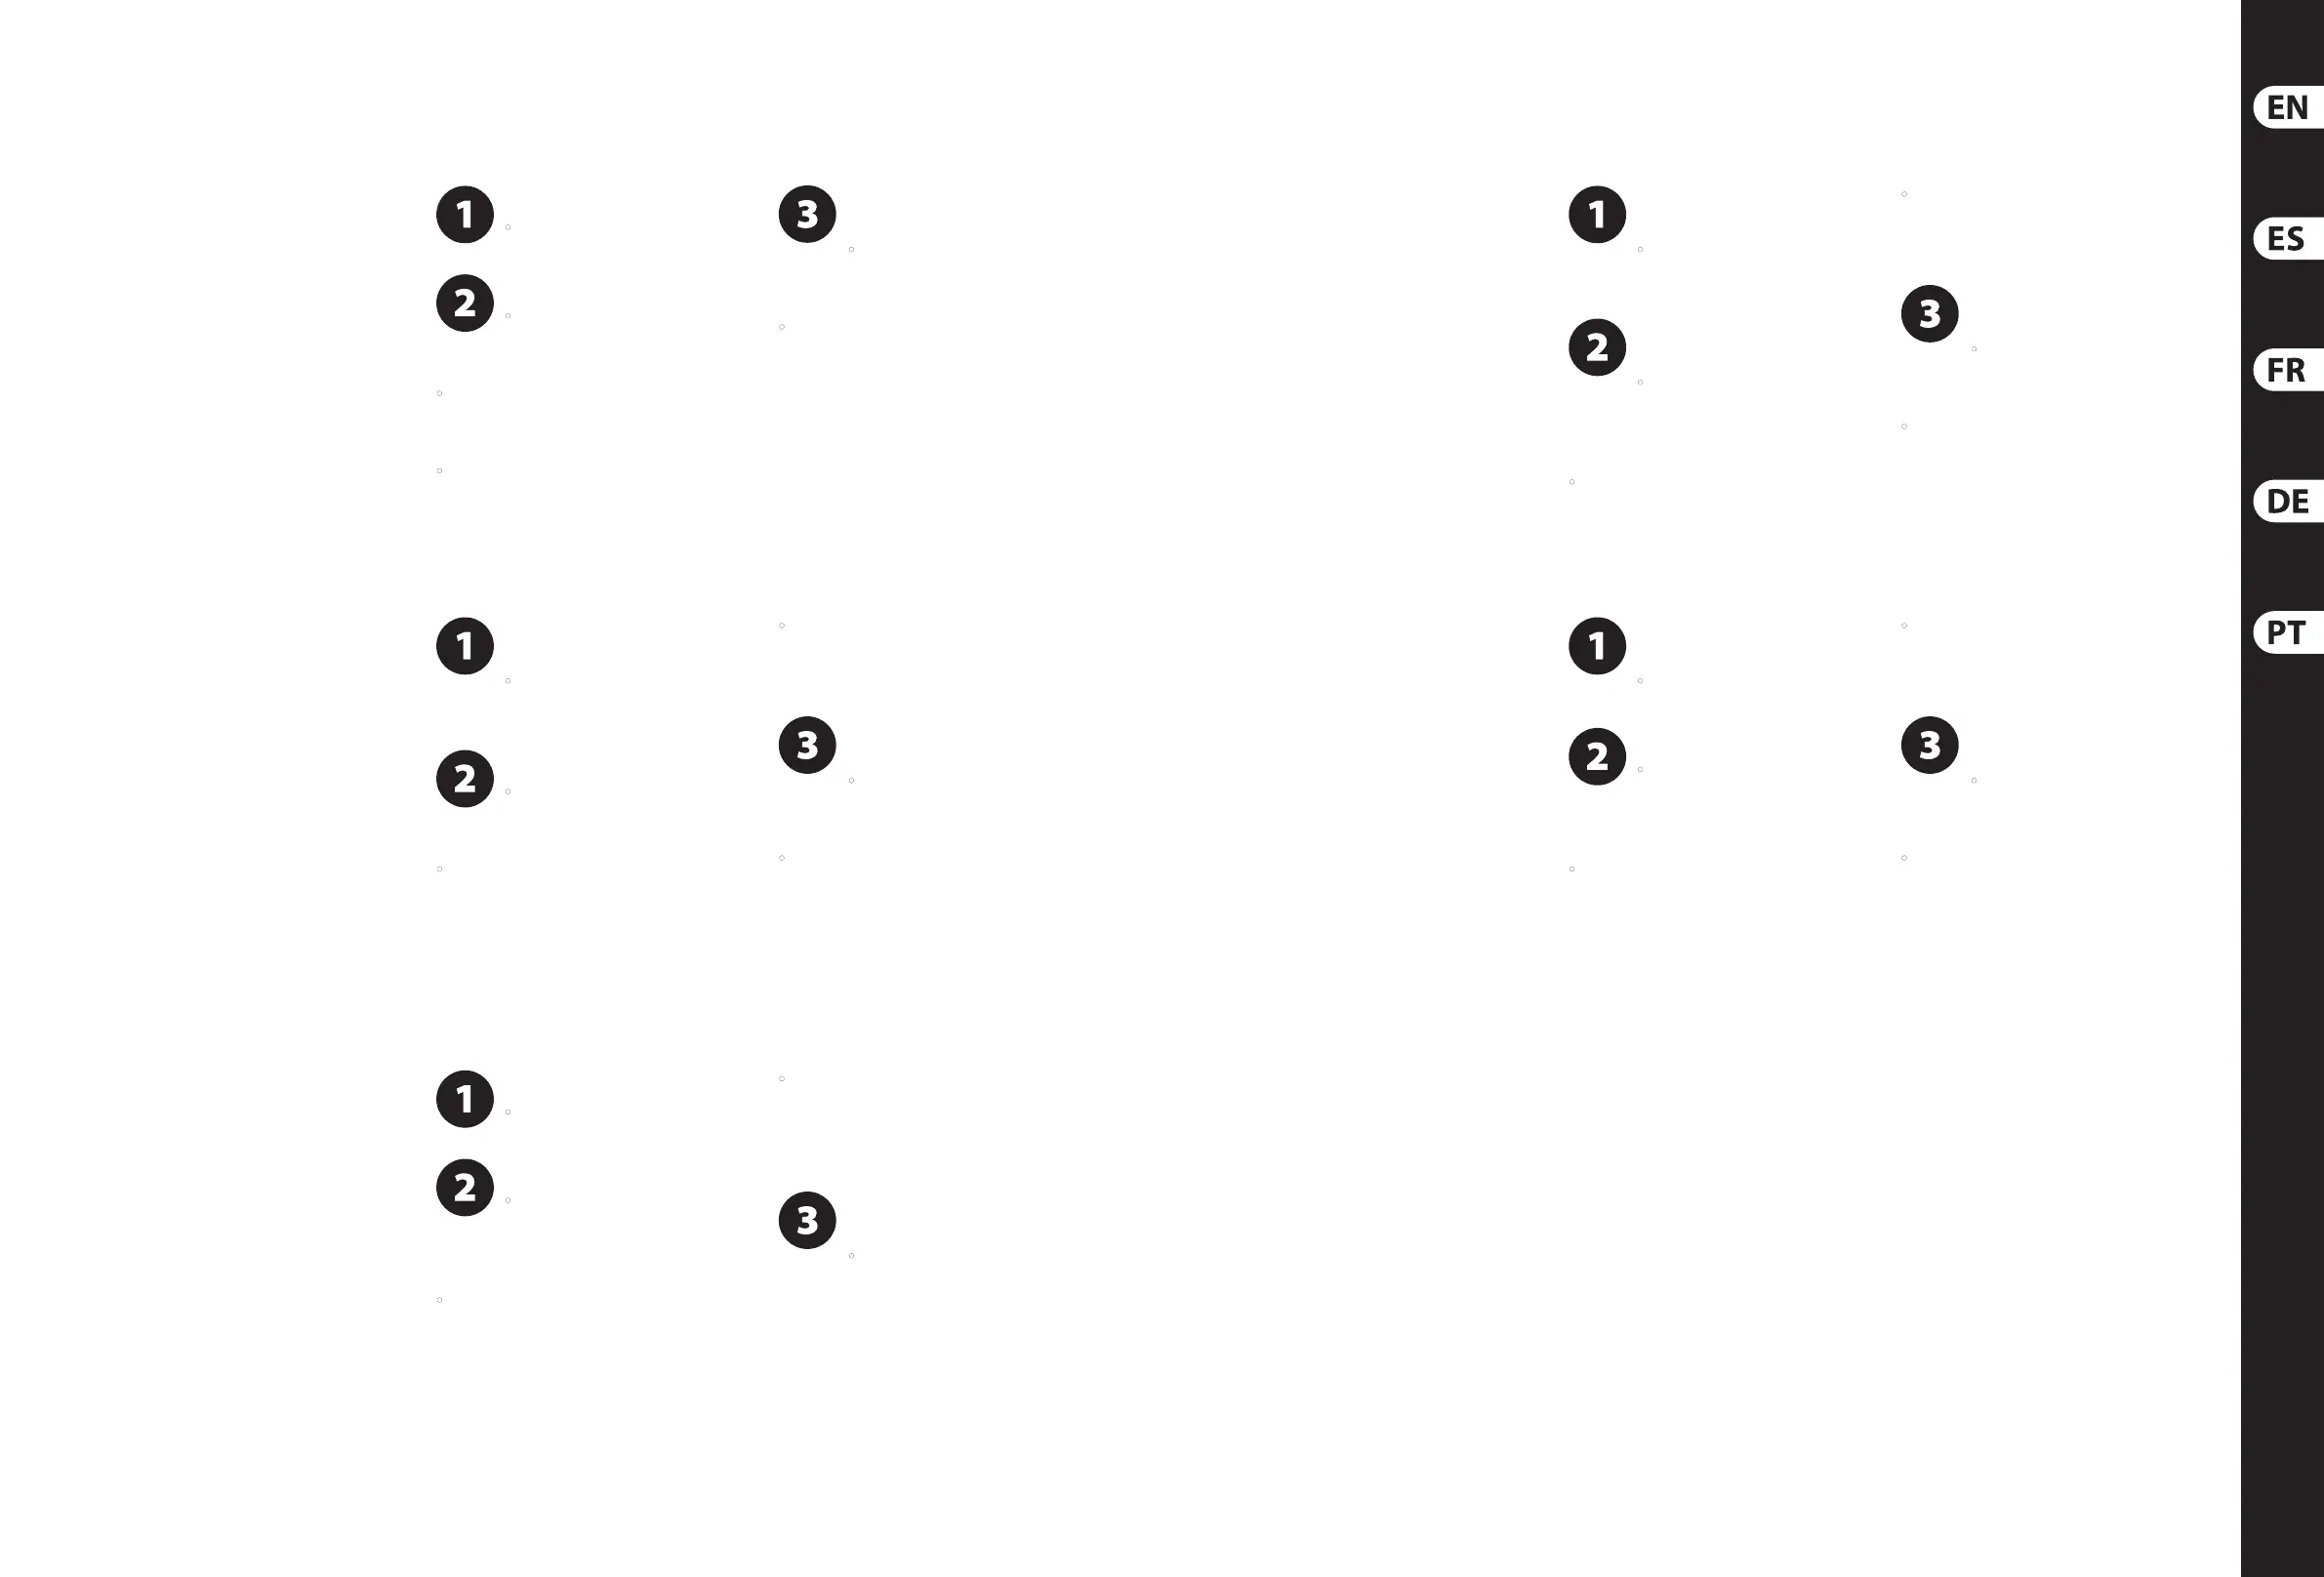
(EN) Step 3: Getting
started
(ES) Paso 3: Puesta en
marcha
(FR) Etape 3 : Mise en
oeuvre
(DE) Schritt 3: Erste
Schritte
(PT) Passo 3: Primeiros
Passos
Make the necessary power connections.
• Connect the CMD Studio 4a to the
mains via the provided power adapter.
Make the necessary audio connections.
• Connect headphones to the phones
output jack and use the phones output
knob to adjust the volume for monitoring.
• Connect to external powered speakers or to a
PA mixer via stereo output 1 and use the MAIN
knob to adjust the volume for performance.
• Connect to an external recording device via
output 2 to capture your performance. Use the
MAIN knob to control the level at output 2.
Make the connections between the
CMDStudio 4a and your computer.
• Connect the USB type B connector
to the CMD Studio 4a and the USB type A
connector to thecomputer.
• Download and install the necessary ASIO driver
for use with Windows operating systems.
Referto the Downloads tab on the CMD Studio
4a product page at www.behringer.com to
acquire the software.
Stellen Sie die notwendigen
Netzanschlüsse her.
• Verbinden Sie den CMD Studio
4a über den mitgelieferten Netzadapter mit
einemNetzanschluss.
Stellen Sie die notwendigen
Audioanschlüsse her.
• Verbinden Sie Ihre Kopfhörer
mit der KOPFHÖRER-Ausgangsbuchse und
stellen Sie mit dem VOLUME-Regler die
Abhörlautstärke ein.
• Verbinden Sie Stereo Output 1 mit externen
Aktivboxen oder einem PA-Mischer und stellen
Sie mit dem MAIN-Regler die Lautstärke für
die Performance ein.
• Verbinden Sie Stereo Output 2 mit einem
externen Aufnahmegerät, um Ihre Performance
aufzuzeichnen. Stellen Sie den Signalpegel an
Output 2 mit dem MAIN-Regler ein.
Verbinden Sie den CMD Studio 4a mit
IhremComputer.
• Verbinden Sie den USB Typ
B-Anschluss mit dem CMD Studio 4a und den
USB Typ A-Anschluss mit dem Computer.
• Laden Sie die für Windows-Betriebssysteme
benötigten ASIO-Treiber herunter und
installieren Sie sie. Die Software nden Sie
unter www.behringer.com im Download-Tab
der CMD Studio 4a-Produktseite.
Realice las conexiones correspondientes a
lacorriente.
• Conecte el CMD Studio 4a
a la corriente eléctrica por medio del
adaptadorincluido.
Realice las conexiones audio adecuadas.
• Conecte unos auriculares a la toma
de salida PHONES y use el mando PHONES
para ajustar el volumen de monitorización.
• Conecte esta unidad a unos monitores
autoamplicados exteriores o a un mezclador de
PA a través de la salida stereo 1 y use el mando
MAIN para ajustar el volumen de laactuación.
• Conecte esta unidad a un dispositivo de grabación
externo a través de la salida stereo 2 si quiere
grabar su interpretación. Use el mando MAIN para
controlar el nivel de volumen de esta salida 2.
Realice las conexiones adecuadas entre el
CMDStudio 4a y su ordenador.
• Conecte la toma USB de tipo B
al CMD Studio 4a y la toma USB de tipo A
alordenador.
• Descargue e instale el controlador o driver ASIO
necesario para usar esta unidad en sistemas
operativos Windows. Vaya a la pestaña
Downloads de la página de producto CMD
Studio 4a en la web www.behringer.com para
descargar dicho software.
Faça as conexões de alimentação
necessárias.
• Conecte o CMD Studio 4a à rede
através do adaptador de energia fornecido.
Faça as conexões de áudio necessárias.
• Conecte fones de ouvido ao jack
de saída PHONES e botão de saída
PHONES para ajustar o volume usado em
monitoramento.
• Conecte a alto-falantes alimentados
externamente ou a um PA mixer através
da saída estéreo 1 e use o botão MAIN para
ajustar o volume para performance.
• Conecte a um aparelho de gravação externo
através da saída estéreo 2 para capturar
sua performance. Use o botão MAIN para
controlar o nível de volume na saída 2.
Faça as conexões entre o CMD Studio 4a
e seucomputador.
• Conecte o conector USB tipo B ao
CMD Studio 4a e o conector USB tipo A ao
computador.
• Faça o download e instale o necessário driver
ASIO para uso com sistemas operacionais
Windows. Verique o tab Downloads na
página do produto CMD Studio 4a no site
www.behringer.com para adquirir o software.
Connexion à l’alimentation.
• Connectez le CMD Studio 4a au
secteur avec l’adaptateur fourni.
Connexions audio.
• Connectez votre casque audio
à l’embase PHONES. Utilisez le
potentiomètre PHONES pour régler le volume
d’écoute.
• Connectez la sortie stéréo OUTPUT 1 à des
enceintes actives externes ou à la console de
mixage d’un système de sonorisation. Utilisezle
potentiomètre MAIN pour régler le volume
desortie.
• Connectez la sortie stéréo OUTPUT 2 à un
appareil d’enregistrement externe pour
enregistrer votre performance. Utilisez le
potentiomètre MAIN pour régler le volume de la
sortie OUTPUT 2.
Connexions entre le CMD Studio 4a et
votreordinateur.
• Connectez le connecteur USB type B
au CMDStudio 4a et le connecteur USB type A
àl’ordinateur.
DJ CONTROLLER CMD STUDIO 4A Getting started