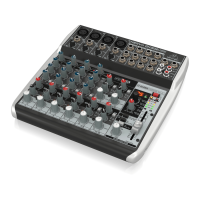
This chapter describes the various control elements of your mixing console. All controls, switches and connectors will be
discussed in detail.
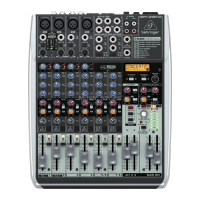
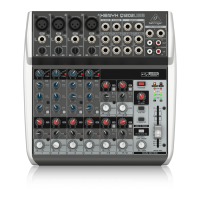
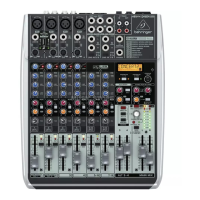
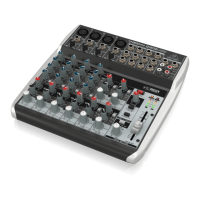
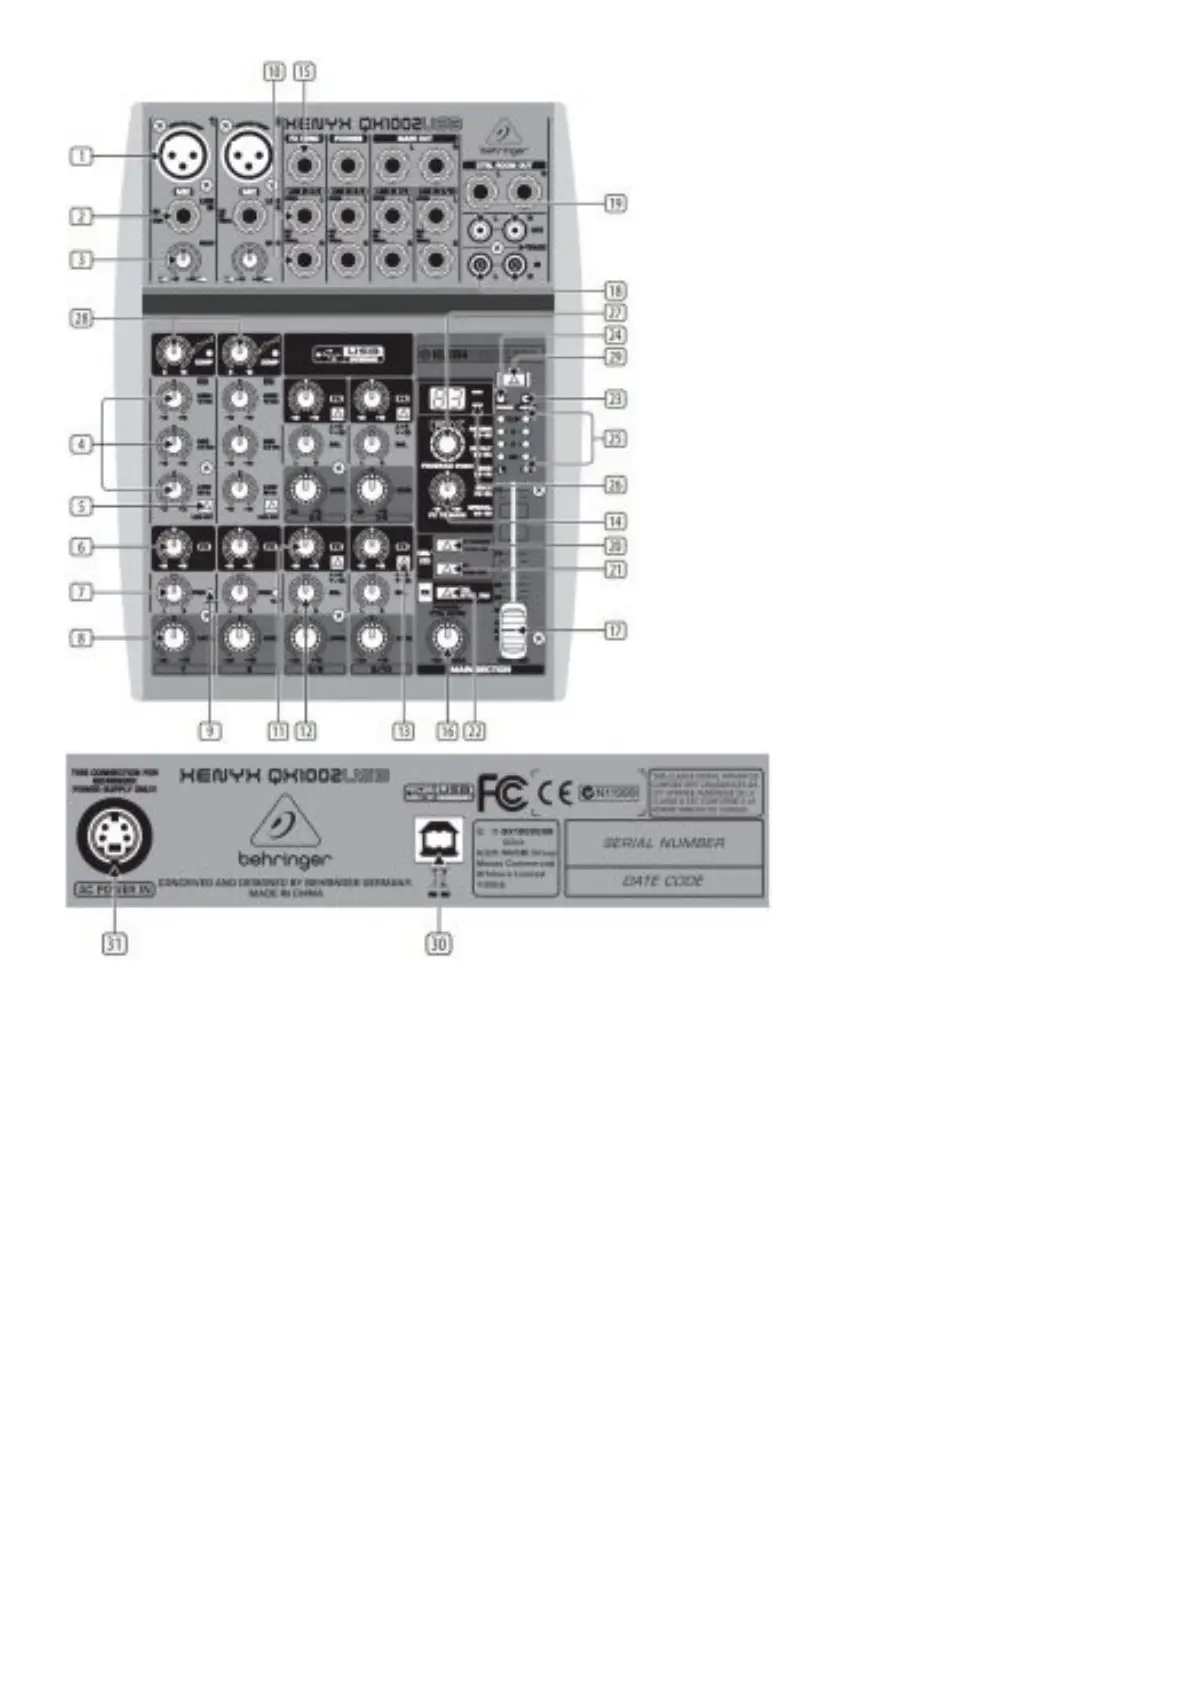
1. MIC – Each mono input channel offers a balanced microphone input via the XLR connector and also features switchable +48
V phantom power supply for condenser microphones. The XENYX preamps provide undistorted and noise free gain as is
typically known only from costly outboard preamps.
2. LINE IN – Each mono input also features a balanced line input on a ¼” connector. Unbalanced devices (mono jacks) can
also be connected to these inputs. Please remember that you can only use either the microphone or the line input of a
channel at any one time. You can never use both simultaneously!
3. GAIN – Use the GAIN control to adjust the input gain. This control should always be turned fully counterclockwise whenever
you connect or disconnect a signal source to one of the inputs.
4. EQ – All mono input channels include a 3-band equalizer. All bands provide boost or cut of up to 15 dB. In the central
position, the equalizer is inactive.
5. LOW CUT – In addition, the mono channels are equipped with a steep LOW CUT filter designed to eliminate unwanted low
frequency signal components.
6. FX – FX sends enable you to feed signals via a variable control from one or more channels and sum these signals to a bus.
The bus appears at the console’s FX send output and can be fed from there to an external effects device. The return from
the effects unit is then brought back into the console on the stereo channels. Each FX send is mono and features up to +15
dB gain. In the QX1002USB/ QX1202USB, the FX send is routed directly to the built-in effects processor. To make sure that
the effects processor receives an input signal, you shouldn’t turn this control all the way to the left (-∞).
7. PAN – The PAN control determines the position of the channel signal within the stereo image. This control features a
constant-power characteristic, which means the signal is always maintained at a constant level, irrespective of position in the
stereo panorama.
8. LEVEL – The LEVEL control determines the level of the channel signal in the main mix.
9. CLIP – The CLIP LED’s of the mono channels illuminate when the input signal is driven too high, which could cause
distortion. If this happens, use the GAIN control to reduce the preamp level until the LED does not light anymore.
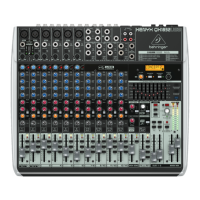
10. LINE IN – Each stereo channel has two balanced line level inputs on ¼” jacks for left and right channels. If only the jack
 Loading...