EasyManua.ls Logo

Beko DW600 User Manual

Beko DW600
20 pages
To Next Page IconTo Next Page
Page #1 background imageLoading...
Page #1 background image
Question and Answer IconNeed help?

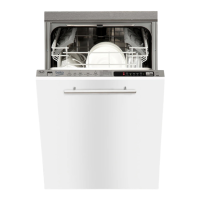
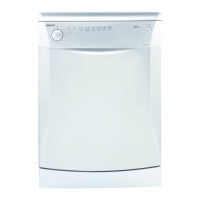
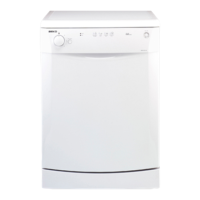
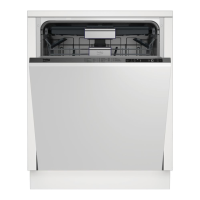
Do you have a question about the Beko DW600 and is the answer not in the manual?

Beko DW600 Specifications

General IconGeneral
BrandBeko
ModelDW600
CategoryDishwasher
LanguageEnglish

Summary

Installation Step 1: Panel Preparation

Step 1a: Cutting Panel

Illustrates cutting a panel for installation.

Step 1b: Cutting Panel

Depicts cutting a panel with scissors.

Step 1c: Cutting Panel

Shows cutting a panel with scissors.

Step 1d: Attaching Panel

Illustrates attaching a panel to the unit.

Step 1e: Attaching Panel

Shows attaching a panel to the unit.

Step 2a: Height Adjustment (820-870mm)

Instruction for height adjustment for 820-870mm range.

Step 2b: Height Adjustment (870-920mm)

Instruction for height adjustment for 870-920mm range.

Installation Step 4: Securing Unit

Installation Step 5: Attaching Sliding Mechanism

Step 5a: Mounting Slider

Illustrates mounting a sliding mechanism part.

Step 5b: Mounting Slider

Shows mounting a sliding mechanism part.

Installation Step 6: Attaching Sliding Mechanism

Installation Step 7: Attaching Sliding Mechanism

Step 7a: Fixing Slider

Illustrates fixing a sliding mechanism part.

Step 7b: Fixing Slider

Shows fixing a sliding mechanism part.

Installation Step 8: Inserting Unit

Installation Step 9: Inserting Unit

Installation Step 10: Securing Unit

Installation Step 11: Adjusting Unit Position

Step 11a: Adjusting Height

Illustrates adjusting the unit's height.

Step 11b: Adjusting Height

Shows adjusting the unit's height.

Installation Step 12: Final Adjustments

Step 12m: Securing Components

Shows securing components with screws.

Water and Drainage Connections

Step 13a: Inlet Hose Connection

Illustrates connecting the water inlet hose.

Step 13b: Drain Hose Connection

Shows connecting the drain hose.

Step 13c: Electrical Connection

Depicts making the electrical connection.

Installation Step 14: Securing Under Countertop

Installation Step 15: Attaching Front Panel

Related product manuals