EasyManua.ls Logo

Beko HIIS63206M User Manual

Beko HIIS63206M
112 pages
To Next Page IconTo Next Page
Page #1 background imageLoading...
Page #1 background image
185.2620.93/R.AF/07.01.2022
EN / DE / FR / TR / BG / BS / CZ / DA / EL / ES / ET / FI / HR /
HU / IT / KK / KO / LT / LV / MK / NL / NO / PL / PT / RO / RU /
SK / SL / SB / SV / UK
Installation Instructions
Installationsinstruktionen
Instructions d’installation
Montaj Talimatları
Инструкции за Монтаж
Instrukcije za ugradnju
Pokyny pro instalaci
Installationsvejledning
Οδηγίες Εγκατάστασης
Instrucciones de instalación
Paigaldusjuhised
Asennusohjeet
Upute za instalaciju
Telepítési utasítások
Istruzioni per l’installazione
Орнату туралы нұсқаулар
설치 지침
Įdiegimo instrukcija
Uzstādīšanas instrukcijas
Упатство за инсталација
Installatie instructies
Installasjonsinstruksjoner
Instrukcja montażu
Instruções de Instalação
Instrucțiuni de instalare
Руководство по установке
Inštalačné pokyny
Navodila za namestitev
Instrukcije za ugradnju
Monteringsinstruktioner
Інструкції з встановлення
Question and Answer IconNeed help?

Do you have a question about the Beko HIIS63206M and is the answer not in the manual?

Beko HIIS63206M Specifications

General IconGeneral
TypeInduction
Number of Cooking Zones4
Control TypeTouch
Hob Width60 cm
Boost FunctionYes
Child LockYes
Residual Heat IndicatorYes
TimerYes
Power ManagementYes
Safety Shut-offYes
Installation TypeBuilt-in
ColorBlack
MaterialGlass
Total Power7.4 kW

Summary

EN- Safety Instructions

Preparation of the furniture that the appliance shall be installed (Figures 1-2-3)

Installation of the appliance

Electrical connection of the appliance

Connect appliance to a grounded outlet/line per regulations.

If your appliance has a supply cord and plug:

Instructions for connecting the appliance via a grounded socket.

If your appliance has a supply cord, but does not have a plug:

Guidance on connecting the appliance without a plug.
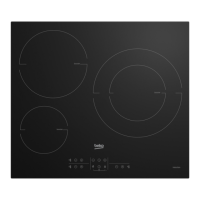
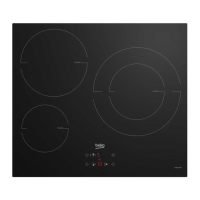
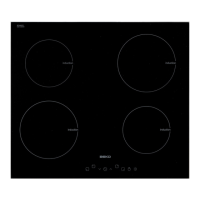
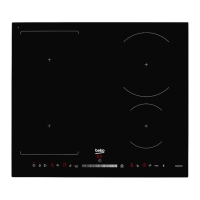
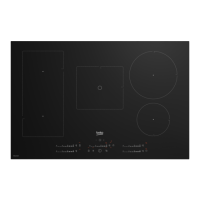
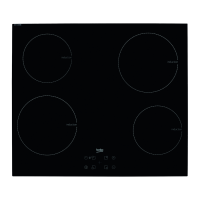
For the protection of the appliance against burning:

Placement and securing of the appliance (Figures 5-6-7-8)

Placement and securing of the appliance (Figures 9)

Related product manuals