Do you have a question about the Beko HII63205MT and is the answer not in the manual?
Follow general safety guidelines during installation and operation.
Prepare furniture and follow dimensions for appliance installation.
Instructions for flush-fitting the appliance into the worktop.
Guidance for installing the appliance above a drawer or oven.
Ensuring adequate ventilation for efficient appliance operation.
Details on connecting the appliance to the electrical supply, including grounding.
Procedure for connecting appliances with a supply cord and plug.
Procedure for connecting appliances with a supply cord but no plug.
Measures to prevent the appliance from burning.
Steps for placing and securing the appliance using gaskets and springs.
Checks to perform after installation is complete.
Instructions for safely removing the appliance.
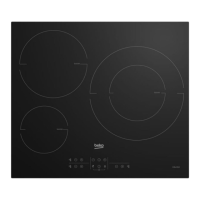
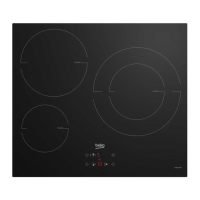
| Hob type | Zone induction hob |
|---|---|
| Product color | Black |
| Hob width size | 58 cm |
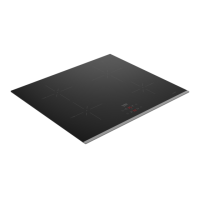
| Top surface type | Glass |
| Appliance placement | Built-in |
| Cooking zone 1 type | Regular |
| Cooking zone 2 type | Simmer |
| Cooking zone 3 type | Extra large |
| Cooking zone 1 boost | 2300 W |
| Cooking zone 1 power | 2000 W |
| Cooking zone 1 shape | Round |
| Cooking zone 2 boost | 1800 W |
| Cooking zone 2 power | 1600 W |
| Cooking zone 3 power | 2300 \\ 3600 W |
| Cooking zone 1 diameter | 180 mm |
| Cooking zone 1 position | Left rear |
| Cooking zone 2 diameter | 145 mm |
| Cooking zone 2 position | Left front |
| Cooking zone 3 diameter | 180 \\ 320 mm |
| Cooking zone 3 position | Right |
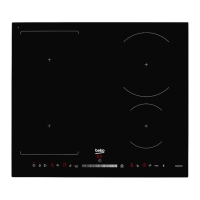
| Number of cooking zones | 3 zone(s) |
| Cooking zone 1 power source | Electric |
| Number of gas cooking zones | 0 zone(s) |
| Number of simultaneously used cooking zones | 3 |
| Boost function | Yes |
| Number of power levels | 9 |
| Package depth | 650 mm |
| Package width | 660 mm |
| Package height | 150 mm |
| Package weight | 10500 g |
| Timer type | Digital |
| Control type | Touch |
| Control position | Top front |
| Built-in hood | No |
| AC input frequency | 50 Hz |
| Connected load (gas) | - W |
| Connected load (electric) | 7200 W |
| Depth | 510 mm |
|---|---|
| Width | 580 mm |
| Height | 55 mm |
| Weight | 9500 g |
| Installation compartment depth | 490 mm |
| Installation compartment width | 560 mm |