I nse rt the CD i nto your CD-ROM d riv e. A drive wil l appe ar on
your desktop c all ed “Be lki n Easy I nst all”. Dou ble -click th e drive to ope n it. Ma c
OS 9 use rs— dou ble -cl ick th e prog ram calle d “Easy Ins tal l O S 9”. Ma c OS X
users— dou ble -cl ick th e prog ram called “Easy Ins tal l OS X.dmg”.
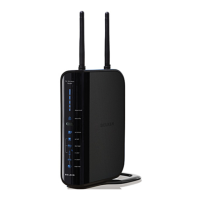
This step i nst ruc ts you to l oca te the c able
connec ted between yo ur mod em and t he
networ kin g port o n your computer. Un plu g
this cable from t he comput er and p lug it
into the GR EEN port on th e Router. Cli ck
This step i nst ruc ts you to l oca te the
BLUE cable tha t is inc luded wit h your
Router. Pl ug one end of this cable int o
ANY o ne of the B LUE ports on y our Route r.
Plug the ot her end of the cable i nto th e
networ kin g port o n your computer. Cl ick
You will n ow see t he fir st of a series of
pro gress screens t o h elp you kno w wher e
you a re in the setup p rocess. C lick “ Nex t”.
The n ext sc reen w ill tell yo u t hat the
Wizard is e xamining you r n etw ork settings .
When the Wi zard i s finishe d examining
your settings, cl ick “N ext ”.
Run the Easy Install Wizard Software
If th e Easy Install Wizard does not start up
automa tically, select you r CD-ROM drive from
“My C omputer” and do uble-clic k on t he file
named “Setup” on the CD-ROM. Click on
“Set Up the Router” to beg in.
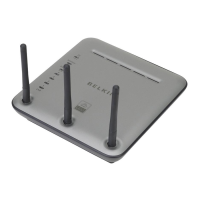
Make sure you have
the following:
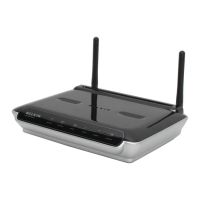
Wireless
Pre-N Router
Installation
Software CD
Auto Setup
IMPORTANT: Run the Eas y I nst all
Wizard from t he com put er tha t is
direct ly connected to the ca ble or
DSL mo dem . D O N OT CONNECT
THE RO UTE R AT THIS T IME
.
Make sure you have the following
Shut down a ny pro gra ms tha t are running on your computer. D O NOT CO NNE CT
THE R OUTER AT T HIS TI ME.
Turn off any fi rewa ll or In ter net -co nne cti on-sharing s oft ware on y our computer.
Insert the Easy Install Wizard sof twa re CD into you r CD-ROM
drive. The Easy Ins tal l Wizard screen will automaticall y app ear on your scr een
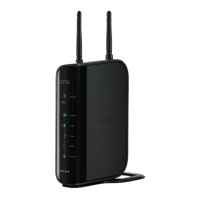
Connect your Router to your computer and modem
You will s ee the W izard’s wel com e scre en.
This step i nst ruc ts you to l oca te the p ower
supply that is included with yo ur Rou ter.
Plug the po wer supply’s sma ll connector
into the GR AY p ort on t he Rou ter. Plug the
power supply i nto an e mpty p owe r outl et.
Click “Next” t o continu e.
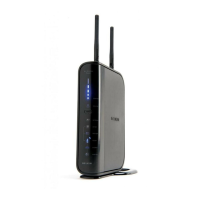
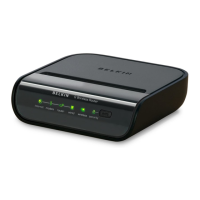
This step i nst ruc ts you to l ook at t he
lights on t he fro nt of yo ur Rou ter. Make
sure the ap prop ria te lights a re ON. Re fer
to th e E asy Install Wi zard s oftware on y our
comput er’s sc reen f or more details . Click