Do you have a question about the Bell'O PVS-4204HG and is the answer not in the manual?
Adhere to safety warnings regarding weight limits, flat surfaces, and careful handling to prevent accidents.
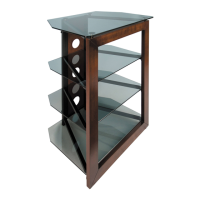
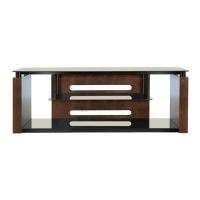
Connect the top shelf support frame to the left and right legs using four 35 mm bolts.
Secure the rear stabilizing bar to the left and right legs with four 40 mm bolts.
Place rubber rings on the middle shelf support bar and attach it to the legs with two 25 mm bolts.
Fasten the rear cable management system post to the rear stabilizing bar and top shelf support frame.
Move the assembled unit to its final location and ensure it is level using adjustable feet.
Place bottom and middle glass shelves on supports, securing them with plastic T-pins.
Attach the top glass shelf to the assembly using two 15 mm bolts and ensure it is level.
Install L-brackets above the lower glass shelves using small screws for stability.
Details the one-year limited warranty for parts and components, excluding glass after 30 days.
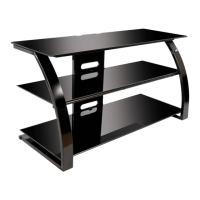
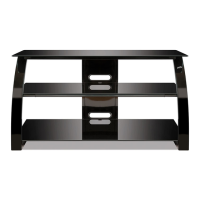
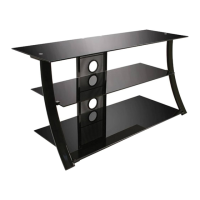
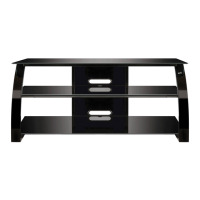
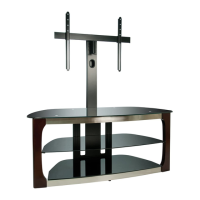
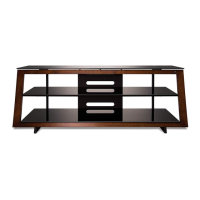
| Type | TV Stand |
|---|---|
| Maximum Screen Size | 46 inches |
| Weight Capacity | 100 lbs |
| Adjustable Shelves | No |
| Cable Management | Yes |
| Assembly Required | Yes |
| Material | Glass, Metal |
| Color | High Gloss Black |