Page 1-31
Installation and Setup
Assembling the 120cm Dish
STEP 3.4: ASSEMBLING THE 120 CM DISH
STEP 3.4A: PRE-ASSEMBLE THE PARTS (120 CM DISH)
ItÕs best to pre-assembly the dish indoors, so that it is all ready to place on the mast
outdoors, quickly and easily ... especially if itÕs cold out.
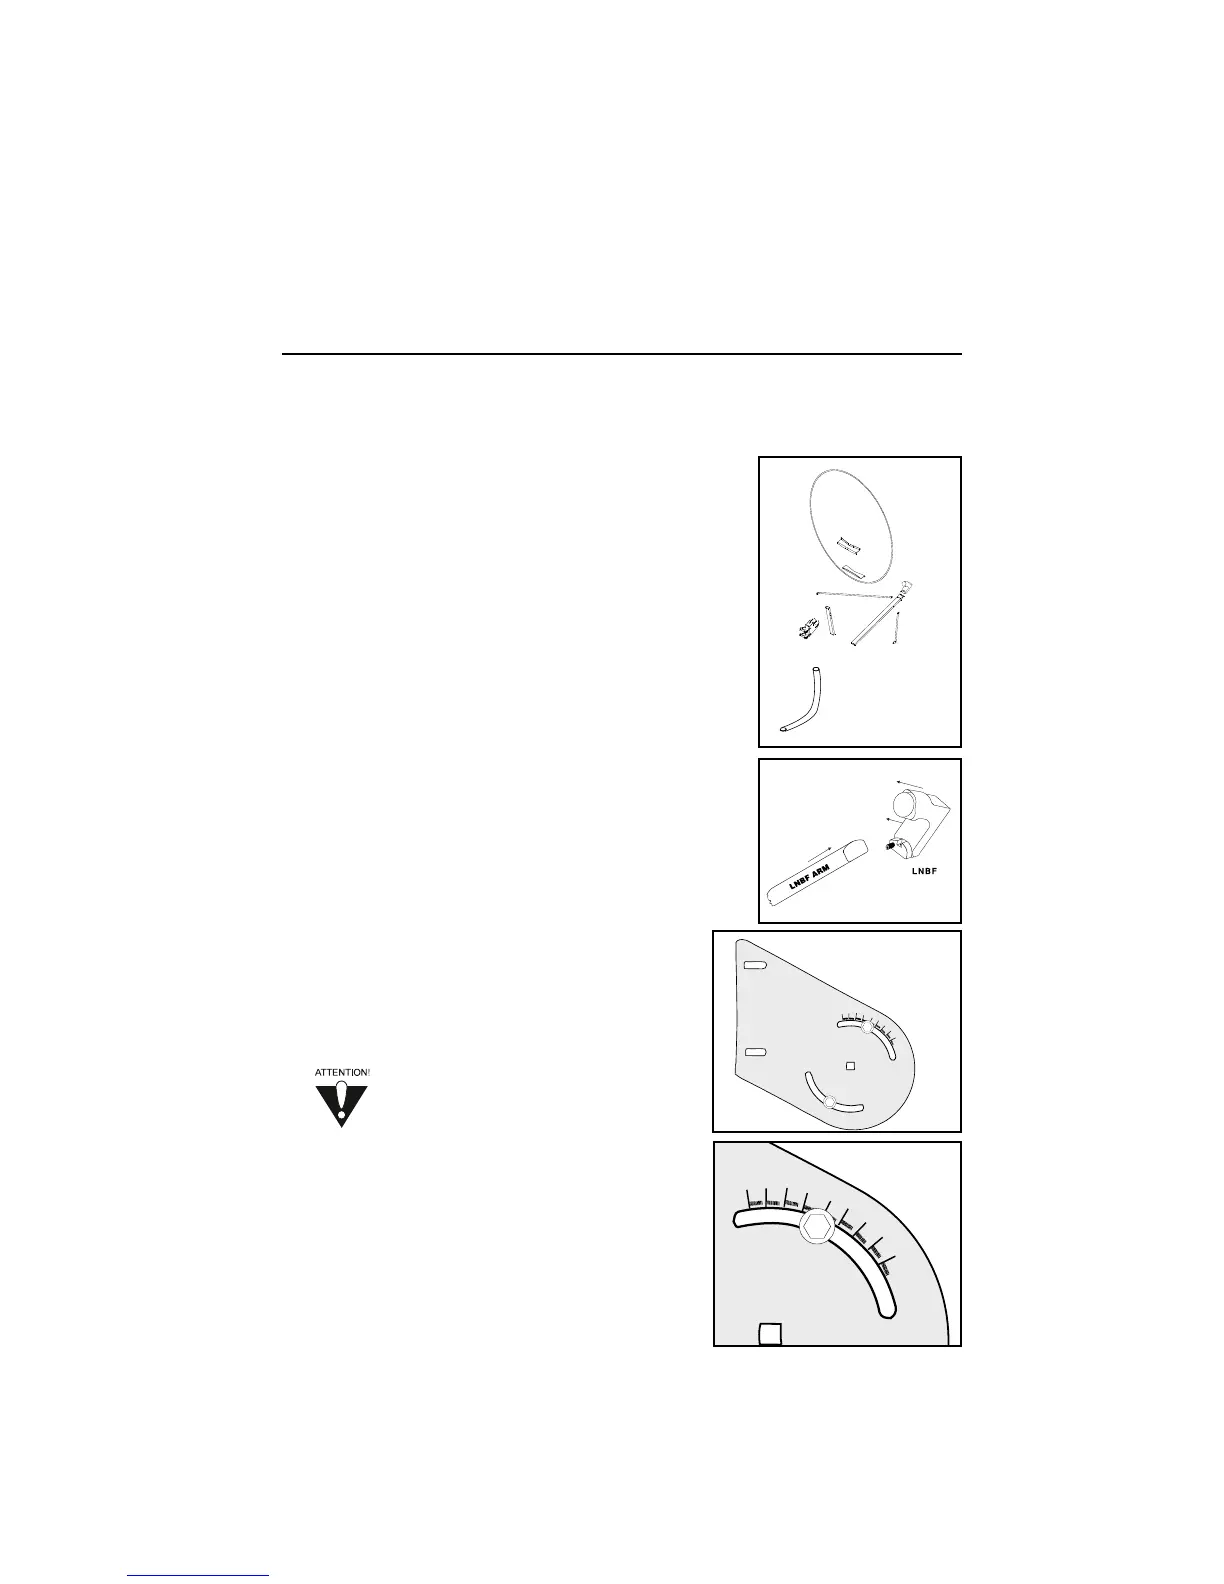
The complete system consists of three main parts: the dish
mount, the dish assembly, and the receiver. The mount
consists of the foot (base plate) and a bent pipe called the
mast. The dish assembly consists of the antenna, or dish,
the dish support bracket, the (LNBF) low noise amplifier,
and the LNBF support arm. The receiver is also fully
assembled.
Pre-assemble the Dish as follows:
1. Assemble the dish as indicated in the instructions which
are included in the antenna box.
2. Determine your specific vertical elevation from
the Table (page 1-44) and adjust the angular tilt of
the antenna so that the centre of the top bolt on the
Mast Head Clamp lines up with your vertical
elevation position on the Mast Head elevation
gauge. In our diagram here, it is set for 50 degrees.
3. Lightly tighten the two bolts located in the
curved slots on the mast head. Leave the pivot
bolt slightly loose.
4. Your antenna assembly is now ready to be
placed on the outdoor mount assembly.
The mount for attaching the dish to the
dwelling is made of steel and, as a
result, it is very magnetic. If you are too
close, it can adversely alter your
compass readings.