EasyManua.ls Logo

Bella CM4260-A - Control Panel; Before Using for the First Time

Bella CM4260-A
12 pages
Print Icon
To Next Page IconTo Next Page
To Previous Page IconTo Previous Page
Loading...
15
C
O
N
O
Z
C
A
S
U
C
AFET
E
R
A
DI
G
I
TAL
PA
R
A
12
TA
Z
AS
El
p
roducto
p
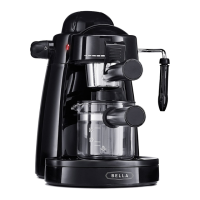
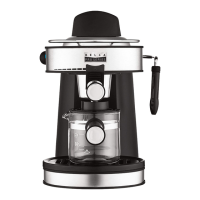
uede diferir levemente de la ilustraci
ó
n.
T
a
p
a de la cafetera
C
anasta del ltro de
c
af
é
permanente
P
a
n
e
l
de
co
ntr
o
l
D
ep
ó
sito de agua
D
e
p
ósito del ltr
o
So
p
orte del
ltro extraíbl
e
Válvula anti
g
oteo
a
utomátic
a
C
uchara medidora
de
ca
f
é
M
an
g
o
d
e
l
a
j
arr
a
G
lass
C
araf
e
w
ith Li
d
Fi
g
.
1
Placa térmica
B
as
e
Indicador del nivel de
a
gua
(
no se muestra
)
CO
NT
R
O
L PANEL
1.
Backli
g
hted L
C
D Display
:
When the Digital
C
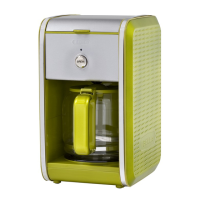
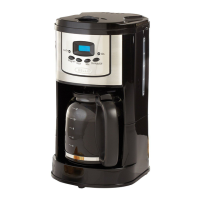
offee Maker is plugged into a 120
V
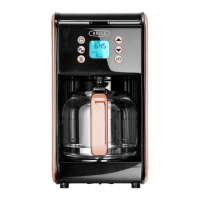
AC electrical outlet, the LCD display will illuminate blue. CLOCK appears to indicate
PRESENT time setting mode. PROG appears to indicate future AUTO brew time setting
mode. 24-hour digital clock with AM
/
PM.
2.
O
N
/
A
U
T
O/O
FF Button
:
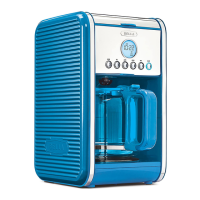
If pressed once: the coffee maker is
O
N and starts brewin
g.
If pressed twice: the coffee maker is on the AUTO mode and will start brewin
g
when the
p
re-programme
d
t
i
me
i
s equa
l
to t
h
e actua
l
t
i
me
.
If pressed 3 times: the coffeemaker is
O
F
F
3
. PR
OG
Button
:
Press
rst to set the di
g
ital clock’s current time. Press a
g
ain to pro
g
ram
the AUTO future brewin
g
time. After brewin
g
, press the PROG button a third time to view
TS
B
(
Time
S
ince Brewed
)
.
4.
H
OU
R Button
:
Advances the H
O
UR. Press to adjust time in hours for digital clock display
a
nd AUTO brew pro
g
rammin
g
. Hold button to fast advance.
5. MIN B
u
tt
o
n: Advances the MINUTES. Press to adjust time in minutes for di
g
ital cloc
k
d
isplay and AUT
O
brew programming. Hold button to fast advance
.
B
EF
O
R
E
U
S
I
N
G
F
O
R
TH
E
F
IR
S
T T
I
ME
C
A
U
TI
O
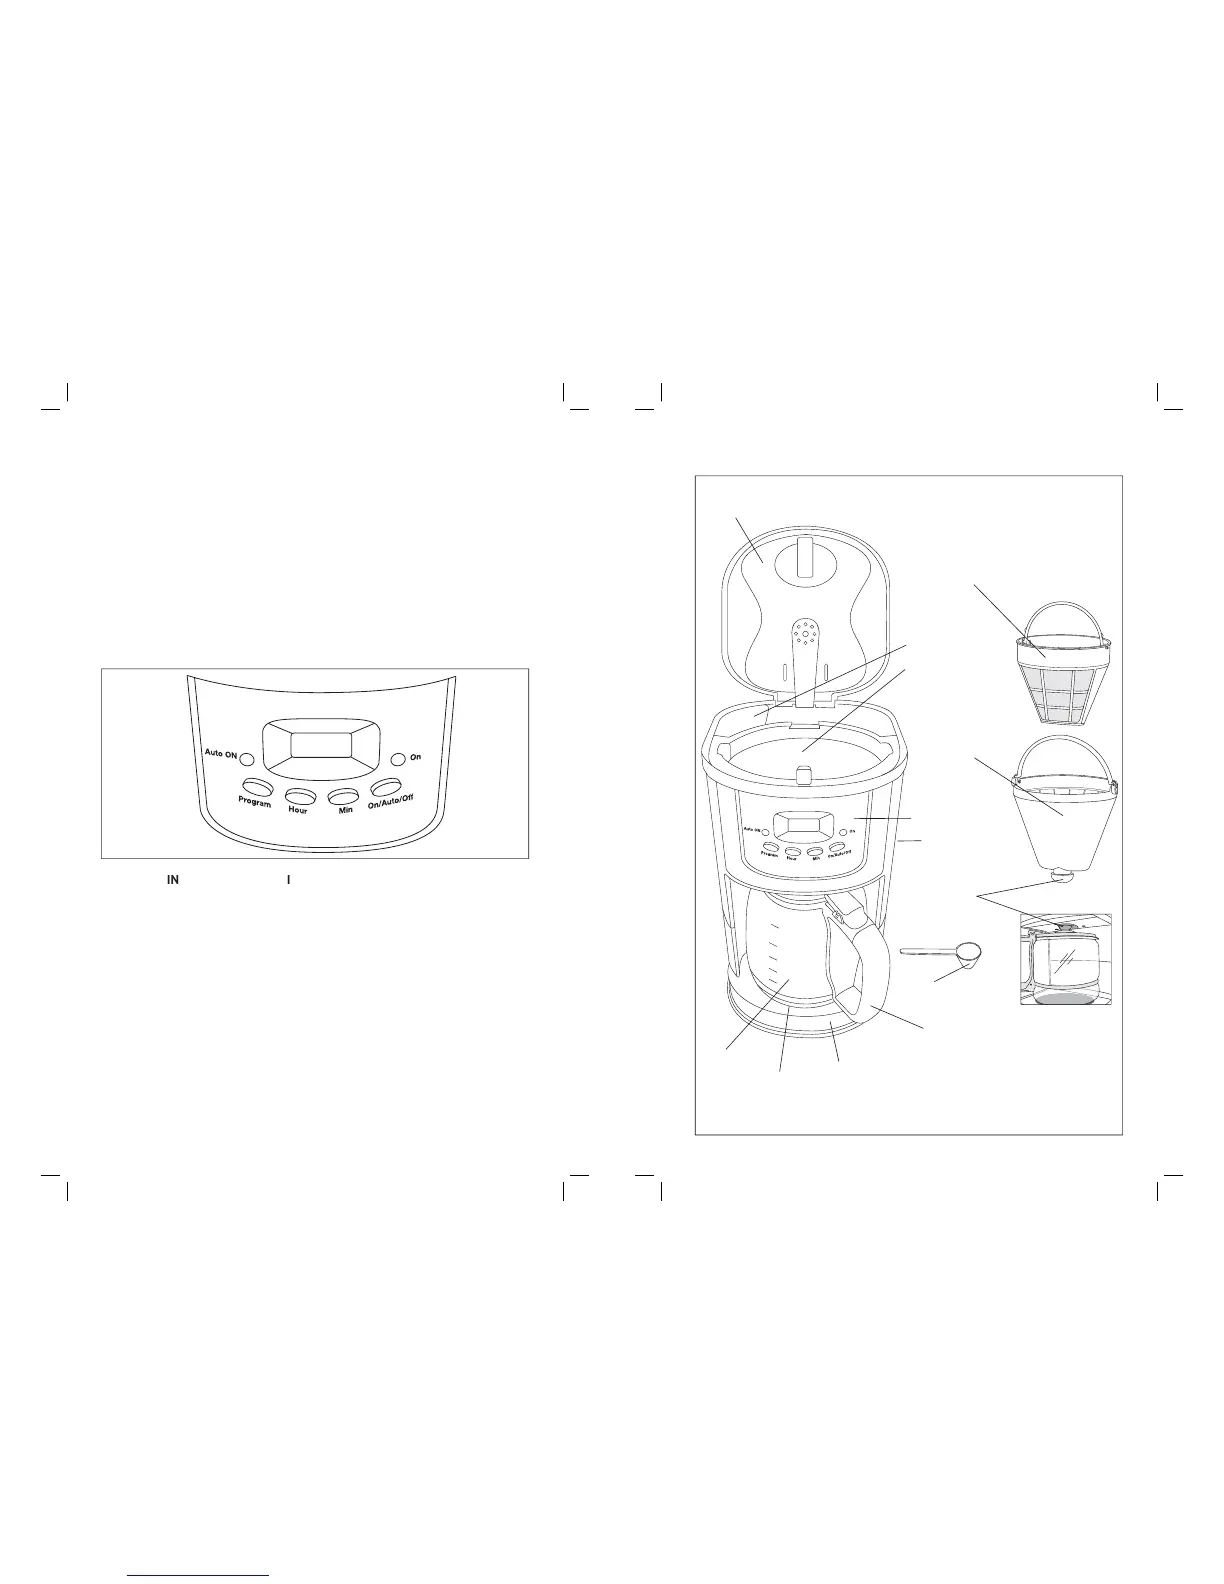
N: To protect against electrical shock, do not immerse the
C
offee Maker or allow
p
ower cor
d
to come
i
nto contact w
i
t
h
water or ot
h
er
liq
u
id
s
.
1.
Remove all packin
g
material and labels from the inside and outside of the Coffee Maker.
Place the u nit on a
at, clean sur
f
ace. Unused cord may be stored inside the hidden
cord storage area in the back of the unit to keep counter top neat.
(S
ee Figure 1.
)
2. Before preparin
g
coffee, thorou
g
hly clean the
g
lass carafe and lid, coffee measurin
g
spoon, and removable lter holder in hot, suds
y
water. Rinse and dr
y
. Replace
disassembled parts. (See Care & Cleanin
g
Instructions for a detailed description.)
3
.
C
lean the inside of the
C
offee Maker by brewing 2 full carafes of tap water
(
see Brewing
C
offee Instructions following
)
. Do not add the permanent coffee lter basket or ground
coffee for this initial cleaning
.
4.
At the end of the rst cycle, press the
O
N
/
AUT
O/O
FF button to turn the
C
offee Make
r
O
FF and allow 10 minutes for the unit to cool.
5. Brew a second carafe of fresh water
.
6
.
W
ait an additional 10 minutes to allow heatin
g
element to cool be
f
ore brewin
g
you
r
r
s
t
ca
r
afe
of
coffee
.
6
F
ig.
2

Related product manuals