8
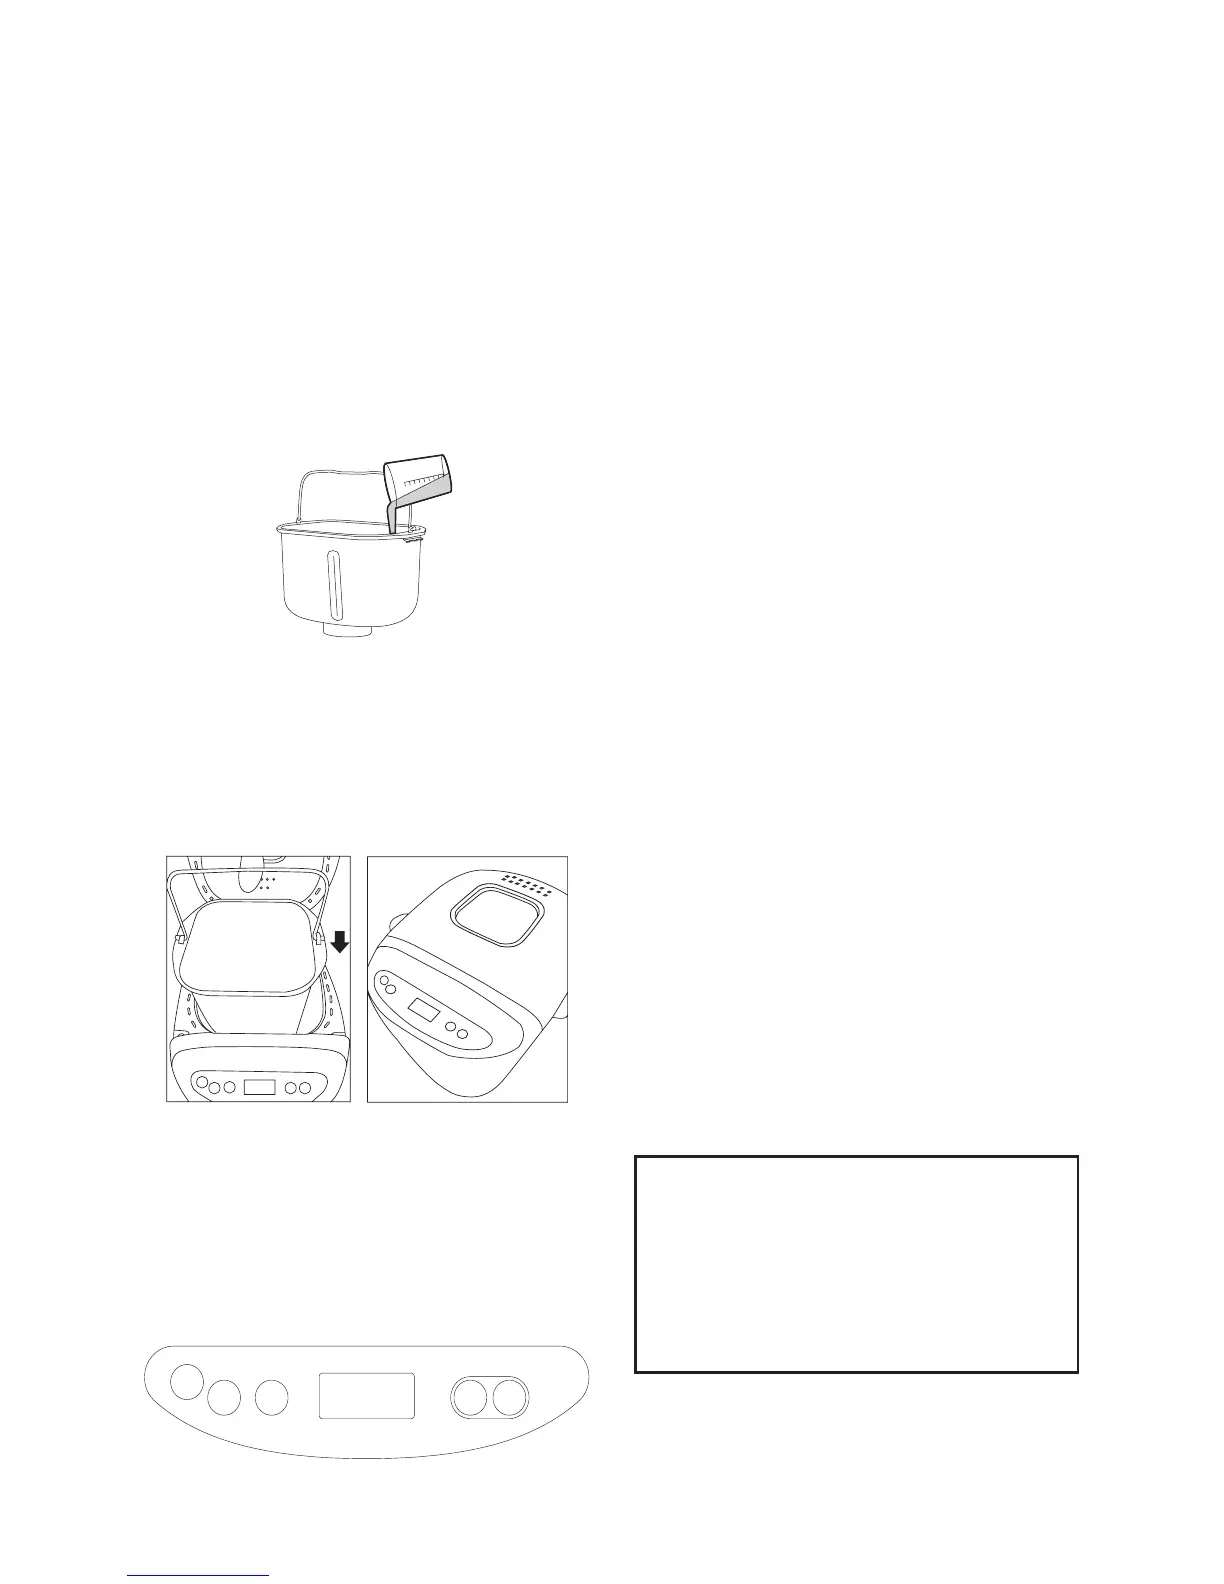
3. Pour the liquid ingredients into the bread
pan. Add the rest of the ingredients to
the bread pan in the order listed in the
recipe. Please reference bread recipe in
page 16-19. Weigh all of your ingredients
accurately because incorrect measures
will produce poor results. Do not let the
yeast come into contact with the salt or
water prior to mixing, as this will prevent the
dough from rising properly (the water will
activate the yeast before the ingredients
are properly mixed and kneaded). When
using the delay timer, make a small well in
the mound of our and put the dry yeast
into it.
3
4. Fit the bread pan into the oven chamber
ref. the “unlock”mark and turn the pan
clockwise direction to locking it into
position as “locking” mark indicated on
bread maker chamber wall. Lay the handle
at toward the side of the bread pan and
close the lid.
5. Plug your bread maker into the mains
supply socket. Your bread maker will beep
and select the default program (program
1).
6. Press the Menu button until the required
program is selected. If the program permits,
select the loaf size and crust colour using
the Loaf Size and Colour buttons.
7. Press the Start/Stop button. Your bread
maker will start to run the selected program.
To stop or cancel the program press the
Start/Stop button for approximately 2
seconds.
8. At the end of the baking program the
machine will beep 10 times and the Bread
Maker will automatically switch to a Keep
Warm cycle for 60 minutes.
9. The bread can be removed from the
baking pan at the end of the baking
program or any time during the Keep-
Warm cycle. Simply press the Start/Stop
button for approximately 2 seconds to end
the Keep-Warm period and unplug the
bread maker.
10.Take care when removing the bread. The
bread is very hot. To remove the bread
pan, open the lid of the unit and use oven
gloves to remove the pan from the baking
chamber. Using the handle, simply twist
the pan counter-clockwise to unlock the
baking pan and lift out.
11. Allow the bread to cool in the baking
pan for 10 minutes before removing. Turn
the pan upside down and shake until the
bread slides out. If necessary, use a plastic
spatula to loosen bread from the sides of
the pan.
12. Before slicing the loaf, be sure to remove
the kneading blade from the bread with
the supplied metal hook. The loaf is hot
and never uses the hand to remove the
kneading blade.
13. Allow the bread to cool on a wire rack
for at least 30 minutes before slicing. For
easy slicing we recommend the use of an
electric knife or a quality bread knife.
Caution: The baking pan and bread may
be very hot! Always handle with care.
Do not handle the machine while it is
operating. Do not open the lid while the
bread maker is baking bread. Do not put
your face or bare skin near the lid when
you open the bread maker. Hot steam
may escape that could burn you.
14. Clean the bread pan and kneading/
mixing paddle immediately after use ( See
Cleaning ).
4 5
6
 Loading...