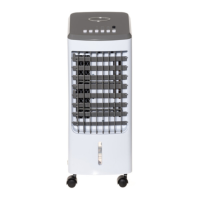
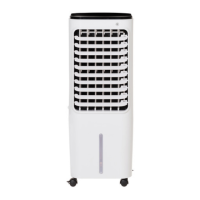
Main Parts
1 Cover
2 Ice pack
3 Water tank
4 Air lter
5 Curtain paper
6 Air lter slot
7 Air cooler
8 Water tank lock
9 Water tank slot
10 Water hose
11 Power cable
12 Vertical air ow control
13 Air outlet
14 Remote
15 Air ow ON / OFF
16 Wind
17 Fan speed
18 Swing ON / OFF
19 Cooler ON / OFF
20 Timer
21 Swing ON / OFF
22 Cooler ON / OFF
23 Timer
24 Wind
25 Fan speed
26 Air ow ON / OFF
Assembly of the Air Cooler
1. Remove the packaging carefully, taking care not to damage the plastic body of the cooler.
2. Put the wheels on the cooler.
3. Set the unit on a stable and horizontal surface, keeping it away from radiating heat sources and open ame.
4. Filling the water tank: Turn the water tank lock to the horizontal position and remove the water tank and ll it with clean tap water. Make
sure that the water level in the tank does not exceed the level marked as “MAX” on the back of the tank. Do not use the product if the water
level is below “MIN”.
5. Push the water tank back into its housing and turn the tank lock into the vertical position.
Operating the Air Cooler
Insert the plug into an electrical outlet. The functions of the unit can be controlled through the control panel or remote control.
1.ON/OFF: Press the “ON/OFF” button to switch on the unit. The unit will start at a low speed and normal air ow. To switch back to standby
mode, simply press the “ON/OFF” button again.
2. Speed: Air ow speed can be set to three levels (low—medium—high) by pressing the “Speed” button. The control panel will show which
speed level is activated or if the function is deactivated.
3. Wind: Press the “Wind” button to choose the wind type. There are three types of wind (normal-natural-sleep). The control panel will show
which type is activated.
4. Cooler: To activate the air cooler function press the “Cooler” button.