1)Overall default setting (Figures in the right column show values to
be set.) (Note 4)
□MODE ⇒ Beep ⇒ Beep (Do not execute this operation.) PCB simple test mod (Only for version 1.2 and up)
2) Setting for upper limit position
2) Setting for lower limit position
2) Setting for up-tilt limit position
2) Setting for lay-flat limit position
P1
2) Setting for leg rest OUT-limit position
P0
2) Setting for leg rest IN-limit position
P2
2) Setting for rollup OUT-limit position
LP
2) Setting for rollup IN-limit position
2) Setting for head rest upper limit position
2) Setting for head rest lowerlimit position
P0 □STORE
7) Decrease the stop width for up operation.
P1 □STORE
7) Increase the stop width for up operation.
P0 □STORE
7) Decrease the stop width for down operation.
P1 □STORE
7) Increase the stop width for down operation.
P0 □STORE
7) Decrease the stop width for up-tilt operation.
P1 □STORE
7) Increase the stop width for up-tilt operation.
P0 □STORE
7) Decrease the stop width for lay-flat operation.
P1 □STORE
7) Increase the stop width for lay-flat operation.
P1 ⇒ Beep
8) Automatic acquisition of stop width
P2
9) LP SW works for P3 function.
LP
9) LW SW works for LP function.
P0
10) Set communication speed to low. (2400 bps)
P1
10) Set communication speed to high. (4800 bps)
10) Set communication speed as that of NEBB Specification
(9600bps, etc.).
12) Prohibit backrest up-tilt either, when down operation is prohibited.
12) Prohibit backrest lay-flat either, when down operation is
prohibited.
LP
13) Switch leg rest interlocking when in LP operation. Interlock
14) Switch interlock function between pillow position and rollup
position
15) Swich function to vary pillow position and gargle position. Yes
Switch variable/fixed leg rest angle (version 1.3 and up). Possible
11) Interlocking with dental light.
11) Non-interlocking with dental light.
□MODE
Aboert the mode (Return to (1)).
3) Setting for P1 position
3) Setting for P2 position
3) Setting for gargle position
3) Setting for return position
P0
4) Doctor No. 0 is set.
P1
4) Doctor No. 1 is set.
P2
4) Doctor No. 2 is set.
LP
4) Doctor No. 3 is set.
□STORE
Return to normal status (2).
P0 □STORE
5) Disable buzzer sound.
□STORE
5) Change sound for operation SW.
○
□STORE
5) Change sound for 4-bit input.
-
□STORE
5) Change sound for serial input.
-
□STORE
5) Change sound for down operation prohibition input.
○
P1 □STORE
5) Change sound for all operation prohibition input.
-
□MODE
Return to the normal status (2).
Short-circuit across 1-2.
Short-circuit across 2-3.
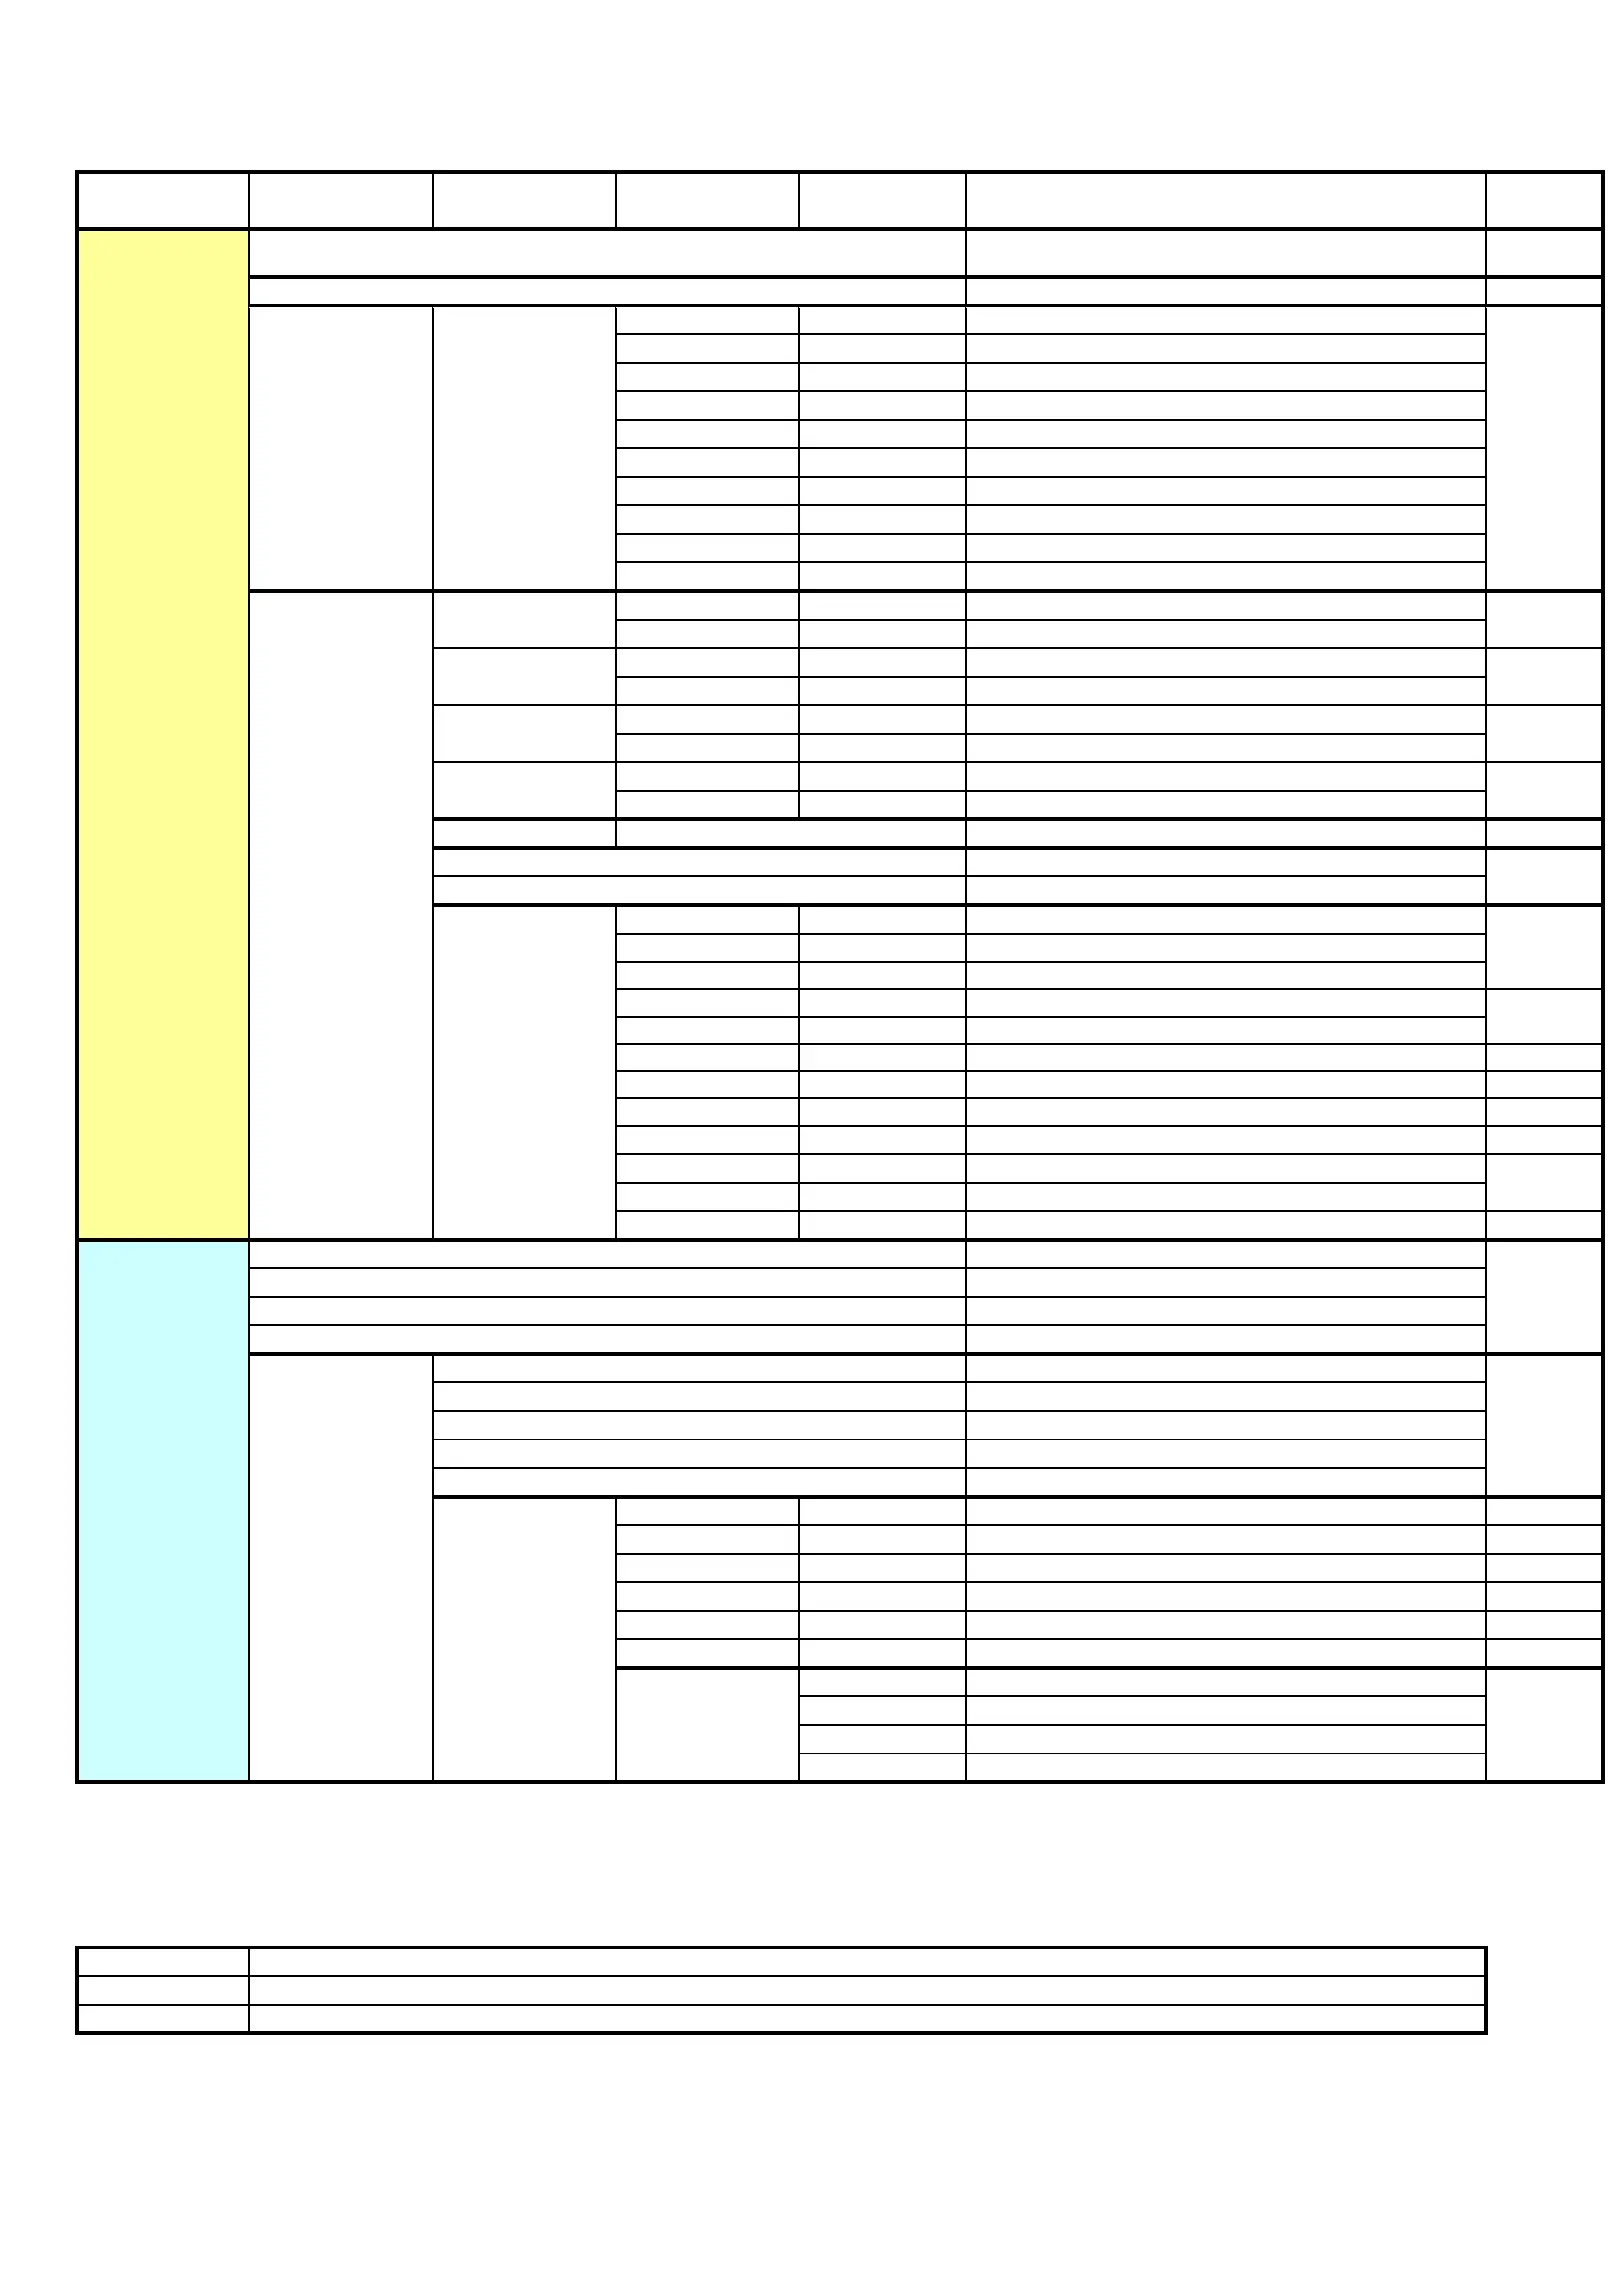
List of Clair Chair PCB. Setup Procedures
1. The work should be performed in order from Step 1 with the slide SW set to the position stated. The "□" symbol shows the SW on the PCB.
2. Statement such as P1⇒BeeP means that the switch P1 is pressed and held until the buzzer sounds.
3. When the slide SW is set to the LIM position (inner side), be sure to restore it to the NOL position after the work is completed.
Switch to be pressed
for the first time
Switch to be pressed
for the second time
Switch to be pressed
for the third time
Switch to be pressed
for the fourth time
LIM Position
(Red LED
illuminates.)
Move the chair up to
the position to be
set with the manual SW.
LP operation is only for backrest operation.
LP operation is for backrest + up/down operations.
(Note 1) To change the sound and when multiple settings are to be changed, execute the third step as required, and press STORE once to complete the procedure.
(Note 2) For setting stop width, press STORE once for each stop width. For setting multiple points, repeat the steps from the second step.
(Note 3) There is no way to exit from the sound switching mode. Pressing only [STORE] without pressing any other SW will reset the present setting.
(Note 4) By issuing the sound "Do" for "headrest (Yes)" or "one-octave higher La" for "Rollup (Yes)", you can judge the equipment status (version 1.5 or up).
 Loading...