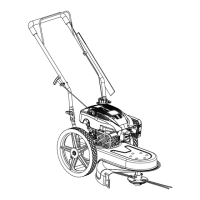
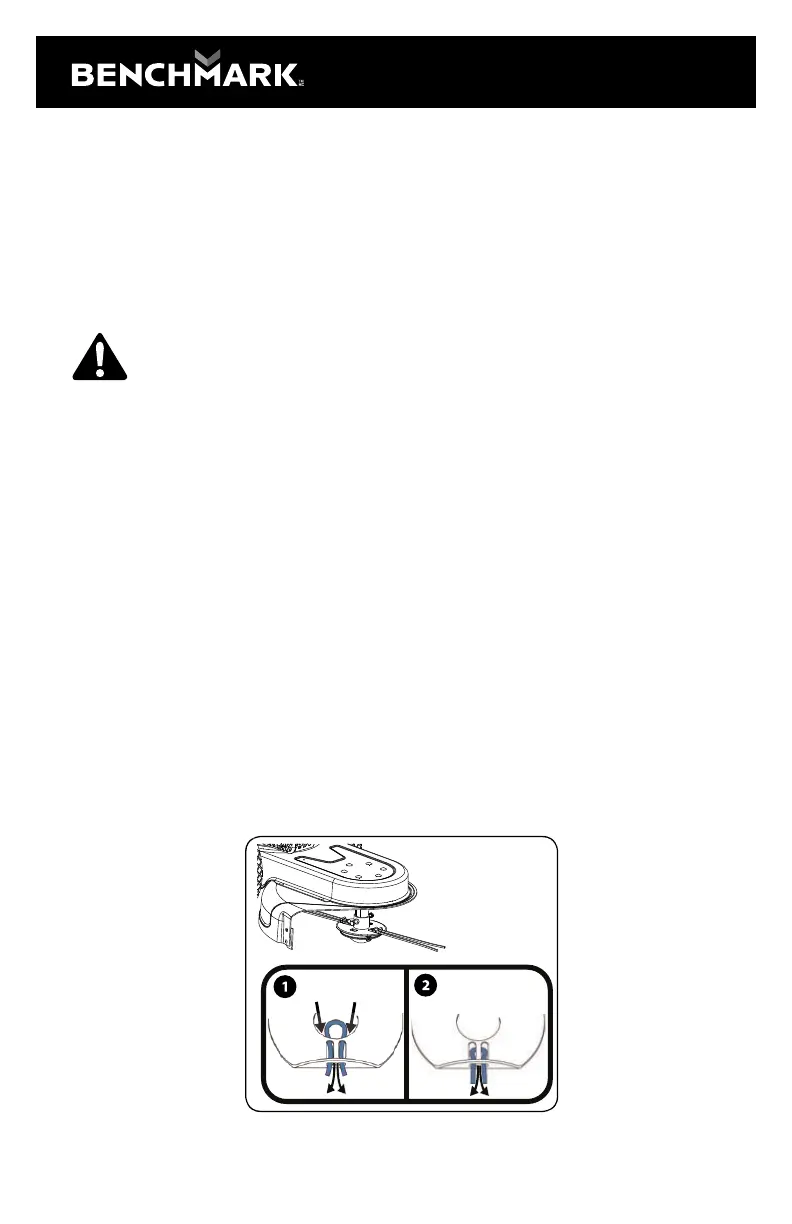
CHANGING THE TRIMMER LINE
Figure 5-3.
To ease in removing worn trimmer line, change the trimmer line before it
becomes too short (i.e. approximately half its original length).
1. Remove the worn trimmer line from the spindle.
2. Fold the replacement trimmer line in half and insert both ends through
the loop near the edge of the spindle.
3. Pull the ends of the trimmer line through the loop until the line is
securely beneath the metal tab.
4. Cross the line ends and pull each tightly to secure the trimmer line in
place. See Figure 5-3.
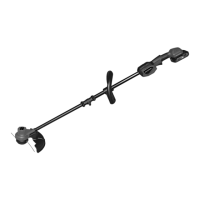
• The string trimmer is designed with the spindle offset to the left side,
allowing the operator to trim along a fence, landscaping, or a house to his or
her's right side without having to make any adjustments to the machine.
• Operate the string trimmer at a slower walking speed when trimming tall,
thick weeds or grass.
• Clean the underside of the trimmer after each use to remove any debris
build up.
WARNING: Shut the engine o ffand wait until the trimmer head
comes to a complete stop before cleaning the discharge area. The
trimmer head continues to rotate for a few seconds after the
trimmer head control is released.
•Do not trim on excessively steep slopes. If a slope is difficult to stand on,
do not trim. Do not trim on slopes when the ground is slippery or wet. Trim
across the face of a slope, not up and down.
CAUTION: While operating the string trimmer, do not allow the spindle to
contact a concrete, asphalt, or gravel surface. Doing so will result in
premature wear.
14
 Loading...