13
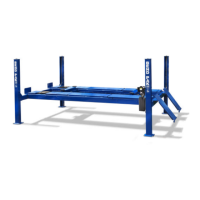
2. Check all MAIN SAFETY LOCKS to make sure
they move freely and spring back to the lock
position when released.
3. Lubricate all SAFETY PIVOT points with
WD-40 or equal.
STEP 13
( Final Assembly )
1. Tighten the cable adjusting nuts on the top of
each column and at the cylinder flange until all
remaining safety locks raise to one inch above the
top lock position. This will ensure that the cables
are adjusted evenly.
The nylon cable nuts MUST be tightened on
each end until there is at least 1/4” of threads
through the nylon end of the nut. Failure to do
so could result in serious injury or death.
2. After connecting the air supply, press the PUSH
BUTTON AIR VALVE and check that all safety
locks are functioning properly, then lower the lift
by pressing the push button air valve and power
unit lowering valve simultaneously.
NOTE:
There will be some initial stretching of the
cables in the beginning. It will be necessary to
re-adjust the cables a week after first use, then
every three to six months thereafter.
3. Run the lift up and down a few times to insure
that the locks are engaging uniformly and that the
safety release mechanisms are functioning
properly. Re-adjust if necessary.
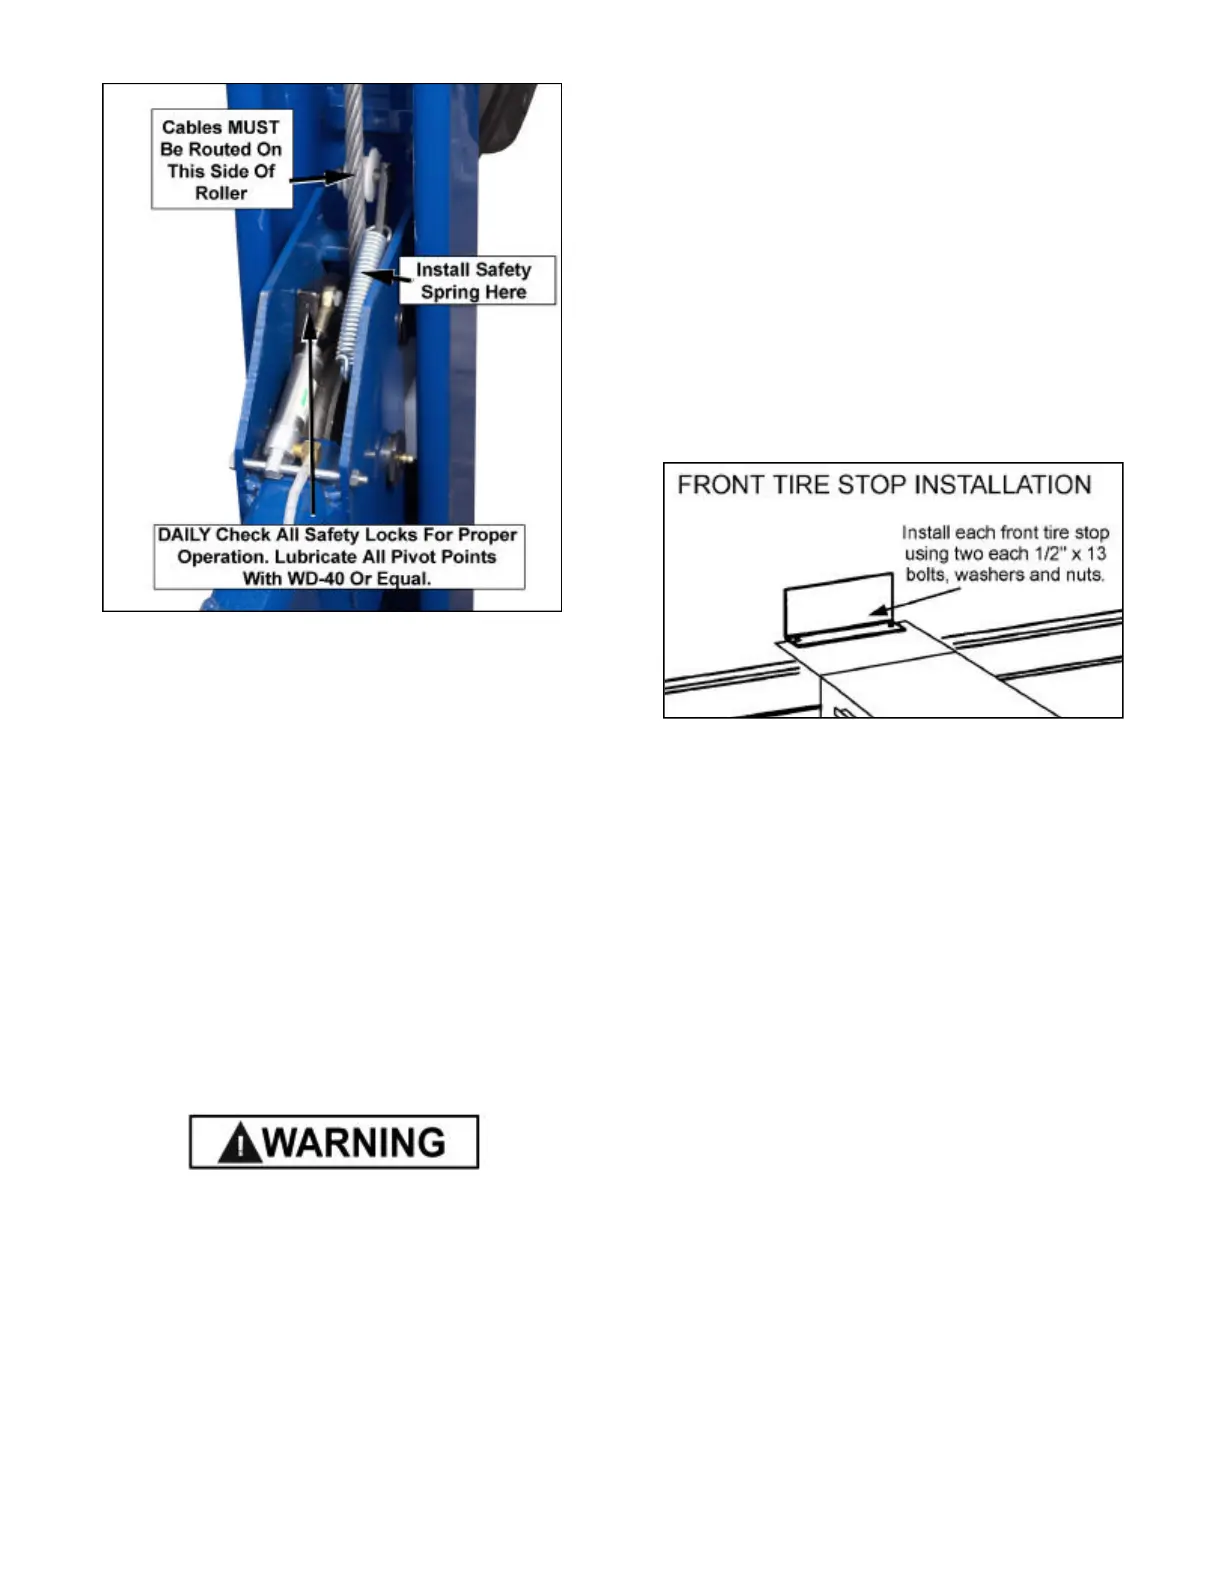
4. Install the front tire stops. ( See Fig. 15 )
5. Install the approach ramps on the entry side of
the lift. Drive a vehicle onto the lift making sure to
set the emergency before exiting the vehicle.
Run the lift up and down two times with a vehicle
to ensure that the locks are engaging uniformly
and that the safety release mechanisms are
functioning properly. Re-adjust if necessary.
Post-Installation Check-Off
"Columns Properly Shimmed And Stable
" Anchor Bolts Tightened
"Pivot / Roller Pins Properly Attached
"Electric Power Supply Confirmed
"Cables Adjusted Properly
"Safety Locks Functioning Properly
"Check For Hydraulic Leaks
"Oil Level
"Lubrication of Critical Components
"Check For Overhead Obstructions
"Runways Level
"All Screws, Bolts, and Pins Secured
"Surrounding Area Clean
"
Operation, Maintenance and Safety Manuals
on Site
Fig. 14
Fig. 15
 Loading...