6
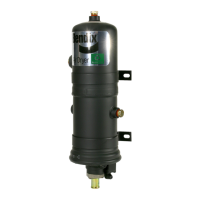
OPERATION & LEAKAGE TESTS
1. Test the outlet port check valve assembly by building
the air system to governor cut-out and observing a test
air gauge installed in the #1 reservoir. A rapid loss of
pressure could indicate a failed outlet port check valve.
This can be confi rmed by bleeding the system down and
removing the check valve assembly from the end cover.
Once this has been done, subject air pressure to the
unit and apply a soap solution to the check valve side.
Leakage should not exceed a 1” bubble in 1 second.
2. Check for excessive leakage around the purge valve.
With the compressor in loaded mode (compressing
air), apply a soap solution to the purge valve housing
assembly exhaust port and observe that leakage does
not exceed a 1” bubble in 1 second. If the leakage
exceeds the maximum specifi ed, service the purge
valve housing assembly.
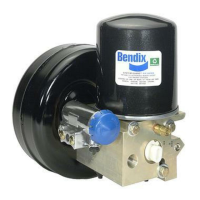
3. Close all reservoir drain cocks. Build up system
pressure to governor cut-out and note that the air dryer
purges with an audible escape of air. “Fan” the service
brakes to reduce system air pressure to governor
cut-in. Note that the system once again builds to full
pressure and is followed by an air dryer purge.