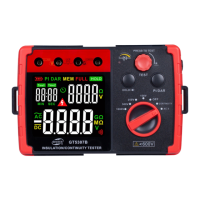
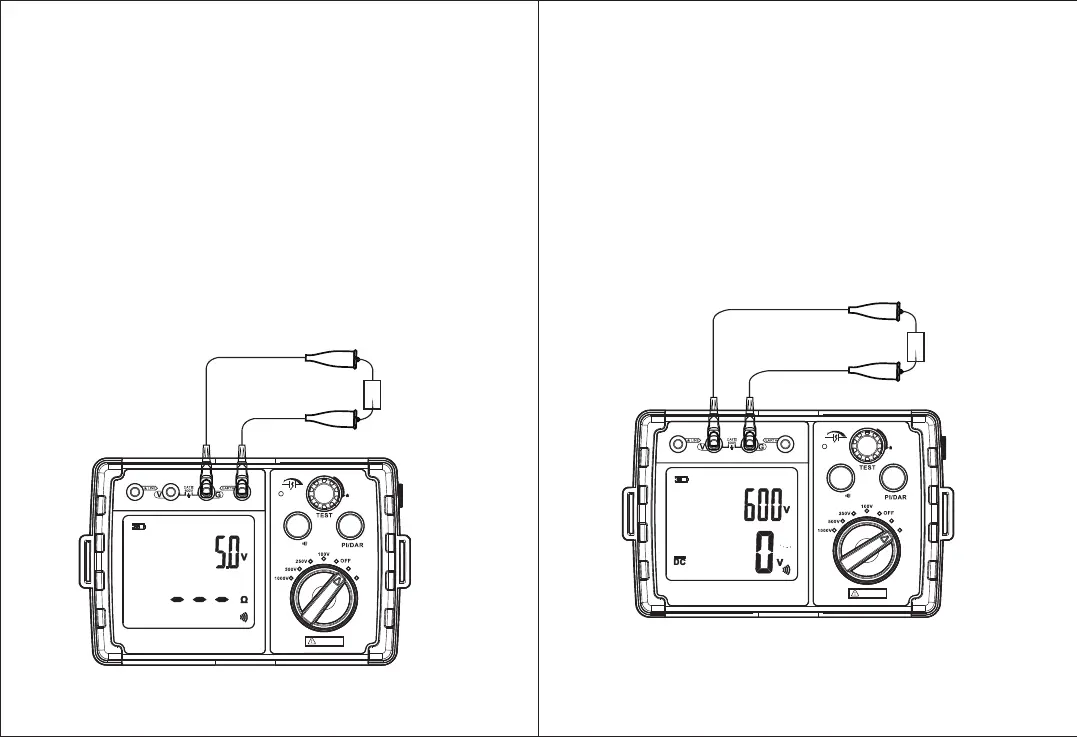
2.Small resistance measurement 0 999( ~ Ω):
1) Before measurement, connect wires first, with red wire to EARTH,
and black wire to GND; holding tested object with clip, then start
measuring after ensure safety; as shown below;
2) Turn the knob to the small resistance position. The upper-right
corner of the screen displays gear voltage 5.0V, and the lower part
displays "---" or small resistance value measured last time;
3) Press TEST button and turn it clockwise to start small resistance
measurement. The upper right corner of the screen displays voltage
value across the measured object, that is, the voltage value between
the two red and black test leads, and the measured small resistance
value is displayed below;
4) When the measured resistance is less than 20Ω, a buzzer lets out
beeping;
5) Turn TEST button counterclockwise and release it to stop
measurement. The upper-right corner will restore and display voltage
of 5.0V, and measurement resistance reading is locked;
6) After measurement is completed, twist the knob to OFF to turn off
the meter;
R
CON TINUI TY
AC. V
HOLD/
PRESS TO T EST
LOC K
<600V
Figure 5
3.Voltage measurement:
1) Before measurement starts, connect the wires first, with red wire to
V, and black wire to GND; as shown below;
2) Turn the knob to voltage gear. At this time, the upper right corner of
the screen displays the highest voltage that the instrument can
measure, and the lower part displays voltage value measured in real
time;
3) When AC power is measured, AC icon appears, and when DC power
is measured, DC icon appears. If potential of red test pen is lower
than that of black test pen, negative reading is displayed, otherwise
positive reading is displayed;
4) after the measurement is completed, twist the knob to OFF to turn
off the meter;
V
CON TINUI TY
AC. V
HOLD/
PRESS TO T EST
LOC K
<600V
Figure 6
-14- -15-
0
O
D
I
S
C
H
U
T
A
A
R
G
E
0
O
D
I
S
C
H
U
T
A
A
R
G
E