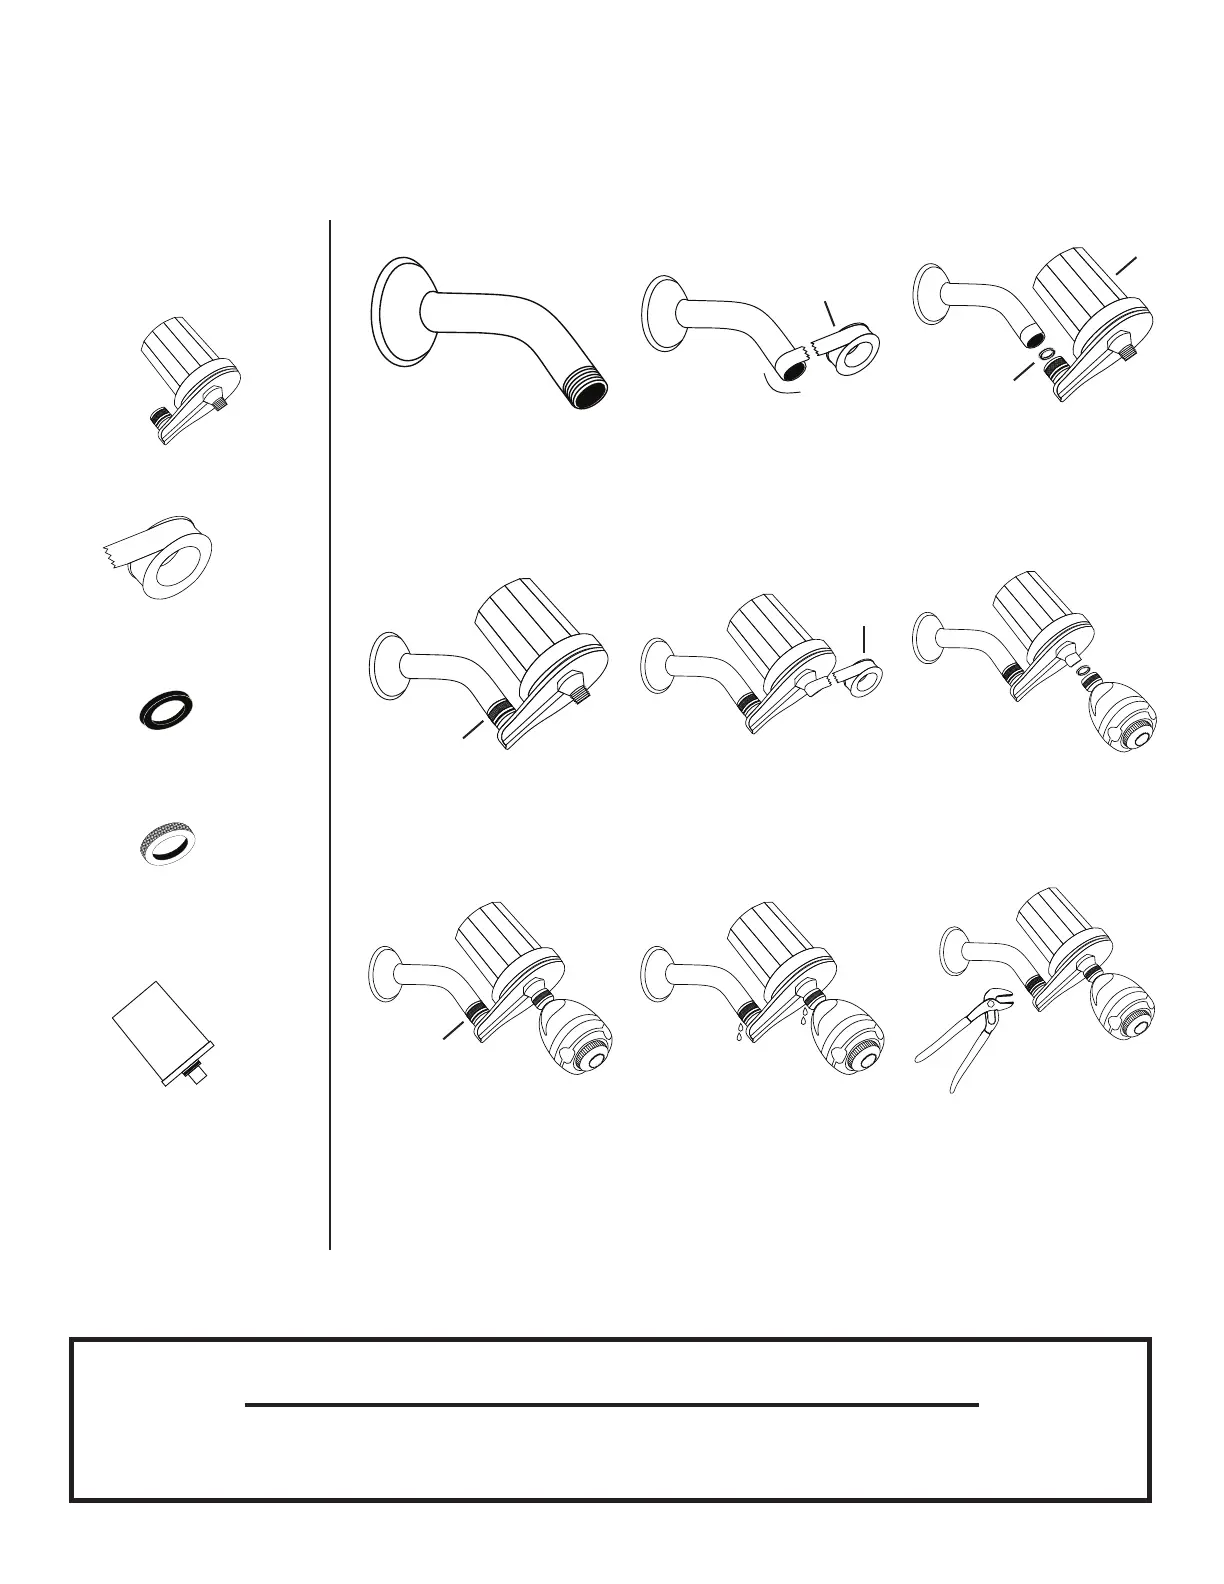
Installation
1. Remove previous shower
attachment and any existing
plumber’s tape.
2. Wrap plumber’s tape
(B) around shower pipe
clockwise for 3 turns.
Break off excess tape.
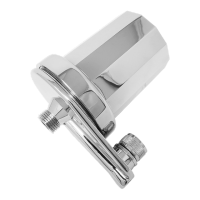
3. Attach Berkey
®
Inline
Shower Filter (A) to shower
pipe on wall. Ensure black
washer (C) is in place.
4. By hand, turn knurled nut
(D) clockwise as tightly as
possible.
5. Apply plumber’s tape (B)
to filter thread for 3 turns.
Break off excess tape.
6. Attach shower head (not
included). Ensure there is a
washer in place (not included).
8. Turn water on and observe
for leaks.
9. If lter leaks, turn o
water. Use adjustable pipe
wrench pliers to tighten nuts
a quarter turn at a time.
Repeat until leaks stop. Do
not over-tighten.
7. By hand, turn knurled nut
(D) clockwise as tightly as
possible.
IMPORTANT! Flush Cartridge Before First Use
To prevent stains, flush the cartridge to clear excess carbon. After installing, point shower head
toward non-porous shower wall. Turn on water. Run until water runs clear (about 3-5 minutes).
Parts
A) Berkey
®
Inline
Shower Filter
Tools (not included)
• Adjustable pipe
wrench pliers
B) Plumber’s tape
C) Black washer
(pre-installed)
D) Knurled nut
(pre-installed)
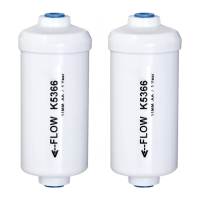
E) Cartridge
(pre-installed
inside cover)
B
B
A
C
D
D