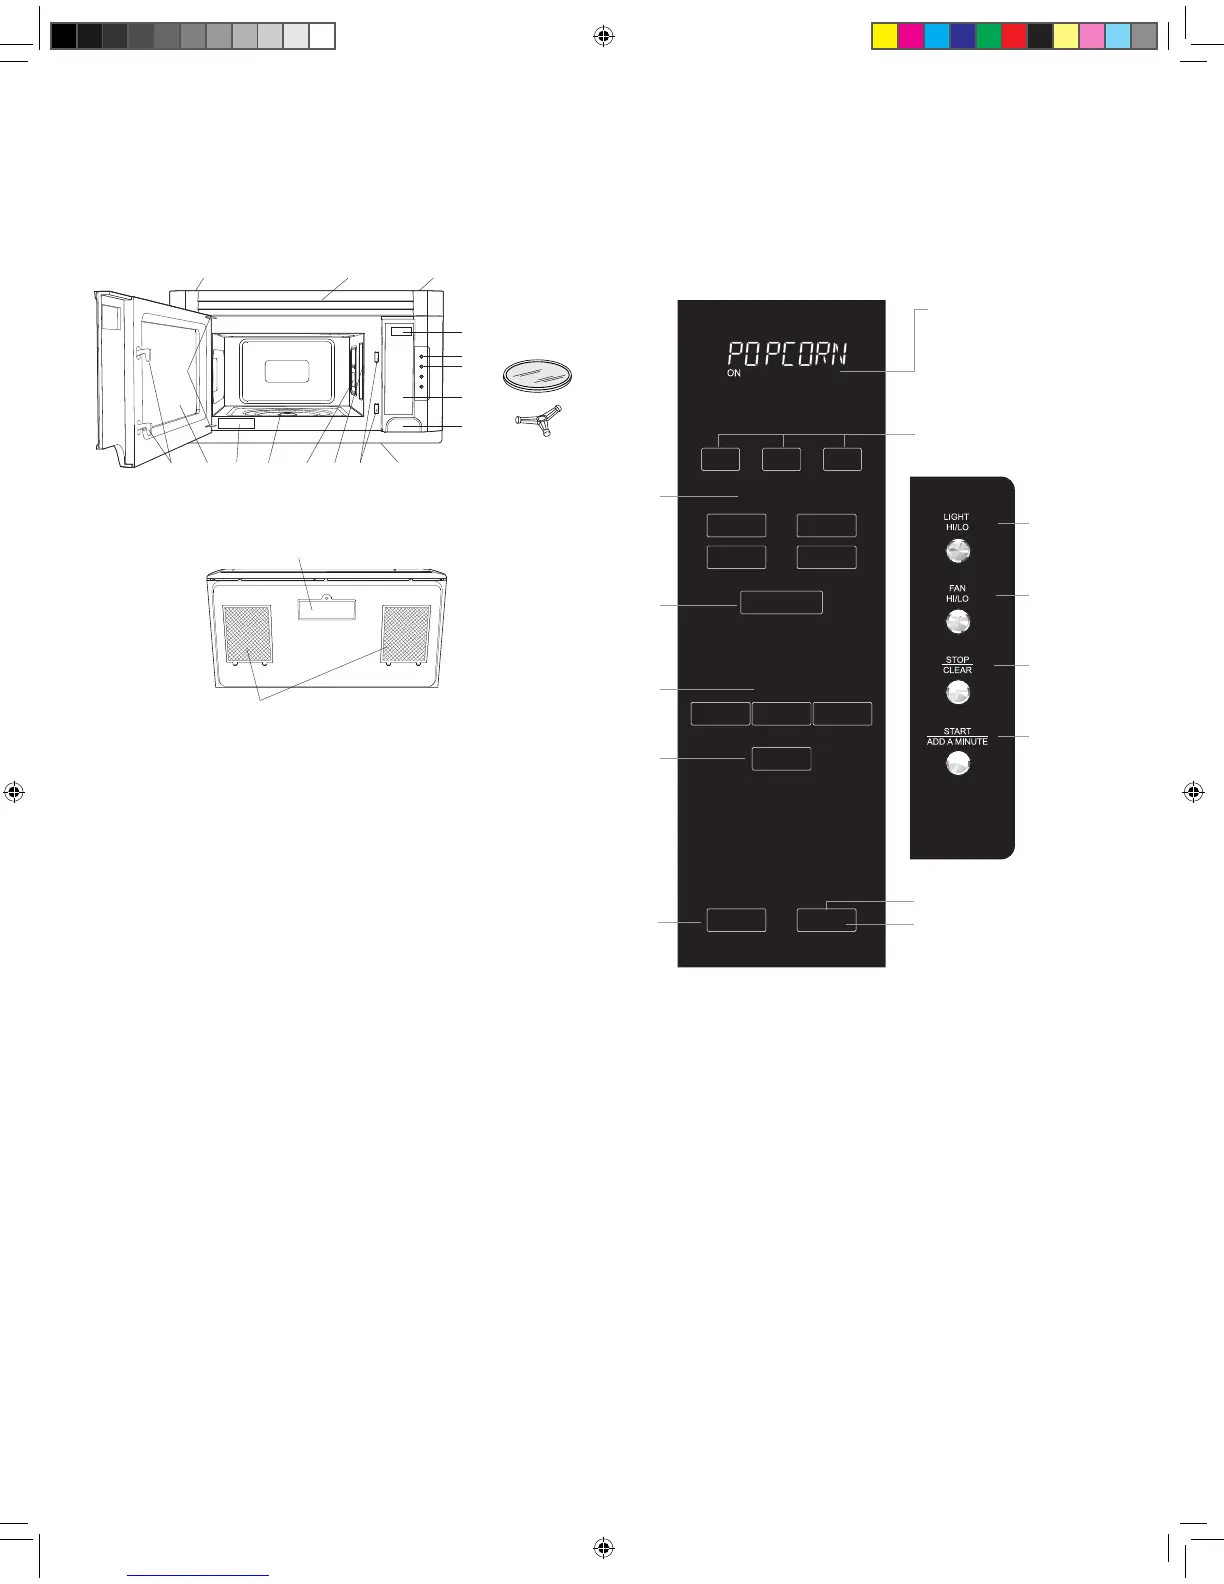
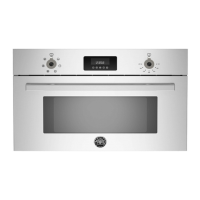
PART NAMES
FRONT VIEW
16
2
34 5
7
8
9
10
15
16
6
11
13 17
1414
BOTTOM VIEW
(Front of Microwave)
(Rear of Microwave)
18
19
1. Oven door with see-through window. CAUTION — Be
careful with the edge of the oven door as it is glass and
could chip or break.
2. Door hinges
3. Waveguidecover. DO NOT REMOVE.
4. Turntable motor shaft
5. Oven light - on during operation and when the door is
open.
6. Safety door latches - door must be securely closed for
the oven to operate.
7. Cook and time display
8. LIGHT Hi/Lo pad - controls interior light. Press the
LIGHT Hi/Lo pad once for Hi. Press again for Lo. Press
a third time to turn the light off.
9. FAN Hi/Lo pad - controls fan. Press the FAN Hi/Lo pad
once for Hi. Press again for Lo. Press a third time to turn
the fan off.
10. Control panel
11. One touch DOOR OPEN Push to open door
12. Louver
13. Nameplate
14. Louver screws - remove screws to replace charcoal
lter.
15. Removable turntable - rotates clockwise or counter-
clockwise. Only remove for cleaning.
16. Removable turntable support - Carefully place the turn-
table support in the motor shaft in the center of the oven
oor. Place the turntable on the turntable support se-
curely.
17. Heat deector
18. Light cover
19. Grease lters
CONTROL PANEL
ELECTRONIC DISPLAY / FEATURES
12
Number next to the control panel illustration indicates pages
on which there are feature descriptions and usage information.
15
8