- 5 -
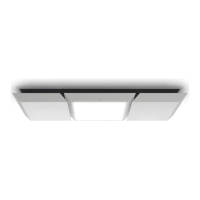
Backsplash must be installed before the hood shell because the hood shell covers
the backsplash top mounting screws. In order to be able to install the backsplash,
make sure you have at least 18’’ clearance between bottom of hood and range
control panel or cooktop. (See instructions packed with backsplash.)
4. INSTALL BACKSPLASH
3. PREPARE THE INSTALLATION
Make sure that the following items are included:
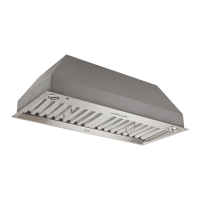
-Range hood
-Wood strip
-Installation manual
-Box of accessories including:
.Filters (2, 3, 4 or 5 depending on range hood dimensions)
.Halogen lights (120V, 50W, PAR 20) (2 or 4)
.Chrome rings (2 or 4)
.Bag of parts including:
Screws
#10-2" flat head (4),Screws #8-3/4", T/A (8), Nuts #10-32 (4)
Wall anchors (2), Washers 3/16" ID X 3/4" OD (2)
P
arts sold separately:
- Interior blower Model P6 includes blower and rough-in kit
- Interior blower Model P12 includes blower and rough-in kit
- Exterior blower assembly EB6, EB9, EB12 or EB15 (all include rough-in plate)
- Backsplash (optional)
- Baffle filters (optional)
- Transitions, duct, elbows, dampers, wall and roof caps. Refer to page 3 for a
complete list of venting options and model numbers.
(OPTIONAL)
RMP Series
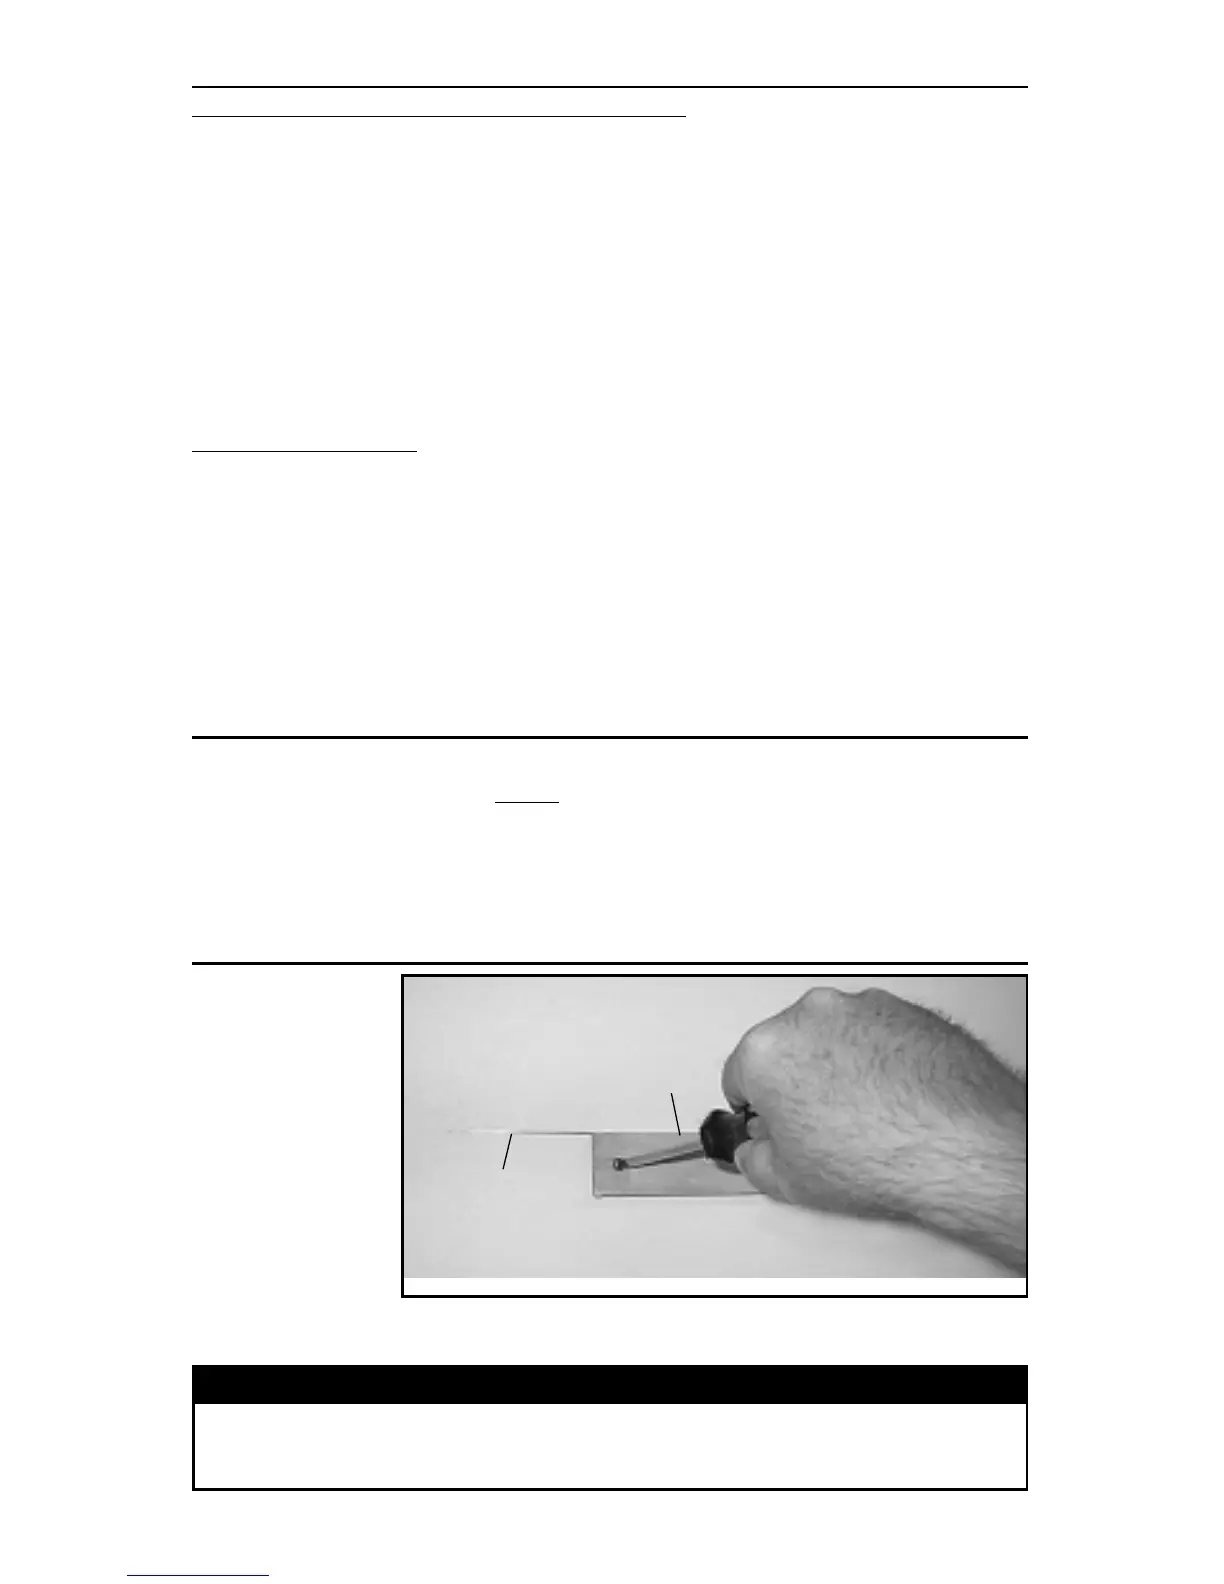
Measure and mark
a level line on
wall above cooktop
location for the
wood mounting
strip.
(See illustrations
under Step 2. for
dimensions.)
Center wood
mounting strip
(provided) over
location. Secure strip to the wall studs or framing with wood screws (provided)
as shown.
5. INSTALL WOOD STRIP
CAUTION
Due to the weight of his hood, ensure that the wood strip is attached to all of
the available wall studs (2 studs minimum for the 30’’ hood, more as hood
width increase); not into the drywall alone.
Wood Strip
(centered horizontally & secured
to wall studs or framing)
Level line
(see page 4
for dimensions)
HD0046