BESTip ATA 20L User Manual
9
Chapter 2: Installation
This chapter will describe how to connect your BESTip ATA
20L.
Package Contents
The package of the BESTip includes the following:
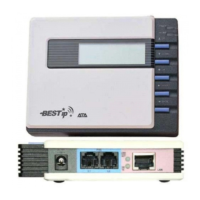
A BESTip ATA 20L
A DC power adapter
Two RJ11 phone cord
A RJ45 network cable
Requirements to Use the BESTip
Before making an Internet call with your BESTip ATA 20L, you
also need the following items:
2 touch-tone phone sets
A 110/220V electrical outlet
A valid Internet connection (ADSL, Cable or others):
The following parameters about the network (LAN, WAN, I
nternet, etc.) to which the BSETip will be connected must
be known if Static IP mode will be used.
IP Address for BESTip
Gateway IP Address
IP Netmask
DNS (Domain Name Server)
IP Address
Note: Write down the values for these IP parameters. You may
need to enter these values in the following chapter.
BESTip ATA 20L User Manual
10
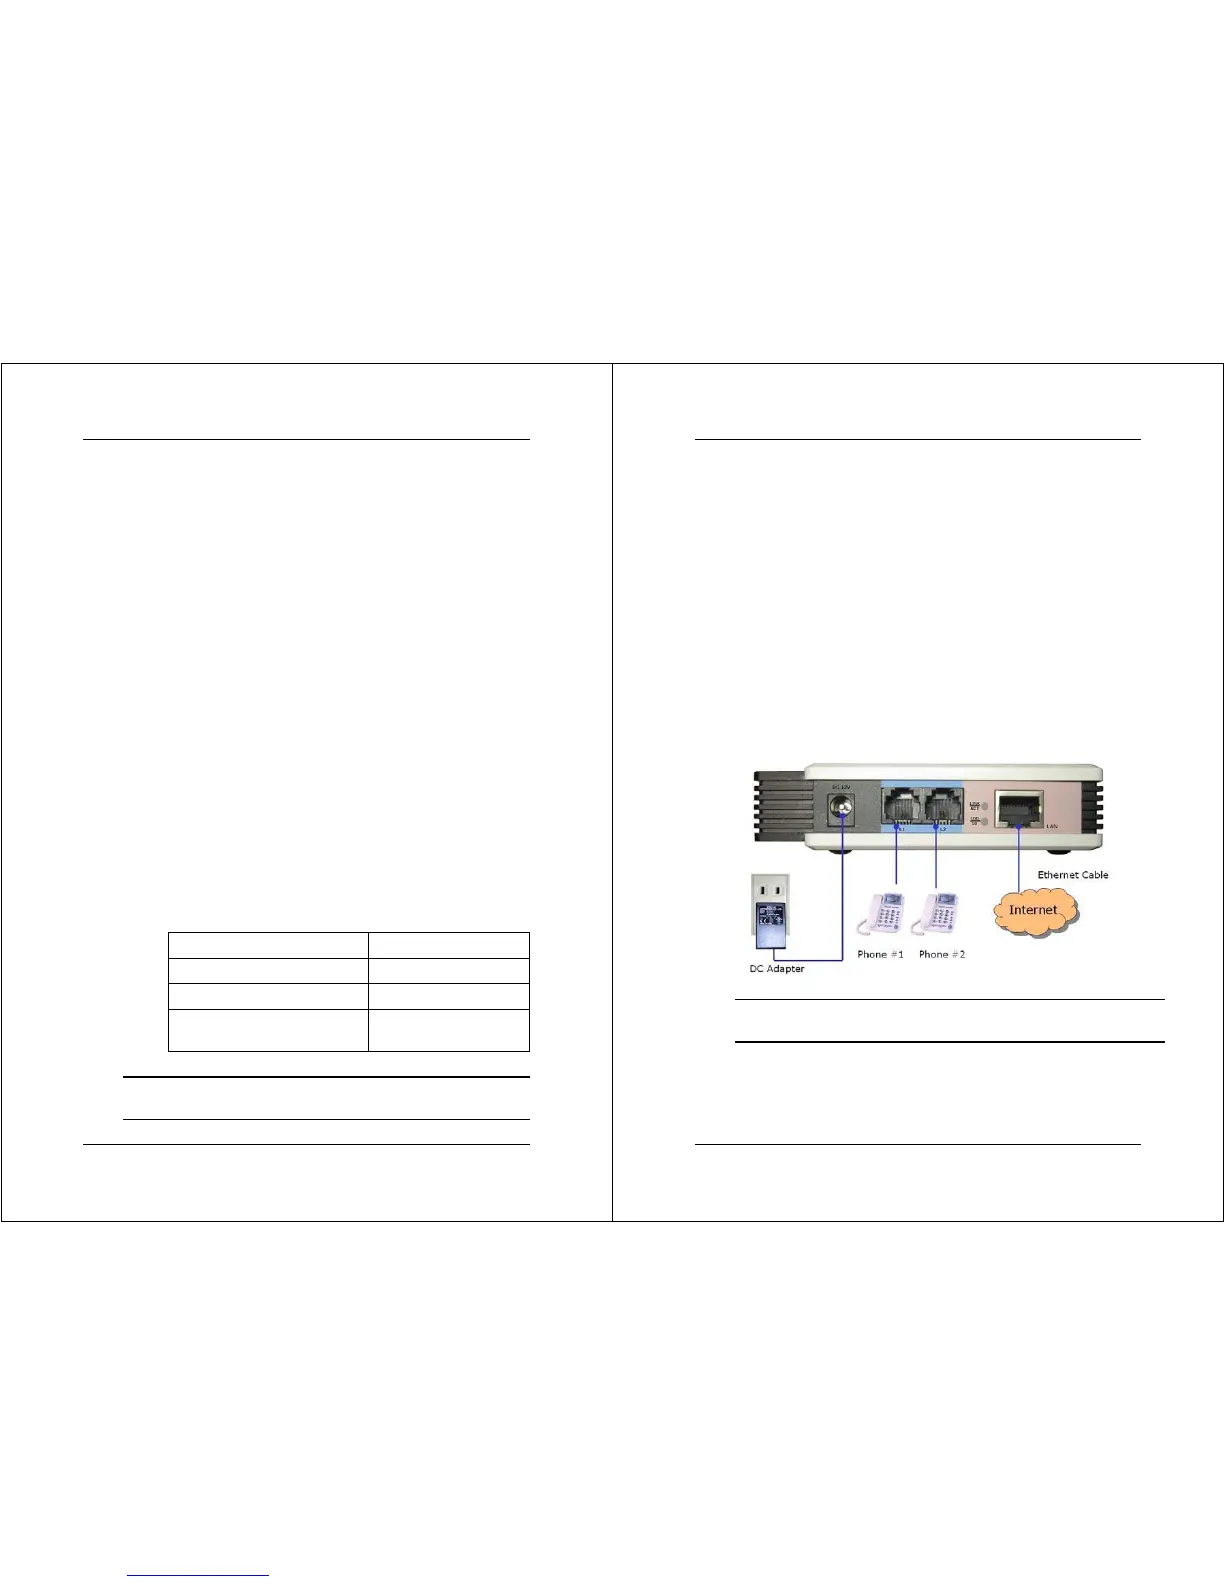
Physical Installation
Follow the instructions for correct connection:
1. Connect one end of an RJ-11 phone cord to the L1/ L2
connector on the back of BESTip ATA 20L. Connect the
other end to the analog phone sets or C.O ports of the
PBX.
2. Connect the provided network cable into the LAN port of
BESTip ATA 20L. Connect the other end of the cable to
your network eg. a router, hub or an ADSL modem.
3. Attach the DC power adapter cord into the power
connector of BESTip ATA 20L and a live power outlet.
Hookup for BESTip ATA 20L
Note: A crossover network cable may be required when connecting
to ADSL Modem.