16
9. What if there are problems?
Problem Cause Solution
No LED display The mains cable is not
plugged in.
> Insert the plug and switch on the
device
The control dial is at its
minimum position.
> Turn the control dial clockwise
towards the maximum position
Red LED The water level is too low; the
water tank is empty.
> Fill the water tank
No mist is produced The LED lights up green. > Turn the control dial clockwise
towards the maximum position
The LED lights up red. > Fill the water tank
The LED display does not
light up.
> Insert the plug and switch on the
device
The mist has astrange
smell
The device is new. > Remove the water tank, turn the
screwed plug and remove it
> Air the open, emply water tank in
acool, dry place for twelve hours
Stale or dirty water. > Empty the base unit and the water
tank and clean them thoroughly
> Fill the water tank with fresh water
Strange noise The water tank is not
positioned correctly on the
base unit.
> Lift up the water tank and position it
correctly on the base unit
The tank should sit tightly on the base
unit.
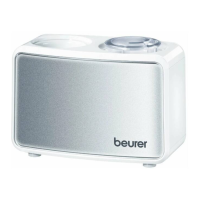
8. Spare parts
Tip!
If the water is hard, we recommend using the
optional anti-limescale filter.
Anti-limescale filter (optional)
Order number 162.843. Please contact the
national service address.
Important!
• If the anti-limescale filter does not prevent
limescale build-up, or if white deposits
form on or in the device, the anti-limescale
filter should be replaced.
• The service life of the anti-limescale filter
is around two to three months at most.
• If the device is not used for arelatively
long time, the anti-limescale filter must be
removed from the water tank and dried
out.
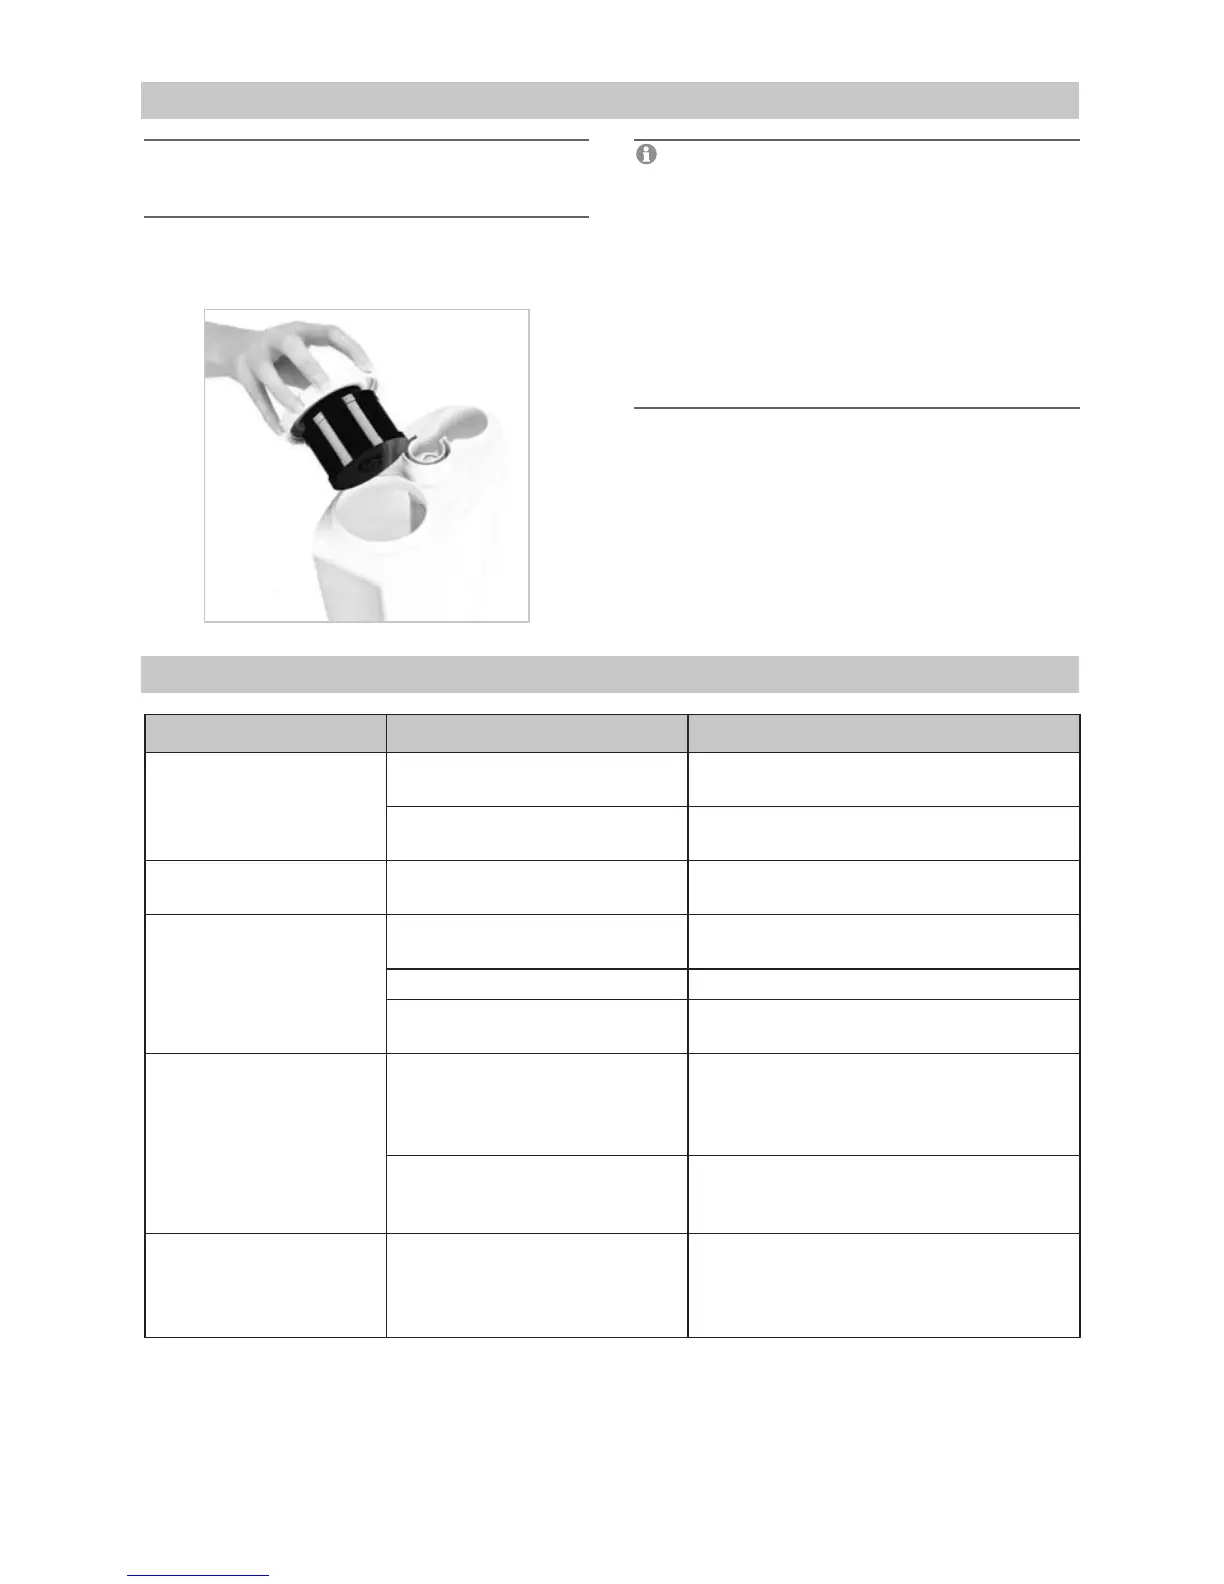
Fitting the anti-limescale filter
> Lift the water tank and rotate it
> Open the screwed plug on the water tank
> Screw the anti-limescale filter onto the
screwed plug on the inside
> Tightly close the water tank using the
screwed plug