14
15
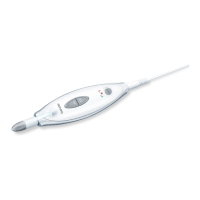
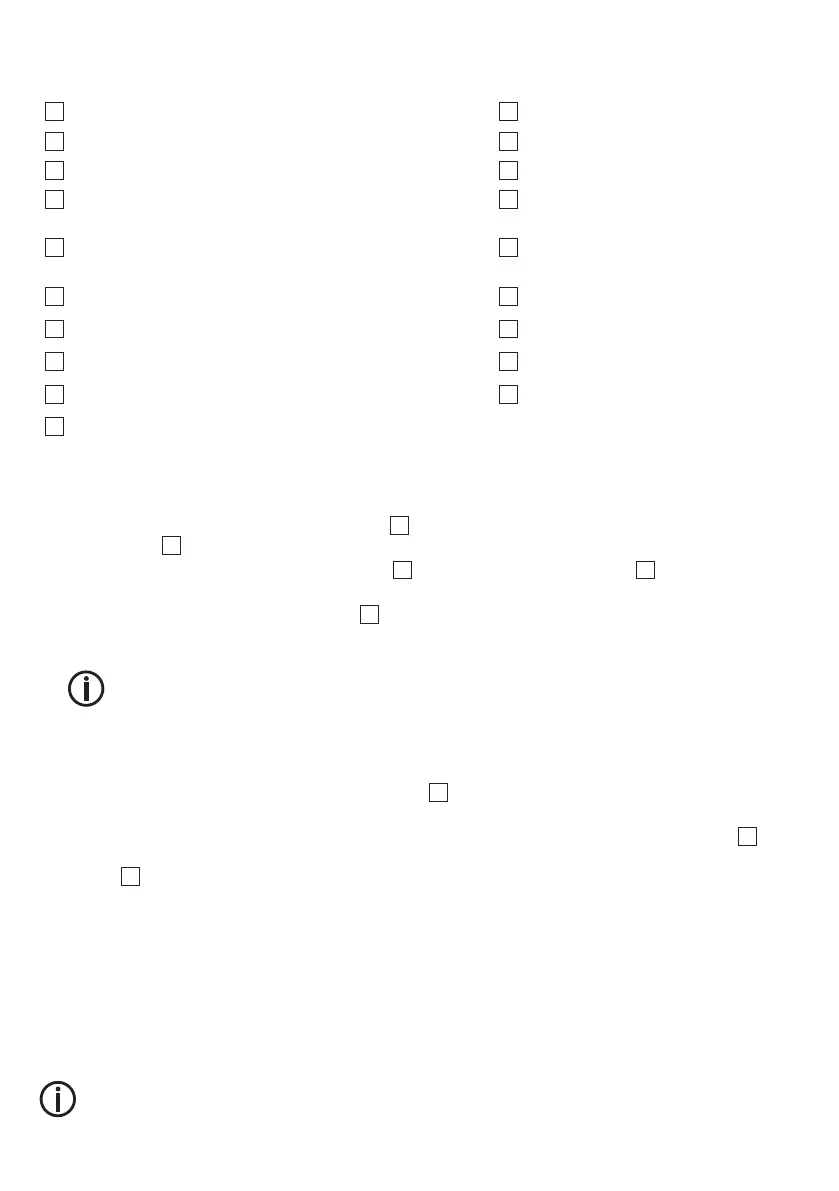
4. DEVICE DESCRIPTION
The associated drawings are shown on page 3.
1
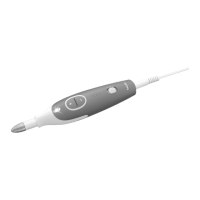
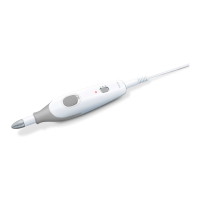
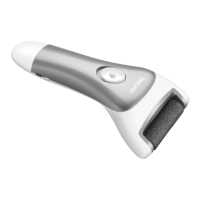
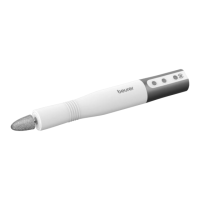
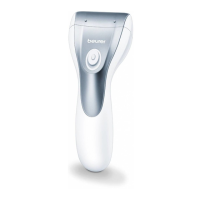
Manicure/pedicure device
11
Felt cone
2
+/- speed regulation
12
Crystal callus file
3
Speed setting display
13
Round sapphire cutter
4
LED display for direction of rotation (red for anti-clock-
wise rotation; green for clockwise rotation)
14
Nail cutter
5
Slide switch for clockwise/anti-clockwise rotation and OFF
position
15
Flame-shape cutter
6
LED light
16
Cylindrical cutter
7
Micro USB connection (device)
17
Sapphire cone
8
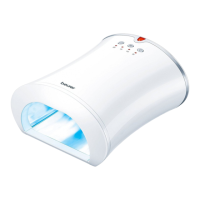
Micro USB connection (charging and storage case)
18
Sapphire callus file
9
Fine-grain sapphire wheel
19
Protective nail dust cap
10
Coarse-grain sapphire wheel
5. USAGE
1.
Charge the device for approx. 3 hours before the first use. You can either charge the device directly
via the micro USB connection on the device
7
or via the micro USB connection on the charging and
storage case
8
.
2.
Connect the micro USB connection (device)
7
/ (charging and storage case)
8
to a suitable mains
adapter (mains adapter not included in delivery) or via a device with a suitable interface.
3. When the 3 blue charger indicator lights
3
flash continuously, it means the battery is charging. Once
all 3 LEDs are permanently illuminated, the device is fully charged. One charge is sucient for approx.
2 hours of operation.
Before using the device, please do not carry out pre-treatment in a water bath, as the callus at-
tachments are less eective on soaked or wet skin.
4. Make sure that the device is switched o beforehand.
5.
Select the desired attachment part and carefully press it onto the axle of the device. To remove, pull
apart the attachment and the device in opposing directions.
6. Switch on the device by moving the sliding switch
5
down (anti-clockwise rotation, LED lights up red)
or up (clockwise rotation, LED lights up green).
7.
You can select the speed of the drive axle using the plus (+) and minus (-) speed control buttons
2
. Start
each application at a low speed and then increase as required. Blue LEDs light up on the speed setting
display
3
depending on the selected speed.
8. Do not press too hard and always carefully move the attachments towards the area to be treated. Move
the device over the area to be treated and apply slight pressure while slowly moving the device in circles.
9. When filing, always move from the outside of the nail towards the tip. Check the results regularly during
the treatment. Stop treatment as soon as it becomes unpleasant. Do not remove all calluses to maintain
natural skin protection.
10. Ensure the axle can always rotate freely. The axle must not be permanently blocked, as otherwise the
device will become too hot and may become damaged.
11. Apply moisturiser to the treated areas after each use.
The device switches o if an attachment is prevented from moving for approx. 3 seconds during use.
To restart the device, switch it briefly o and then on again.
 Loading...