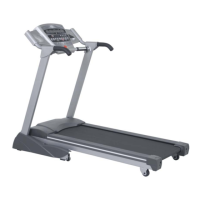
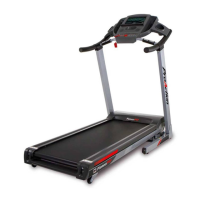
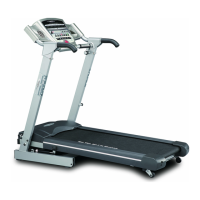
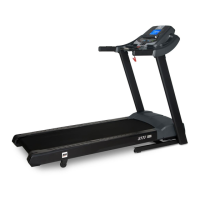
Do you have a question about the BH FITNESS Pioneer Classic and is the answer not in the manual?
| Motor Power | 2.0 HP |
|---|---|
| Speed Range | 1-16 km/h |
| Incline Levels | 12 levels |
| Max User Weight | 115 kg |
| Display Type | LCD |
| Programs | 12 |
| Foldable | Yes |
| Heart Rate Monitoring | Yes |
Unplug the appliance immediately after use and before cleaning to reduce the risk of electrical shock.
Ensure mains voltage matches machine specs and verify the treadmill operates correctly before use.
The owner is responsible for informing all users of necessary precautions.
This unit has been designed exclusively for home use.
Always switch off and unplug the treadmill before performing maintenance or assembly.
Never leave the treadmill unattended while it is plugged into the mains.
Avoid unplugging the treadmill by pulling on the mains cable.
Place the treadmill on a flat surface with 2m rear clearance and ensure no ventilation openings are blocked.
Supervise children around the treadmill; it is not intended for use as a toy.
Plug the treadmill into a suitably earthed wall socket matching the plug's pin configuration.
The safety key must be inserted for operation; clip its cord to clothing during use.
The treadmill is for single-person use only and has a maximum weight capacity of 115 kg.
Use handrails for mounting, dismounting, and speed adjustments; do not jump on the moving belt.
Keep hands away from moving parts and never place hands or feet under the treadmill belt.
Wear suitable clothing and footwear, ensuring all laces are securely tied.
Avoid storing the unit in damp places for extended periods to prevent rust.
Avoid overlubricating the unit to prevent staining of floors or carpeting.
Do not stand still on the treadmill belt while it is in motion.
In emergencies, place feet on side rails and hold handrail until the unit stops.
The product requires a proper earth connection to redirect current and reduce shock risk.
Improper earthing poses a significant risk of electrical shock.
Use only on 220-240V circuits with a correctly earthed socket as shown in Figure A.
Unplug the unit immediately after use and before cleaning to minimize electrical shock risk.
Children and disabled individuals require strict supervision by a qualified person.
Only use accessories that are explicitly recommended by the manufacturer.
Do not operate the machine if the power cable is damaged or worn.
Turn the switch to '0' (OFF) before unplugging the machine from the wall socket.
The treadmill features an electronic circuit breaker that protects its circuits from overload.
Reset the unit by turning off, pressing the circuit button, and turning back on.
Repeated breaker trips may indicate abnormal conditions, lubrication needs, or belt tension issues.
Place unit, verify parts, and secure handrails using screws as shown in figures.
Attach the left and right handrail covers as indicated in the assembly diagrams.
Detailed steps for folding the treadmill for storage and unfolding it for use.
Ensure no children or obstacles are present during folding or unfolding operations.
Adjust the treadmill's two inclination levels by placing the rear bar into specified positions.
Use built-in wheels to move the folded treadmill, ensuring the power cable is unplugged.
Do not move the treadmill across uneven floors to prevent accidents.
Use lubricant on the belt's inside monthly to maintain condition and minimize friction.
Tension the belt using the Allen key by turning screws clockwise if it slips.
The belt may shift sideways due to user weight or running style; stop the machine if it occurs.
Turn the right-side screw (R) clockwise at 4km/h to correct rightward belt movement.
Turn the left-side screw (L) clockwise at 4km/h to correct leftward belt movement.
Overtightening the belt can reduce speed and cause stretching; use screws judiciously.
Regular exercise improves weight control, fitness, relaxation, and cardiovascular health.
Aerobic exercise is continuous, oxygen-utilizing activity that improves oxygen supply and circulation.
The body burns calories for energy; exercise increases calorie expenditure, aiding weight management.
Consult a doctor before starting; exercise should be gradual, planned, varied, and not too demanding.
Perform a 2-3 minute warm-up at low speed and a cool-down walk to prevent muscle pain.
Maintain target pulse rates during exercise for optimal cardiovascular benefit.
Clean the treadmill with a damp cloth; do not use solvents.
Check and tighten all fastening elements every three months to ensure safety and performance.
Use original spare parts for replacements to avoid injury and maintain performance.
Ensure machine is plugged in, ON/OFF switch is at position 1, and safety key is inserted.
Check current limiter, switch off, press circuit breaker, and lubricate the treadmill band.
Lubricate the belt, check belt tension, and adjust drive belt tension.
Check belt lubrication, reset the overload button, and lubricate the treadmill band.
Ensure the machine is plugged into an earthed mains socket.
Check if the machine is level on the floor and does not wobble.
Monitor displays E1, indicating possible motor overload; lubricate the belt.
Monitor displays E6-E7, indicating an elevation fault.
