Page 13
2.5 NES10-2 basic set-up procedure
and
operation
1. Connect the bhi power supply or a suitable 12 to 24 Vdc power
supply to the power socket at the back of the NES10-2.
Note: Make sure the centre pole of your power sup-
ply connector is connected to positive (+ve).
Switch the power switch on.
2. Switch the noise-cancelling switch off. The front panel LED
should be illuminated red.
3. Turn the sensitivity control fully anticlockwise, and then back a
quarter of a turn.
4. Connect the audio lead to your external speaker socket using
the 2m audio lead with 3.5mm jack plug. If your external speaker
socket is not a 3.5mm jack socket, then audio lead adapters are
available from bhi. A 2 metre audio extension lead is available
if your equipment is more than 2m away from the NES10-2.
(see section 5)
5. Set the noise cancellation level DIP switch to level 6
to start with using the table on the following page or
on the label on the rear of the speaker for the correct
switch setting. Note: Switch 4 is NOT used.
Page 20
Operators voice can be heard when transmitting.
All bhi products operate correctly under normal working condi-
tions. However if problems with feedback are experienced during
transmisison then the following measures may help.
1. Reduce the sensitivity control (NES10-2 only)
2. Connect the speaker to a separate power
supply (available from bhi - see section 5).
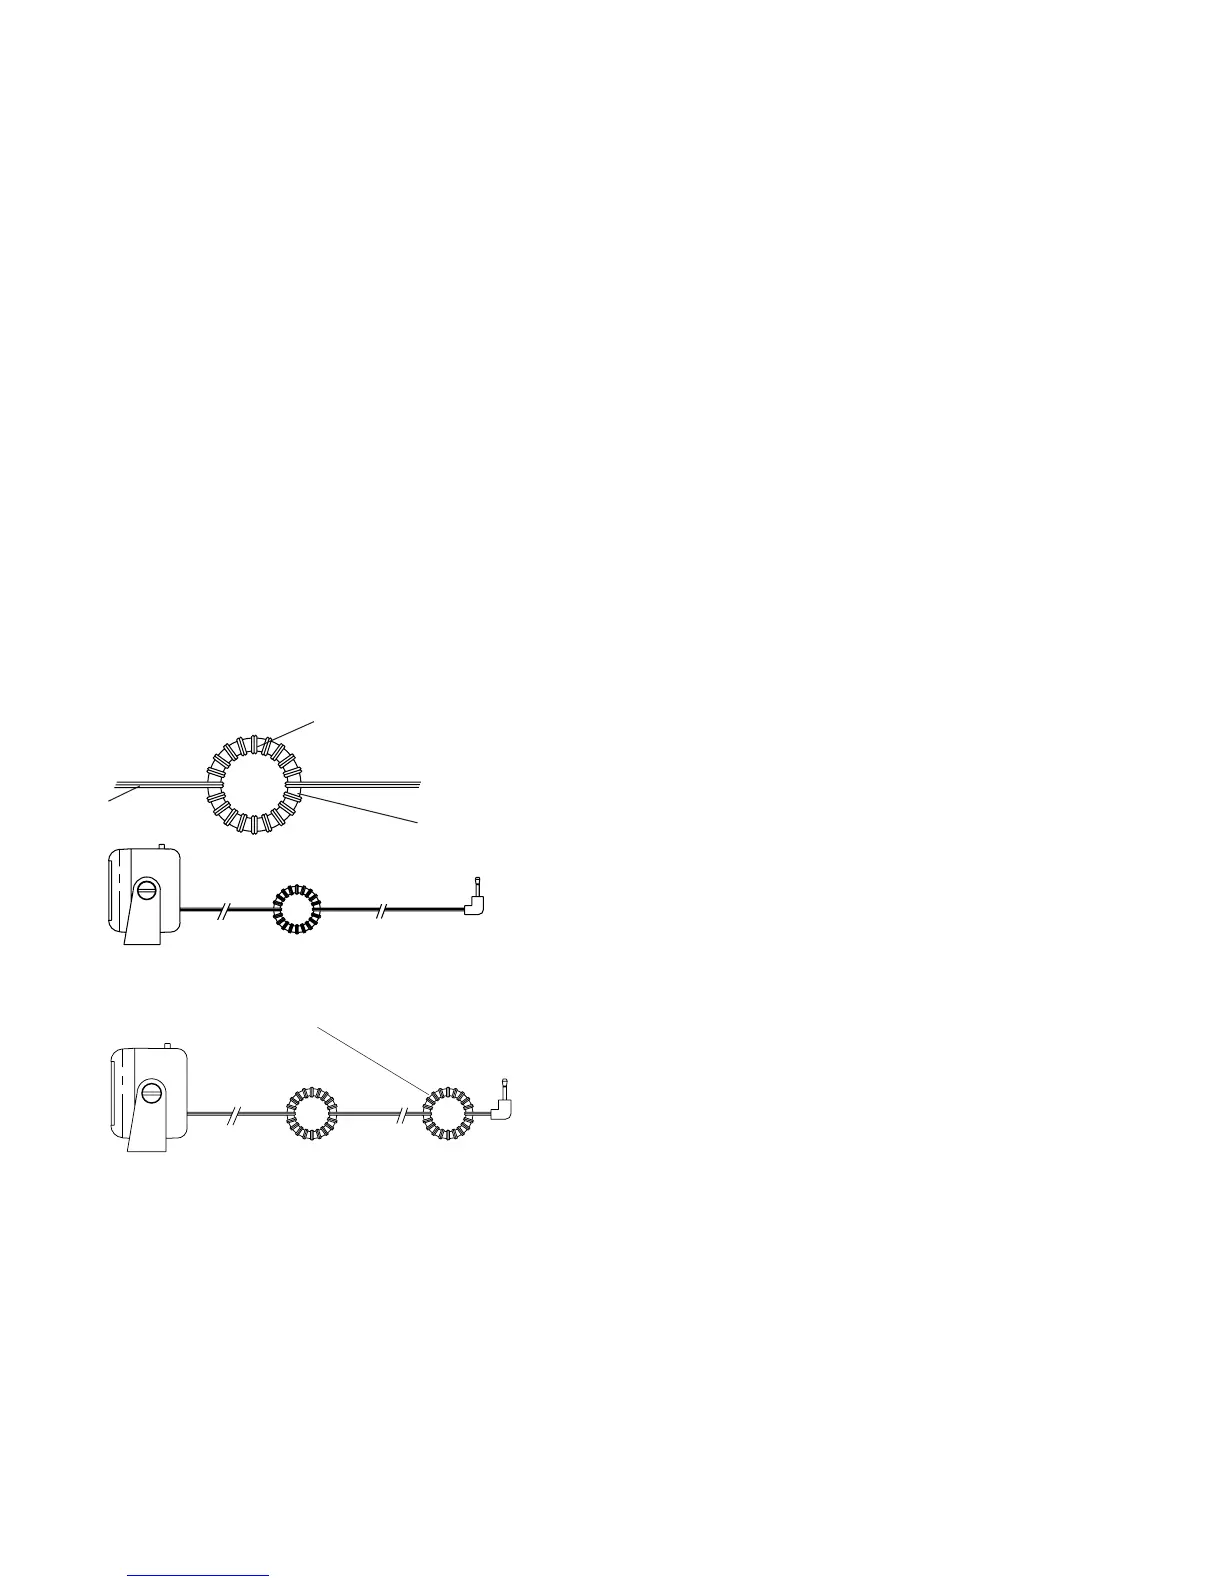
3. Ferrites
Wind as many turns as possible
around the ferrite
Audio Lead
Ifproblempersistthentanotherferriteattheotherendofthe
lead close to the audio connector
Figure 6. Audio lead
Figure 7. Audio lead
1” (25mm)
ferrite ring