11
Installation And Adjustment
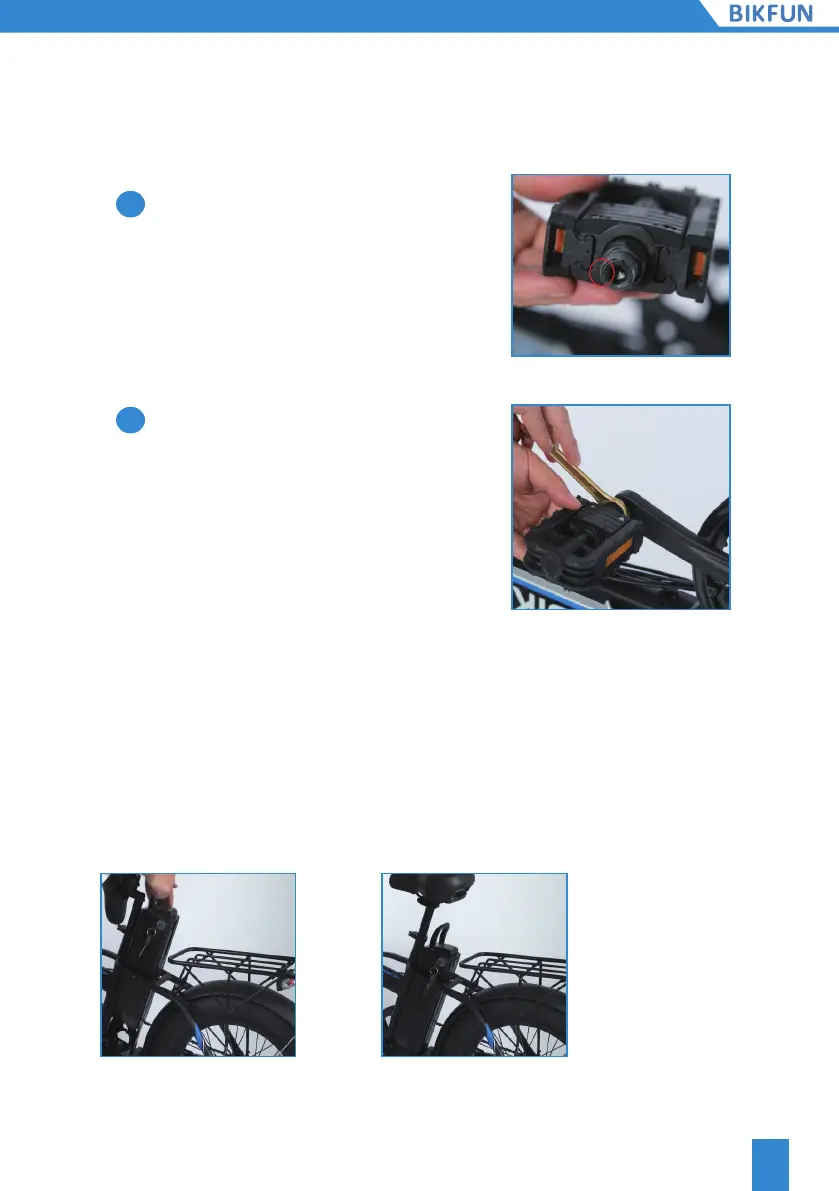
5. Install the pedals
6. Install the Battery
5.1
5.2
Ensure that the thread of each pedal is fully
inserted into the crank arm. Tighten the pedals
completely with a wrench. (Counterclockwise
screw the pedal marked "L" on the left side
crank. Clockwise screw the pedal marked "R" on
the right side crank.)
There are a right pedal marked "R" and a left
pedal marked "L". When installing, make sure
to identify the R/L letter on the pedal bolt.
So far, congratulations! You have completed the assembly of the entire bike.
Push the battery into the rack until it is tightly connected to the controller socket on the
rock behind the seat spot, then insert the key to lock the battery. (The battery is locked
and needs to be turned on when in use.. Please turn on the battery switch before you
turn on the meter.)


 To Next Page