13/16
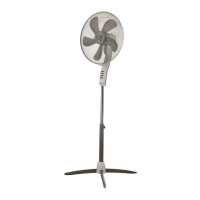
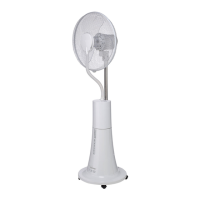
2) Oscillation button
3) Body
4) Body attachment screw
5) Pole attachment ring nut
6) Feet attachment screw
7) Foot
8) Selector
9) Adjustable pole
10) Cover
11) Fixed pole
12) Front grille
13) Fan attachment ring nut
14) Fan
15) Grille attachment ring nut
16) Rear grille
17) Handle
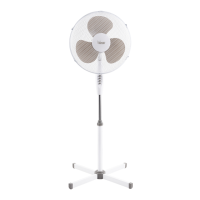
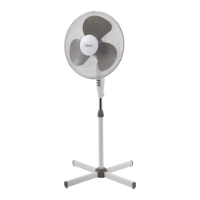
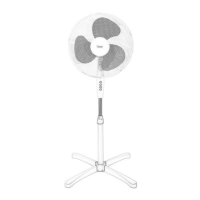
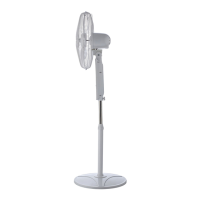
1. Cross the two feet (7) and attach them to the fixed pole (11) with the 4 screws (6).
2. Unscrew the fixed pole ring nut (5) and slide if off; insert the cover (10) to cover the
junctions between the feet and the fixed pole.
3. Lengthen the adjustable pole (9) until the height desired and lock it by tightening the pole
attachment ring nut.
4. Unscrew the ring nuts: fan fixing (13) and rear grid (15) on the motor
shaft.
5. Insert the rear grille (16) in the motor housing, so that the handle (17)
appears at the top (as figure), and position it so that the pins fit in their
corresponding holes and lock it with the ring nut provided (15).
6.
Insert the fan (14) on the motor shaft (1), so that the slot matches the
spline. Lock using the ring nut (13), (turning it counter clockwise to
7. Couple the front grille (12) to the rear one (16) locking it with the closing hooks.
For safety reasons, you must make sure that it is attached by using the screws and
nuts provided, which are to be used in the holes in the edge of the grilles (the holes
for the screw must be in the lower part).