13/40
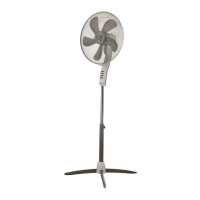
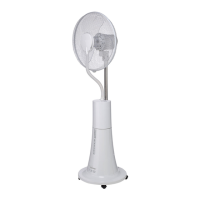
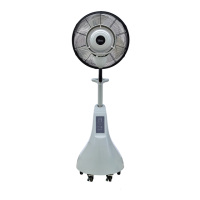
1. Motor shaft
2. Oscillation button
3. Body
4. Pole attachment ring nut
5. Cover
6. Feet attachment screw
7. Foot
8. Selectors
9. Fixed pole
10. Adjustable pole
11. Handle
12. Front grille
13. Fan attachment ring nut
14. Screw for the plastic ring
15. Body attachment screw
16. Rear grille
17. Fan
18. Grille attachment ring nut
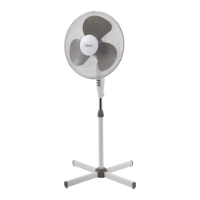
Upright
1) Cross the two feet (7) and fasten them to the fixed rod (9) using the 4 screws
provided, cover the joint between the feet and the fixed rod using the cover
(5).
2) Lengthen the adjustable rod (10) to the required height and lock tightly using
the rod fixing ring nut (4).
Ventilator
3) Fasten the rear grid (16) to the motor casing, verify that the
handle appears in the back (as shown) and lock using the
appropriate ring nut (18).
4) Insert the fan (17) on the motor shaft (1) and lock with the
appropriate ring nut (13) turning it tightly anti-clockwise.
5) Couple the front grid (12) with the rear grid (16) and lock with the
plastic ring and ensure the fastening with the appropriate locking
screw (14), (the screw must be in the lower part). Having done this,
check that the protection grid is firmly coupled and fastened to
the motor.
6) Attach the fan body to the stand by inserting the lower hole on the adjustable pole of
the stand and lock it by tightening the stand attachment screw (15).