12 13
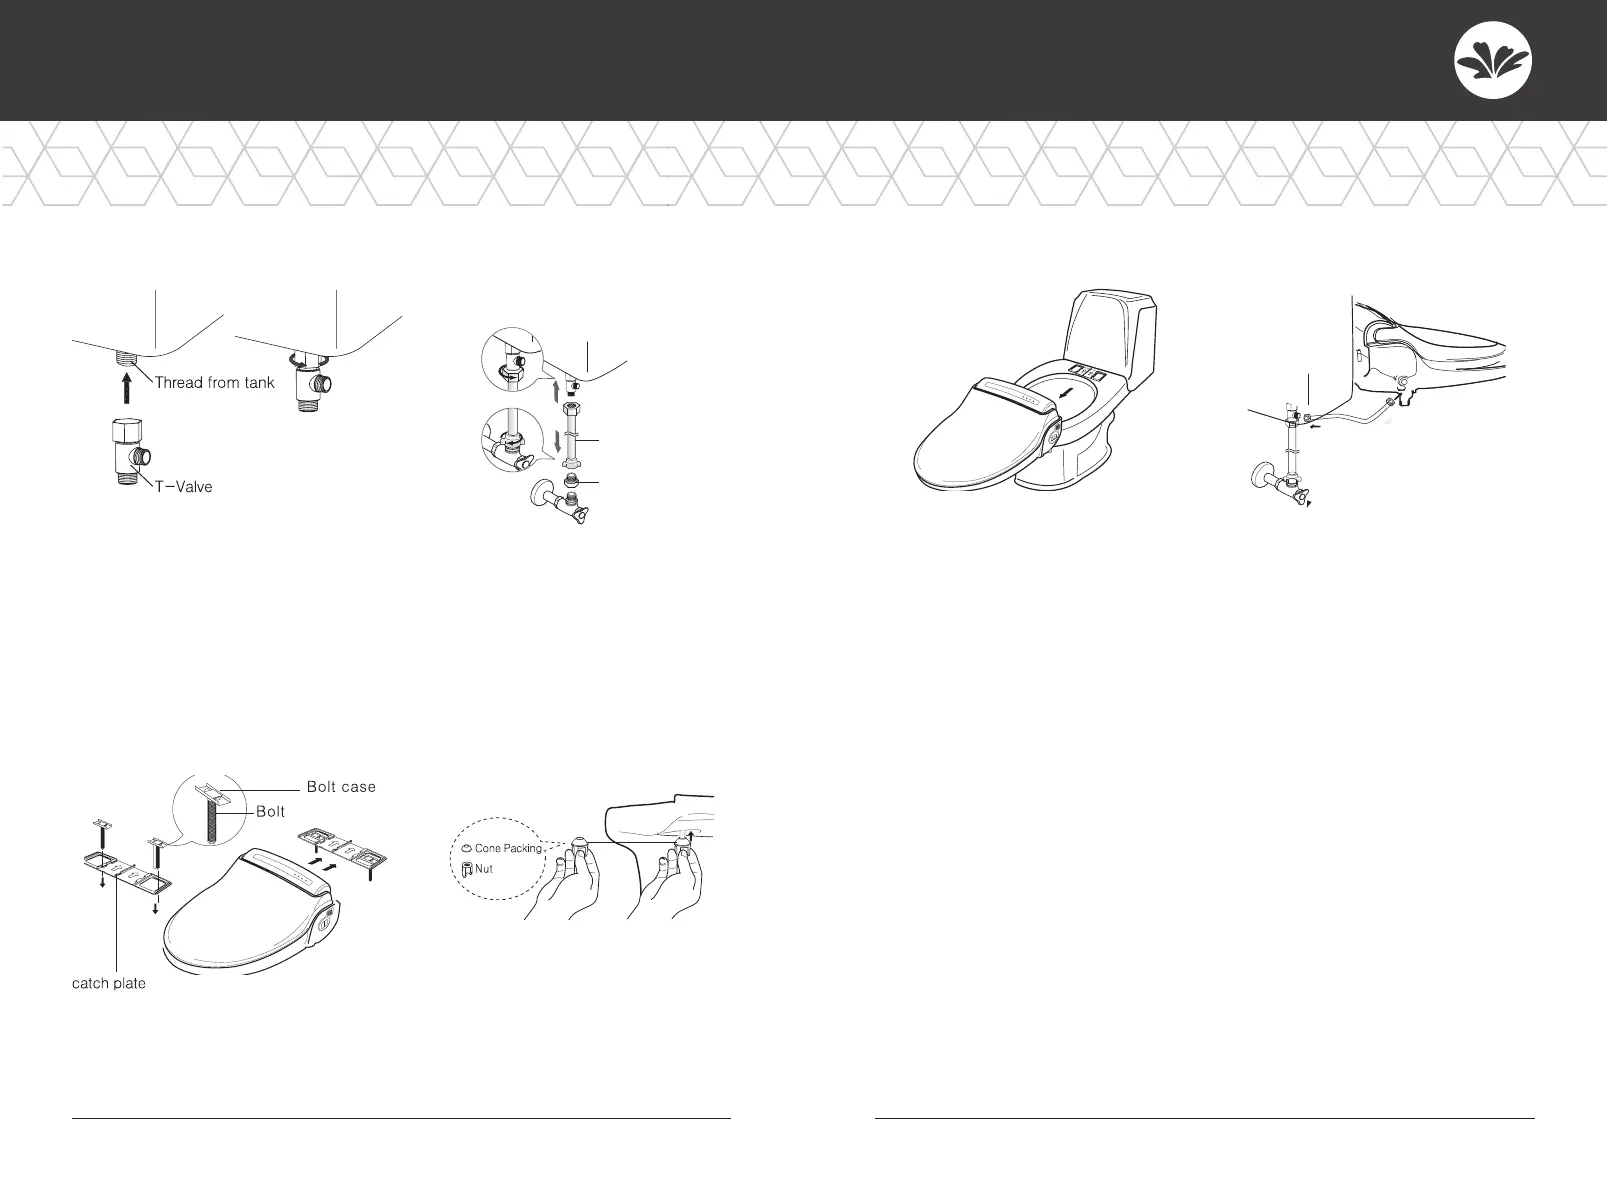
• Remove existing supply hose
connected to the toilet tank. Make
sure not to damage the water
supply hose.
• Install the T-valve at the thread
from the tank.
• Remove the existing supply hose
from the toilet tank
• If your shut off valve is 1/2” size,
use supplied 1/2” conversion nut
as shown.
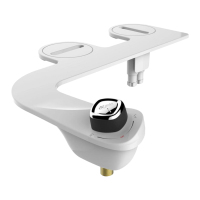
3. Connect the T-valve. 4. Connect the water
supply hose to the
assembled T-valve.
Water supply hose
1/2"conversion nut
INSTALLATION (CONT.)
• Place the plate and guides over
each mounting hole. Insert the
mounting bolts through the plate
and mounting holes.
• Slide cone packing and
washers onto the bolts
then fasten to securely
mount bidet seat to toilet.
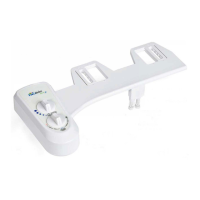
5. Installation Catch Plate. 6. Bolt and Nut Assembly.
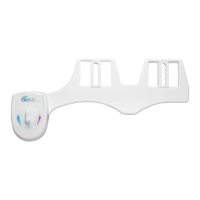
• Slide this product onto the catch
plate centering the unit with the
guide arrows on the base.
• You will hear a click once this
product is securely mounted to
the catch plate.
• This product will feel a little loose
on the toilet bowl. Adjust the fit
from front to back and side to
side for balance.
• Tighten the nuts on both
bolts securely.
• Customers should use the
new hose set provided with
the product. Do not use used
set again.
7. Assembly. 8. Bidet Hose Assembly.
 Loading...