Do you have a question about the Biohort HighBoard 200 and is the answer not in the manual?
Protect surface, avoid wind, wear gloves, and tighten screws at the end.
Visual guide to all screws used in the assembly process.
Avoid harsh chemicals, clean with soap and water, lubricate lock annually.
Installing the lock cylinder and handle components.
Mounting the brackets that will hold the doors.
Attaching the mounting points for the gas struts.
Attaching the gas struts to the lid assembly.
Ensuring all screws and nuts are securely tightened.
Finalizing the installation of the lock mechanism parts.
Connecting the gas struts to the lid.
Final connection of gas struts to the main body.
Instructions for anchoring the unit to the ground for stability and safety.
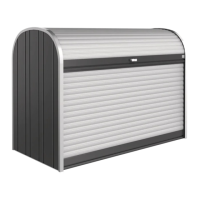
| Shape | Rectangular |
|---|---|
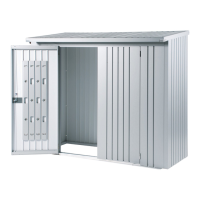
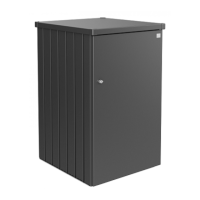
| Material | Steel |
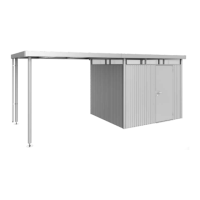
| Best uses | Garden |
| Lid color | Metallic |
| Lock type | Key |
| Coloration | Monochromatic |
| Proper use | Bicycle, Outdoor |
| Lid material | Aluminum |
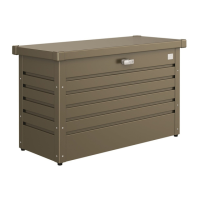
| Product type | Storage box |
| Suitable for | Garden tools |
| Weatherproof | Yes |
| Product color | Silver |
| Number of drawers | 1 drawer(s) |
| Suitable location | Garden, Patio |
| Quantity | 1 |
| Depth | 840 mm |
|---|---|
| Width | 2000 mm |
| Height | 1270 mm |
| Volume | 2150 L |
| Weight | 95000 g |
| Inner depth | 1200 mm |
| Inner width | 1950 mm |
| Interior dimensions (W x D x H) | 1950 x 760 x 1200 mm |