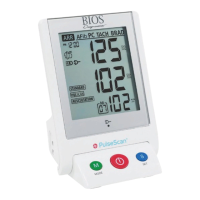
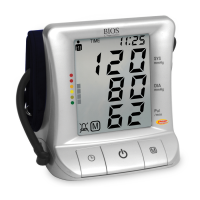
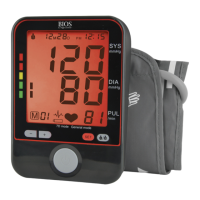
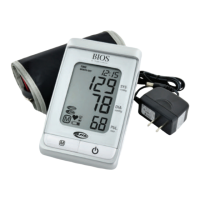
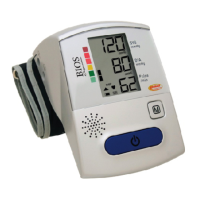
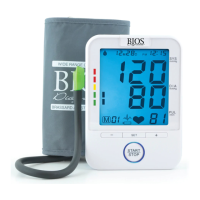
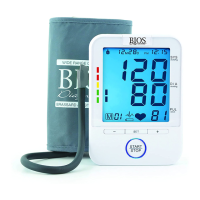
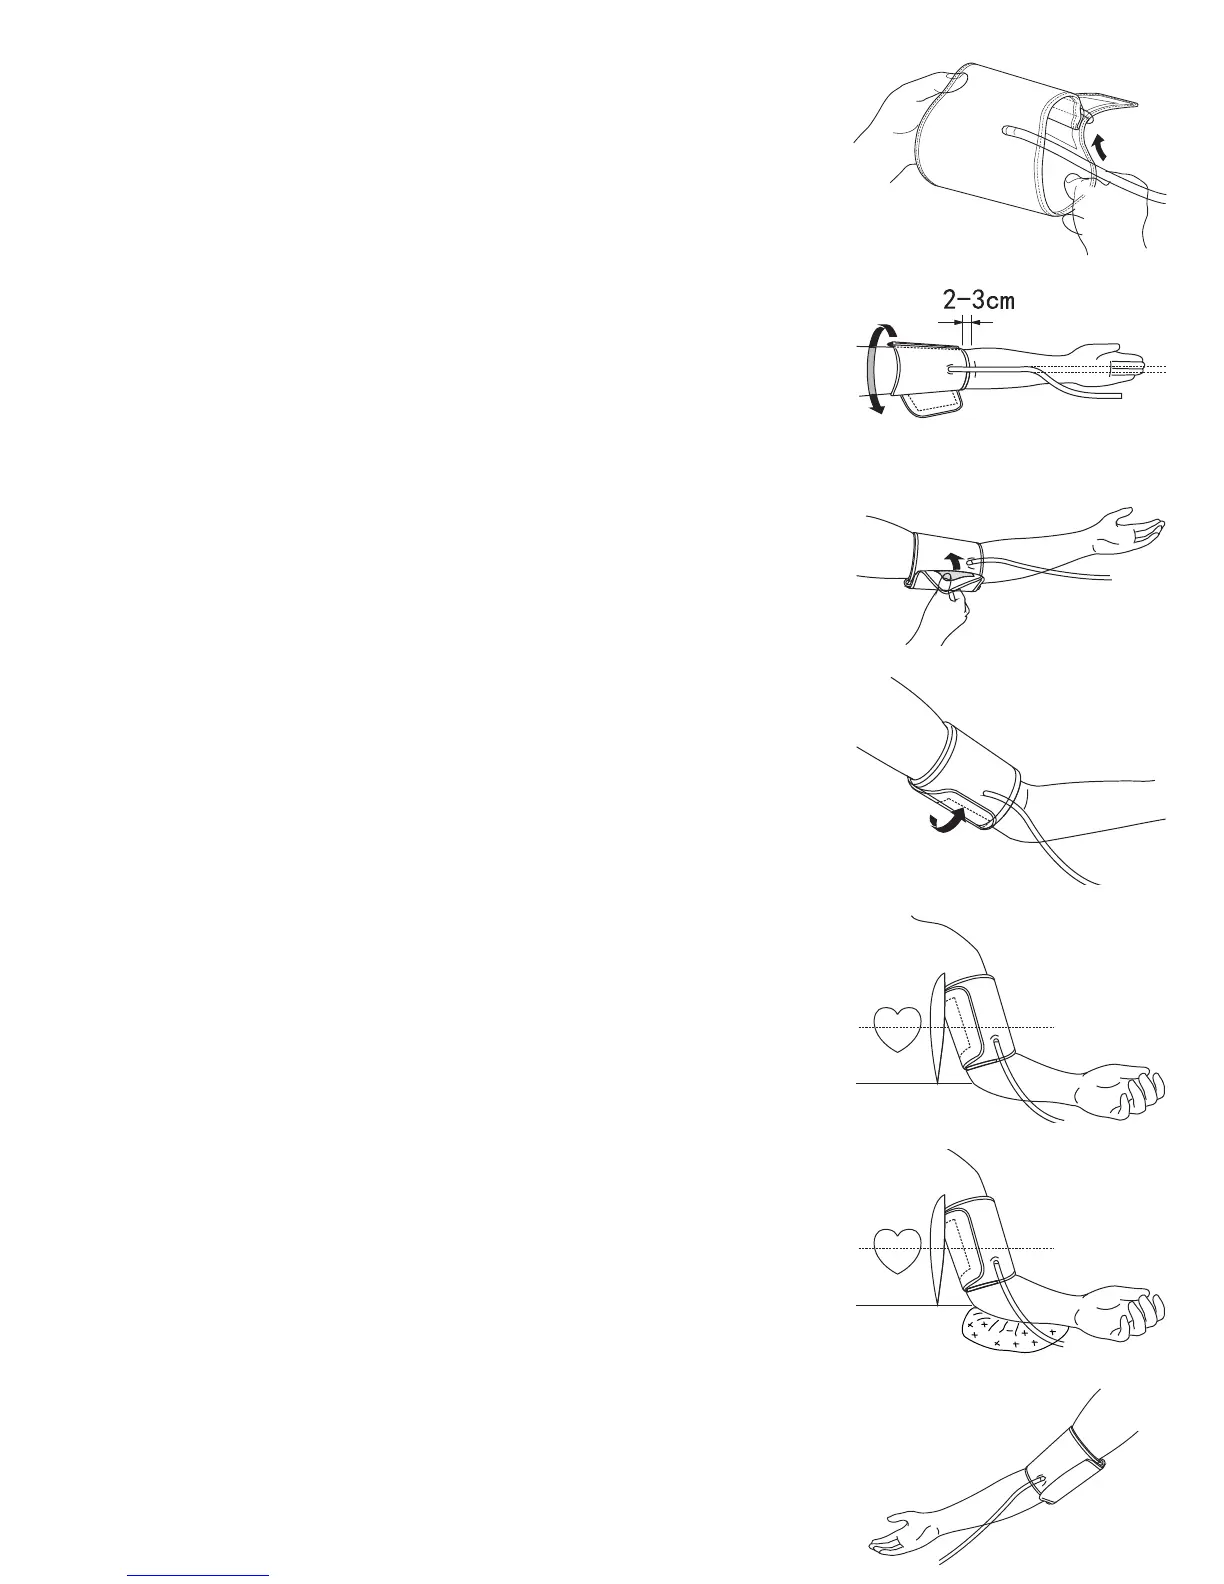
3.3C Fitting the Wide Range Cuff
a) Put the end of the cuff (with fastener) through the metal ring, making
the cuff a cylinder. (Ignore this step if your cuff is already set up.) Proper
assembly allows the Velcro
®
to match up properly.
b) Place the cuff around your bare arm. Make sure the bottom edge of the
cuff is about 1” (2-3 cm) above the elbow joint. Adjust the cuff so that
the rubber tubing under the cuff lies over the brachial artery, which runs
on the inside of the arm (see Fig. B). The red material should be over the
brachial artery.
c) Pull the cuff and tighten it by attaching the Velcro
®
fastener. Measure on
your non-dominant arm, unless there is a >10 mmHg difference with the
other arm, in which case use the arm with the higher pressure.
d) The cuff should fit snugly around the arm, but not too tight. You should
be able to fit two fingers under the cuff. If the cuff is the wrong size,
the deivce will not measure your blood pressure accurately. Contact the
store, or BIOS Medical for other sized cuffs.
e) Place the arm on the table (palm facing upwards) so that the cuff is at
the same level as the heart. Make sure there is no kink in the hose.
f) You can adjust the level of your arm by putting a cushion under your
arm. Ideally the cuff should be at heart level.
g) Remain seated in a comfortable room temperature for at least 5
minutes, then start the measurement.
h) For those who cannot put the cuff on the left arm, put it on the right arm
as shown.
a)
e)
f)
d)
b)
c)
h)