This installation guide contains only simple information required for the installation of
the product.Detailed information of the installation can be found on the "Download"
tab of BIXOLON website (www.bixolon.com) and, it includes the following contents.
1. Manual: User’s Manual, Code Page, Command Manual, Software Manuals
2. Driver: Windows Driver, OPOS, JPOS, CUPS(Linux, Mac), VCOM(USB)
3. SDK: Windows Printer(POS) SDK, UPOS SDK(Android), SDK(Windows,
Android)
We at Bixolon Co., Ltd. constantly strive to improve product functions and quality.
To do this, the specifications of our product and the contents of the manual may
change without prior notice.
1. Turn off the printer and POS System(host computer).
2. Separate the COVER like to picture.
3. Connect the power cord to adaptor, and connect the adapter to the power
connector of the printer.
4. Check the type interface located at the back of the printer(USB) and connect
proper cable.
5. Please plug the cash drawer cable in the DK port at the rear side of the printer.
※ Do not use an adapter that was not supplied with the printer.
1. Open the paper roll cover by pull
the Cover-Open lever.
2. Insert new roll paper in the
correct direction.
3. Pull the paper out slightly and
close the cover.
※ Note
Hold down the center of the cover
firmly when closing the cover so that
the paper maintains close contact
with the roller. Printing quality may
not be optimum if recommended
paper is not used.
(Refer to the User's Manual)
◈ Paper Jam (Refer to 1-8 in User’s Manual)
1. Turn the printer off and on, open the cover, and remove the paper.
2. If COVER does not open, please contact Customer Service.
• Power LED (Indicator Lamp)
The Power light is on whenever the printer is on.
• Error (Indicator Lamp)
Red light will be on in various error conditions such as
out of paper, cover open, etc.
• Feed (Button)
Press this button to feed the paper out.
Hold down this button to feed out the paper continuously.
1. Check whether paper is mounted correctly.
2. Turn on the power while holding down the Feed button and the self-test procedure
will begin.
3. Printer will print out the current status of printer including the version of ROM.
4. After printing out the current status of printer, the printer will print following lines
and waits for the next step(paper lamp will keep blinking).
SELECT MODES BY PRESSING FEED BUTTON.
Continuous SELF-TEST : Less than 1 second
VMSM Selection : 1 second or more
5. Press the Feed button to resume printing or hold down the button for at least one
second to change the VMSM settings.
5-1 If “Continuous SELF-TEST” is selected
5-1-1 Press the Feed button for less than one second to print the preset page.
5-1-2 The self test ends automatically as it prints the following line and cuts the
paper.
*** COMPLETED ***
5-1-3 The printer goes into normal print mode upon completion of the self test.
5-2 If “VMSM Selection” is selected
5-2-1 The following lines will be printed when the VMSM opens.
** VMSM Selection **
0 : Exit and reboot printer
1 : None
2 : Set Print Density
3 : None
4 : Set Cutting mode
5 : Set External Buzzer after cutting
6 : None
7 : None
8 : Print current settings
9 or more : None
5-2-2 Press the Feed button to run the above function.
5-2-2-1 Step 1(Select Options): press the button a number of times as shown by
each menu.
5-2-2-2 Step 2(Enter Options): hold down the button for at least one second to
apply each item selected.
※ Note
If you select any items not listed above, the list of “VMSM Selection” will be printed
again. Setting the mode will be canceled if no item is selected in Step 1.
5-3 Hold down the Feed button for at least 1 second to save the changes.
The following line will be printed before cutting the paper.
※ Attention
If “0: Exit and reboot printer” is not executed, the new settings will not be saved.
*** COMPLETED ***
6. The new settings will be automatically applied when printer resets.
※ Note
You can check whether printer works correctly or not through the self-test.
Printing quality, ROM version, and memory switch settings can be checked through
the self-test function.
◈ Reconfiguration of Printer
SRP-E300/E302 does not support Dip Switch. To change the settings of the printer,
use the virtual memory switch utility or virtual memory switch control function for self-
diagnosis.
Scan the QR code on the label affixed to the bottom of the product to access video
information about various settings and troubleshooters, assembly/disassembly, etc.,
and to download the NFC mobile application.
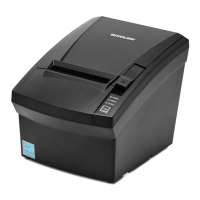
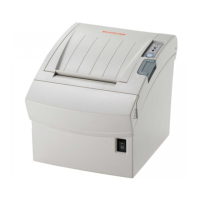
Printer Installation Guide & Safety Guide
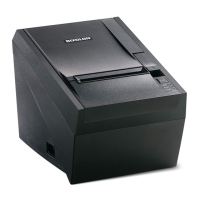
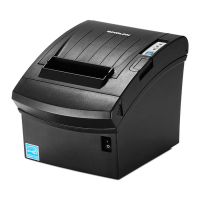
THERMAL RECEIPT PRINTER SRP-E300/E302
Drawer Kick-out
Connector