Do you have a question about the BIXOLON SRP-E300 and is the answer not in the manual?
Explains symbols used in the manual.
Explains symbols related to product features.
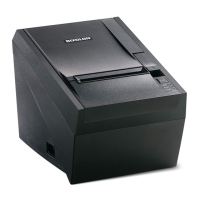
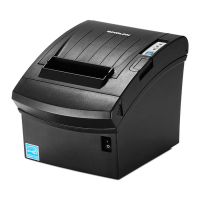
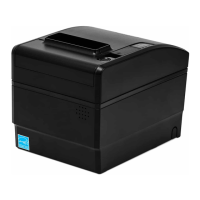
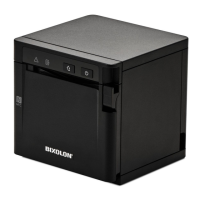
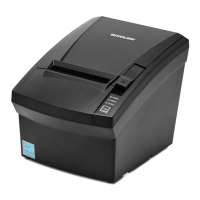
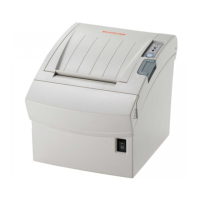
Identifies external parts of the printer.
Details the USB connection port and pinout.
Details the Ethernet connection port and pinout.
Details the Serial connection port and pinout.
Details the drawer kick-out connector and usage.
Guidelines for optimal printer placement and ventilation.
Step-by-step instructions for connecting and powering on the printer.
Procedure for loading and replacing the paper roll.
Explains the printer's control buttons and LED indicators.
Procedure for clearing paper jams and cover opening issues.
Instructions for cleaning the printer head and internal parts.
Detailed technical specifications of the printer.
List of recommended paper types for optimal performance.
| Type | POS printer |
|---|---|
| Color | No |
| Print technology | Direct thermal |
| Maximum roll diameter | 83 mm |
| Supported paper width | 80 mm |
| Maximum printing width | 72 mm |
| Printing media thickness | 0.062 - 0.075 µm |
| USB port | Yes |
| USB 2.0 ports quantity | 1 |
| Connectivity technology | Wired |
| Product color | Black |
| Sustainability certificates | ENERGY STAR |
| AC input voltage | 100 - 240 V |
| Power source type | DC |
| AC input frequency | 50 - 60 Hz |
| Internal memory | - MB |
| Built-in barcodes | 1D, 2D, Code 39, Code 93, Code-128 Codabar Library, Data Matrix, EAN13, EAN8, ITF, PDF417, QR Code, UPC-A, UPC-E |
| Autocutter durability | 1.5 million cuts |
| Storage temperature (T-T) | -20 - 60 °C |
| Operating temperature (T-T) | 0 - 40 °C |
| Storage relative humidity (H-H) | 10 - 90 % |
| Operating relative humidity (H-H) | 10 - 80 % |
| Cables included | USB |
| Harmonized System (HS) code | 84433210 |
| Depth | 182.4 mm |
|---|---|
| Width | 132 mm |
| Height | 128.5 mm |