4
Assembly
Wall Mounting
The product can be wall mounted, if desired, using the wall mount bracket, screws and
anchors supplied. To wall mount the vac, refer to gures B, C, D and E.
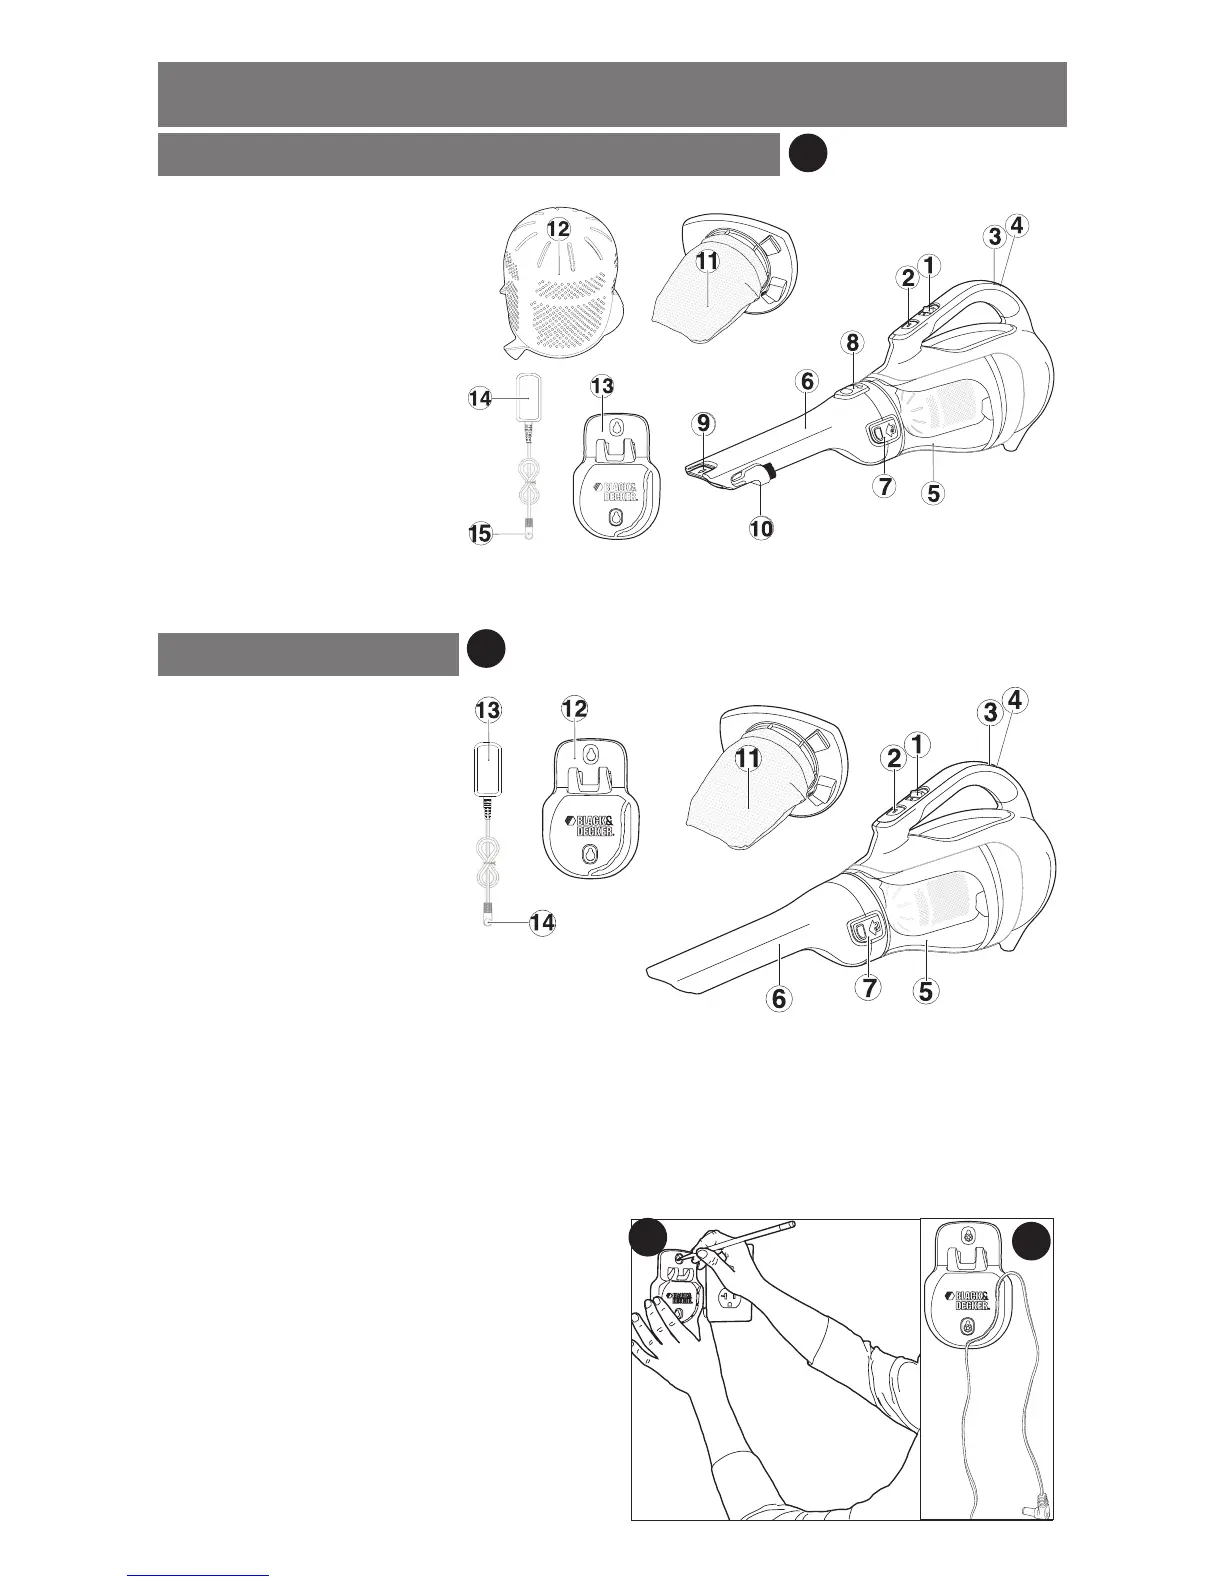
• Figure B - Mark the location of the screw
holes (within reach of an electrical outlet
for chargeing the vac while it is on the wall
bracket).
• Figure C - Insert the charger cord into the
curved slot in the wall mount bracket leaving
approximately 8-9 inches (203mm - 227mm)
excess as shown.
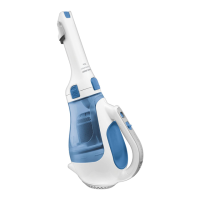
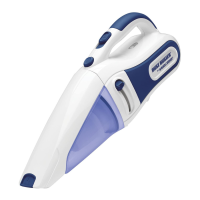
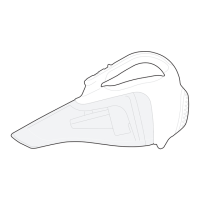
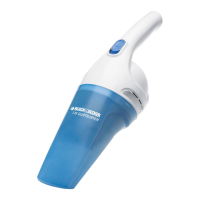
Product Features
1. On/off switch
2. Bowl release button
3. Charging indicator
4. Charging socket
5. Dust bowl
6. Nozzle
7. Nozzle release button
8. Nozzle rotating button
9. Extendable crevice tool
10. Flip-up Brush
11. Cloth filter
12. Plastic pre-filter
13. Wall mount bracket
14. Charger
15. Jack plug
A
B
C
A1
CHV1410, CHV1410B, CHV1510, CHV1610
1. On/off switch
2. Bowl release button
3. Charging indicator
4. Charging socket
5. Dust bowl
6. Nozzle
7. Nozzle release button
11. Cloth filter
12. Wall mount bracket
13. Charger
14. Jack plug
CHV1210
 Loading...