SUPPORT@BLACKSTONE-EUROPE.COM
BLACKSTONEPRODUCTS.COM/SUPPORT
ENGLISH
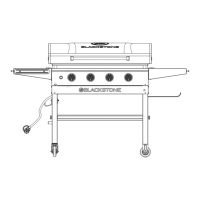
| OWNER’S MANUALASSEMBLY GUIDE
ASSEMBLY INSTRUCTIONS
Find a large, clean area to assemble your appliance.
Remove all packing material before assembling.
CAUTION
Sharp edges. Wear gloves while assembling.
NOT INCLUDED (OPTIONAL):
Two (2) D batteries
ELECTRIC REQUIREMENTS:
120V 60Hz
TOOLS NEEDED:
#3 Phillips head screwdriver &
Adjustable wrench
TOOL NEEDED:
#3 Phillips head screwdriver
TOOL NEEDED:
Adjustable wrench
TOOL NEEDED:
5mm Allen wrench
NOT INCLUDED:
LPG cylinder
Size: 18 x 12 in (45 x 30 cm), 20 lb (9 kg)Size: 18 x 12 in (45 x 30 cm), 20 lb (9 kg)
LPG cylinder must include collar to LPG cylinder must include collar to
protect LPG cylinder valve. protect LPG cylinder valve.
NOT INCLUDED:
17" griddle base
NOT INCLUDED:
22" griddle base
NOT INCLUDED:
AA battery
NOT INCLUDED:
LPG cylinder
Size: 4 x 8 in (10 x 20 cm), 1 lb (453 g)Size: 4 x 8 in (10 x 20 cm), 1 lb (453 g)
NOT INCLUDED:
One (1) AA battery (for ignition)
Optional four (4) AA batteries
(for the motor)
Make sure the front pins are
seated in the holes, then push
the griddle top back.
❶❶
Place the two front pins into
the front locking holes and push
the griddle top back.
❷❷
Then, set the two rear pins
into the rear holes.
❶❶
Place the two front pins into
the front locking holes and push
the griddle top back.
❷❷
Then, set the two rear pins
into the rear holes.
Make sure the front pins are
seated in the holes, then push
the griddle top back.
Make sure the front pins are fully
seated in the holes, then push
the griddle top forward to lock
the griddle in place.
Make sure the front pins are fully
seated in the holes, then push
the griddle top forward to lock
the griddle in place.
MODEL: EU
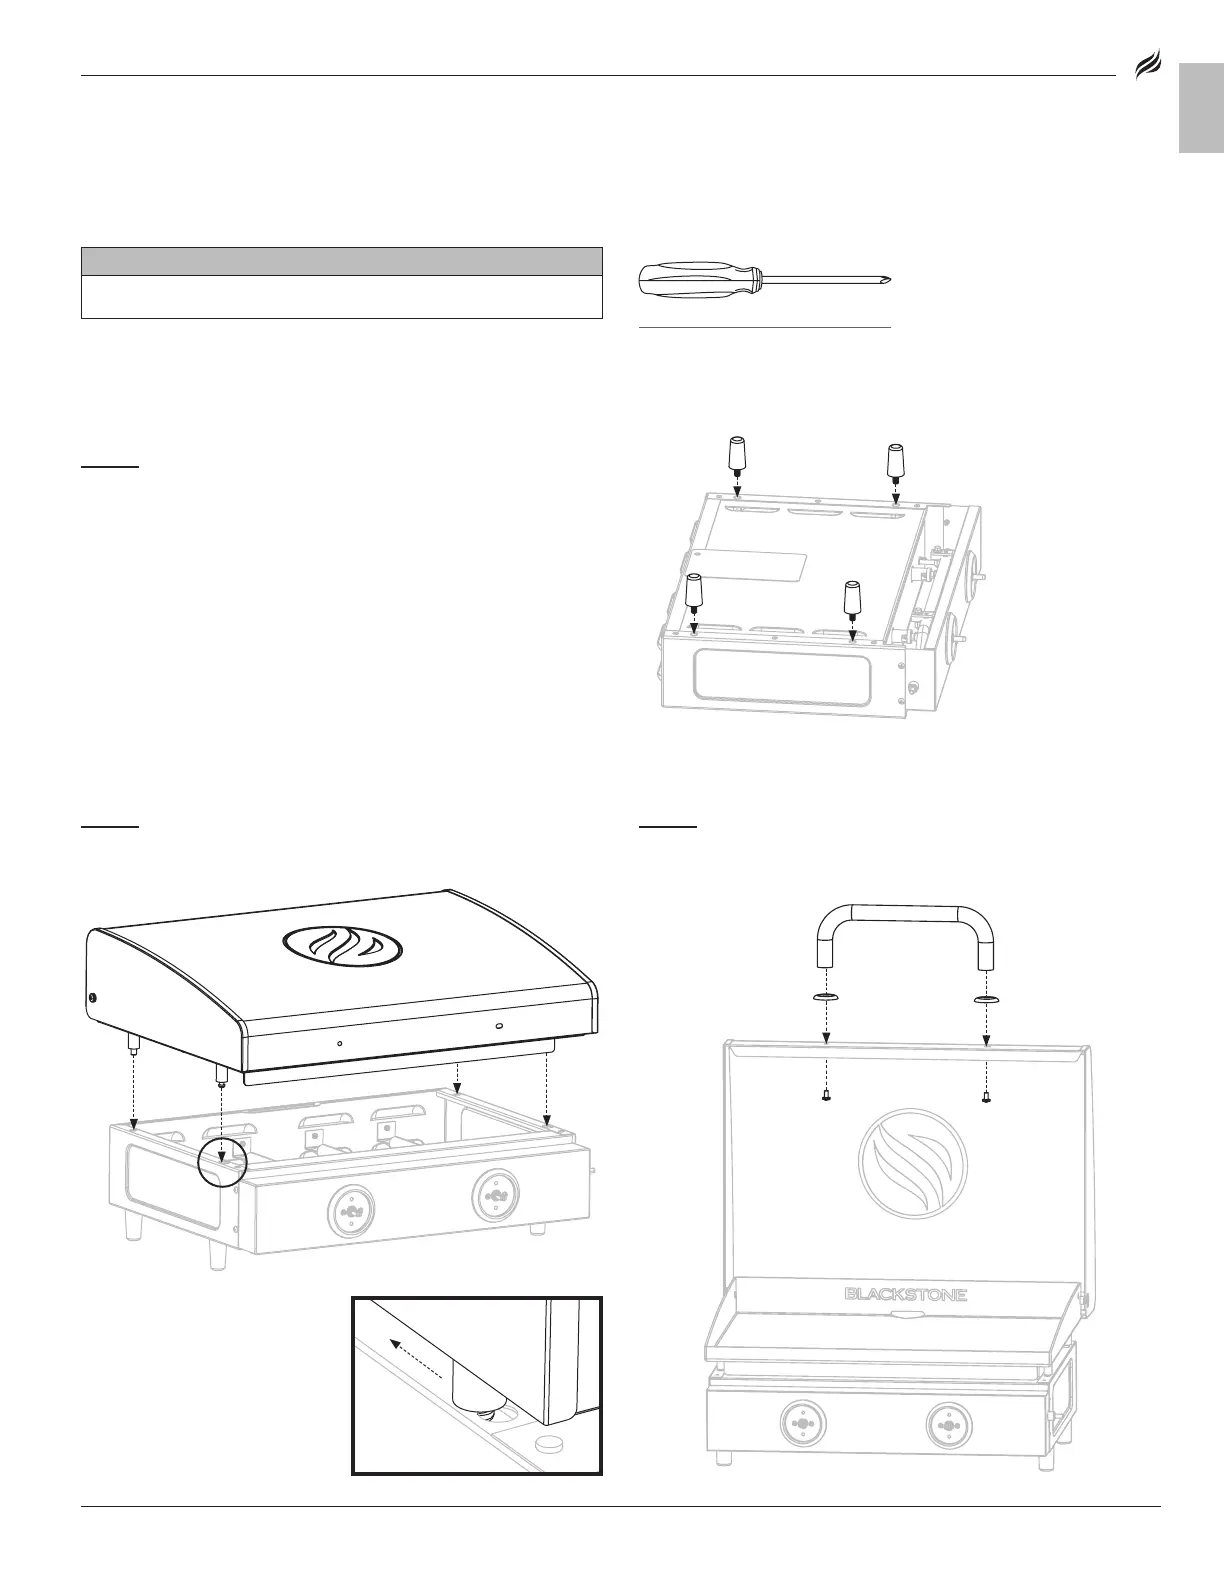
STEP 01
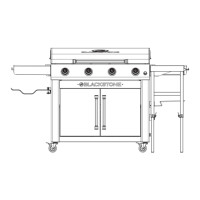
Place the griddle body upside down on a smooth flat
surface. Thread the four (4) griddle feet into the bottom of the griddle.
STEP 02
Set the griddle on its feet. Place the griddle top and hood on
the griddle body by aligning the four (4) pins to the holes of the body.
STEP 03
Use the two (2) M6x16 screws pre-installed in the hood
handle to attach the hood handle grommets and the hood handle to
the front of the hood.