BLACKSTONEPRODUCTS.COM/SUPPORT
ENGLISH
| OWNER’S MANUALASSEMBLY GUIDE
ASSEMBLY INSTRUCTIONS
Find a large, clean area to assemble your appliance.
Remove all packing material before assembling.
CAUTION
Sharp edges. Wear gloves while assembling.
NOT INCLUDED (OPTIONAL):
Two (2) D batteries
ELECTRIC REQUIREMENTS:
120V 60Hz
TOOLS NEEDED:
#3 Phillips head screwdriver &
Adjustable wrench
TOOL NEEDED:
#3 Phillips head screwdriver
TOOL NEEDED:
Adjustable wrench
TOOL NEEDED:
5mm Allen wrench
NOT INCLUDED:
LPG cylinder
Size: 18 x 12 in (45 x 30 cm), 20 lb (9 kg)Size: 18 x 12 in (45 x 30 cm), 20 lb (9 kg)
LPG cylinder must include collar to LPG cylinder must include collar to
protect LPG cylinder valve. protect LPG cylinder valve.
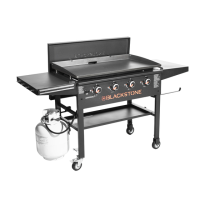
NOT INCLUDED:
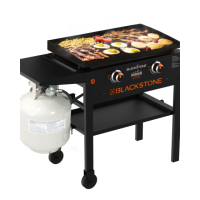
17" griddle base
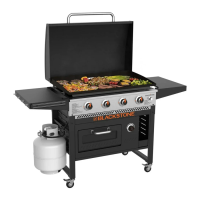
NOT INCLUDED:
22" griddle base
NOT INCLUDED:
AA battery
NOT INCLUDED:
LPG cylinder
Size: 4 x 8 in (10 x 20 cm), 1 lb (453 g)
Size: 4 x 8 in (10 x 20 cm), 1 lb (453 g)
NOT INCLUDED:
One (1) AA battery (for ignition)
Optional four (4) AA batteries
(for the motor)
TOOLS NEEDED:
#3 Phillips head screwdriver &
Adjustable wrench
TOOL NEEDED:
#3 Phillips head screwdriver
TOOL NEEDED:
Adjustable wrench
TOOL NEEDED:
5mm Allen wrench
NOT INCLUDED:
LPG cylinder
Size: 18 x 12 in (45 x 30 cm), 20 lb (9 kg)Size: 18 x 12 in (45 x 30 cm), 20 lb (9 kg)
LPG cylinder must include collar to LPG cylinder must include collar to
protect LPG cylinder valve. protect LPG cylinder valve.
NOT INCLUDED:
17" griddle base
NOT INCLUDED:
22" griddle base
NOT INCLUDED:
AA battery
NOT INCLUDED:
LPG cylinder
Size: 4 x 8 in (10 x 20 cm), 1 lb (453 g)Size: 4 x 8 in (10 x 20 cm), 1 lb (453 g)
NOT INCLUDED:
One (1) AA battery (for ignition)
Optional four (4) AA batteries
(for the motor)
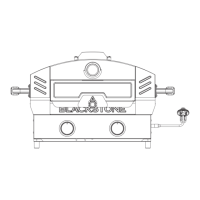
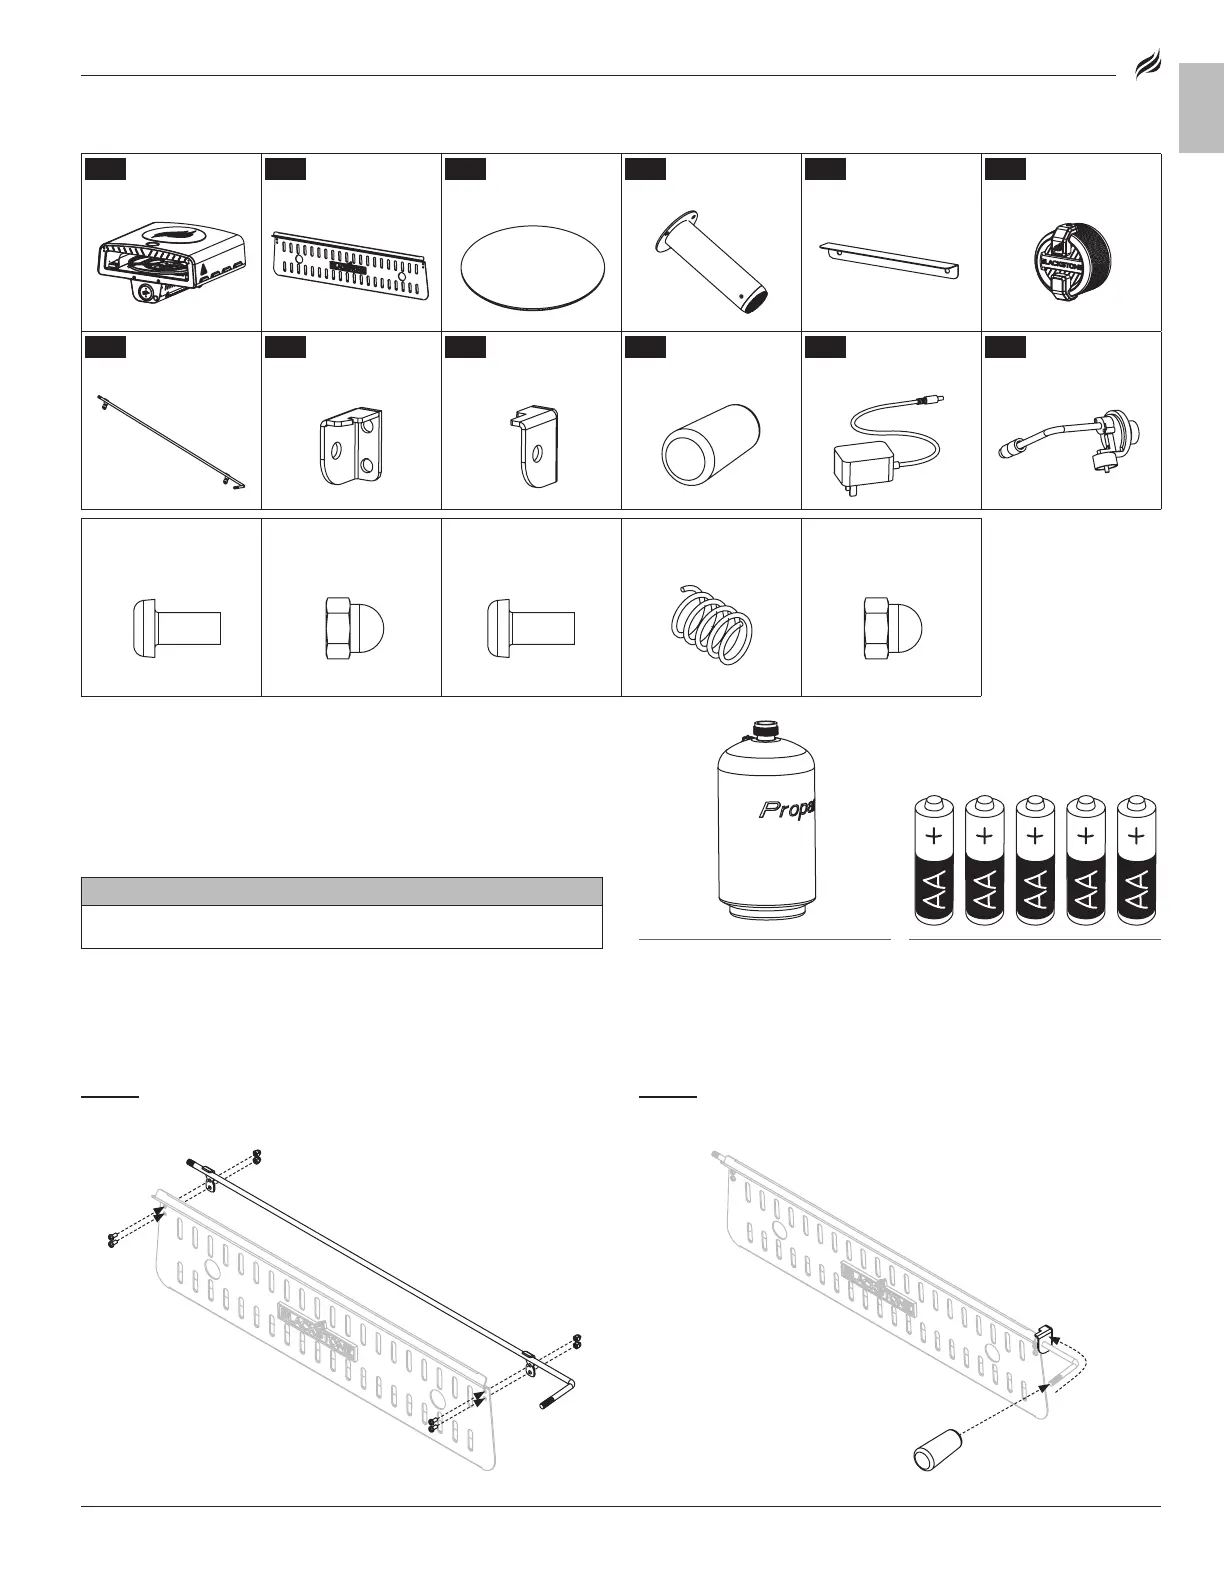
MODEL:
1
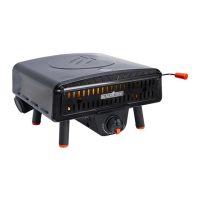
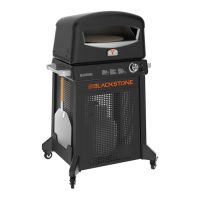
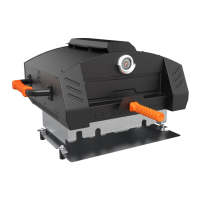
Oven body
(1 piece)
2
Oven door
(1 piece)
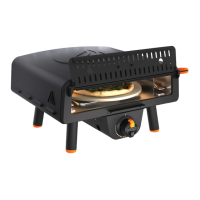
3
Pizza stone
(1 piece)
4
Legs (4 pieces)
5
Bale panel
(1 piece)
6
Control knob
(1 piece)
7
Door shaft
(1 piece)
8
Door shaft seat
(L) (1 piece)
9
Door shaft seat
(R) (1 piece)
10
Door handle
(1 piece)
11
Power cord
(1 piece)
12
Regulator
(1 piece)
[a.] M3x6 screws
(4 pieces)
[b.] M3 lid nuts
(4 pieces)
[c.] M4x16 bolts
(18 pieces)
[d.] Spring (1 piece) [e.] M5 lid
nut (1 piece)
STEP 01
Use four (4) M3x6 bolts [a.] and four (4) M3 lid nuts [b.] to
attach the door shaft to the oven door.
STEP 02
Slide the door shaft seat (R) onto the door shaft.
Screw the door handle onto the door shaft.
[a.] × 4
[b.] × 4
 Loading...