ENGLISH
Owner’s Manual |
ENGLISH
! WARNING
The manufacturer has made
every eort to eliminate any
sharp edges. However, you
should handle all compo-
nents with care to avoid
accidental injury.
Some parts may contain
sharp edges, especially as
noted in these instructions.
Wear protective gloves if
necessary.
! WARNING
The manufacturer has made
every eort to eliminate any
sharp edges. However, you
should handle all compo-
nents with care to avoid
accidental injury.
Some parts may contain
sharp edges, especially as
noted in these instructions.
Wear protective gloves if
necessary.
! WARNING
This appliance will be hot
during and after use. While
cooking, place unit on
heat-resistant and flame-re-
sistant surfaces to avoid
damage and injury.
! WARNING
This appliance will be hot
during and after use. While
cooking, place unit on
heat-resistant and flame-re-
sistant surfaces to avoid
damage and injury.
! WARNING
The manufacturer has made
every eort to eliminate any
sharp edges. However, you
should handle all compo-
nents with care to avoid
accidental injury.
Some parts may contain
sharp edges, especially as
noted in these instructions.
Wear protective gloves if
necessary.
! CAUTION
Two people are recom-
mended for the assembly of
this product.
! CAUTION
Two people are recom-
mended for the assembly of
this product.
ASSEMBLY INSTRUCTIONS
Please read all instructions thoroughly before proceeding. Make sure all
the plastic packing material is removed before assembling.
Find a large, clean area to assemble your unit. Please refer to the parts list and
assembly diagrams as necessary.
! WARNING
• Do not mix old and new
batteries.
• Do not mix alkaline, stan-
dard (carbon-zinc) or
rechargeable (ni-cad, ni-mh,
etc.) batteries.
! WARNING
• Do not mix old and new
batteries.
• Do not mix alkaline, stan-
dard (carbon-zinc) or
rechargeable (ni-cad, ni-mh,
etc.) batteries.
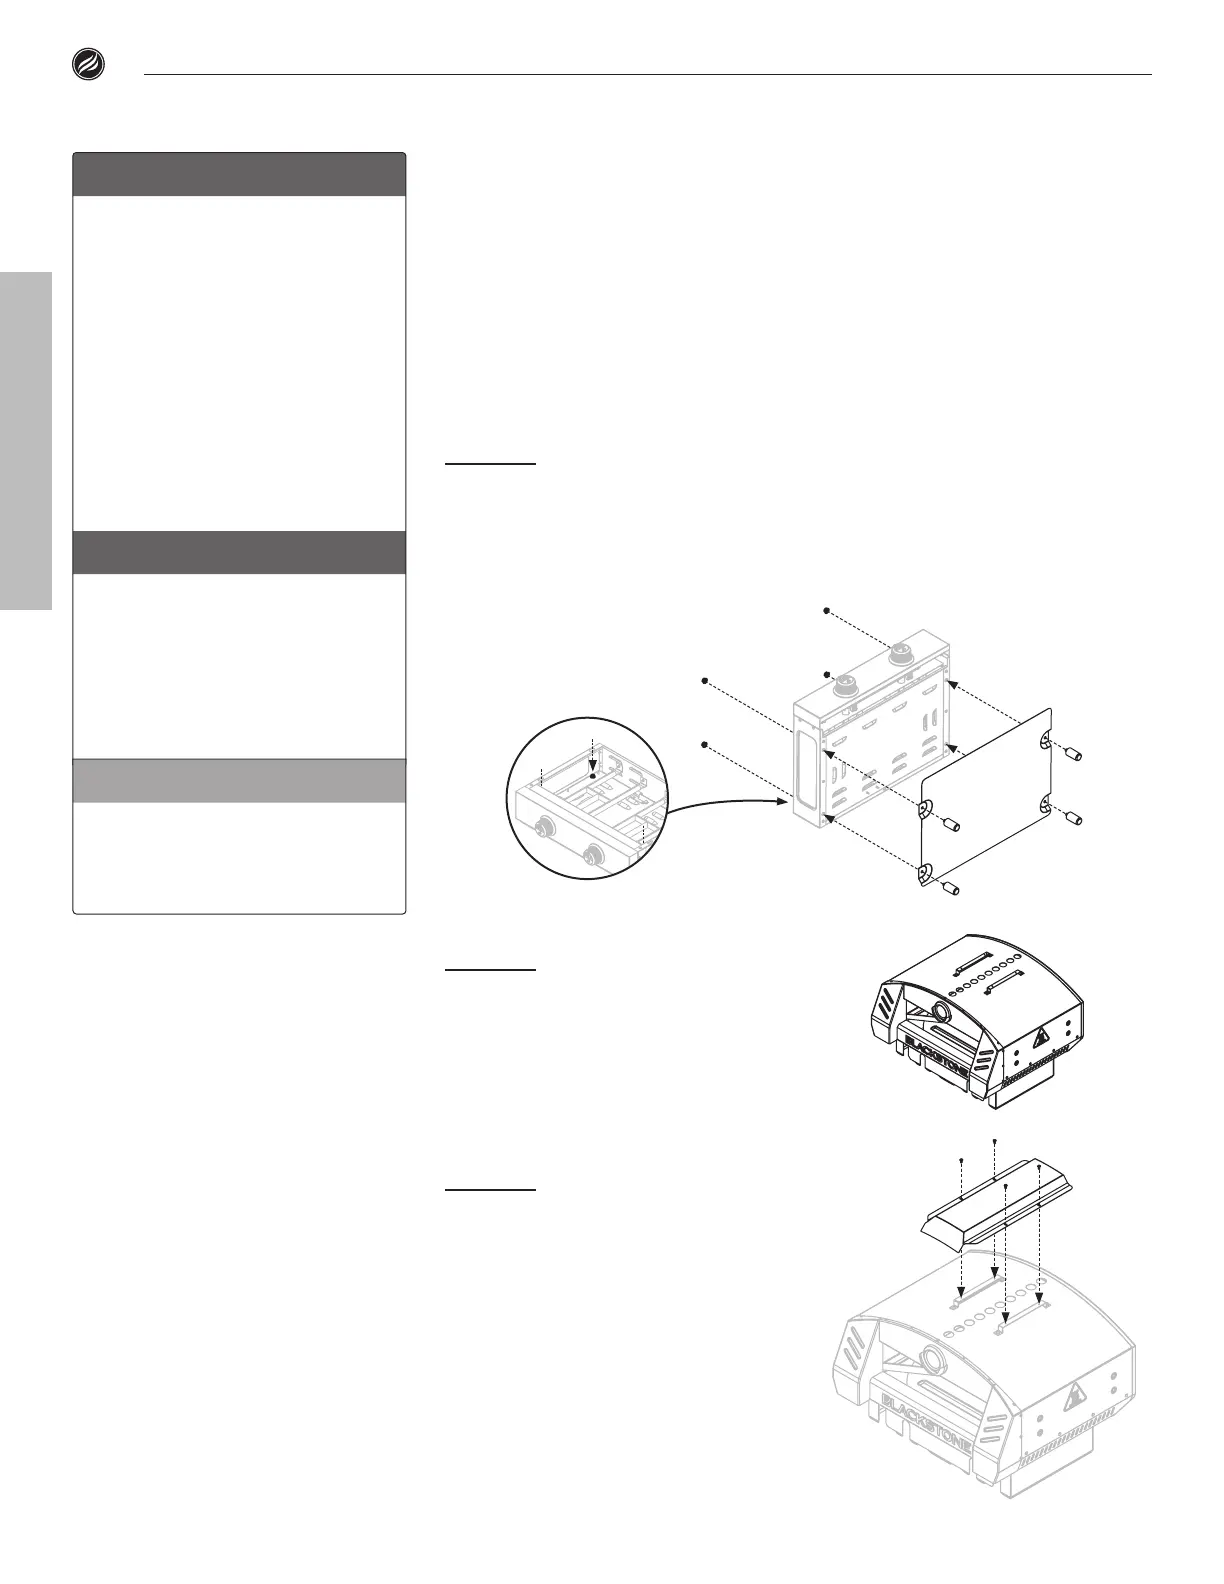
STEP
Place the griddle body (not included) on its back.
Remove the four (4) M8 ange nuts from the four (4) oven feet.
Use the four (4) M8 ange nuts to attach the heat shield and four (4) oven feet
to the bottom of the griddle body.
STEP
Remove the four (4)
tapping screws from the upper
brackets.
Use the four (4) tapping screws
to attach the vent cover to the
upper brackets.
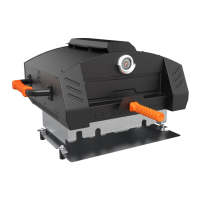
STEP
Remove the oven body
from its packaging and place it on a
smooth at surface.
04
Model 6960Assembly Guide
 Loading...