ENGLISH
BLACKSTONEPRODUCTS.COM/SUPPORT
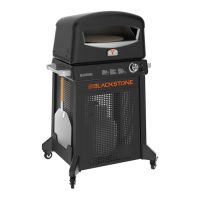
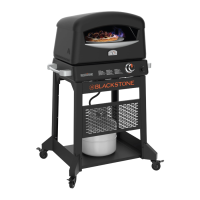
| OWNER’S MANUALUSING YOUR BLACKSTONE
CLEANING YOUR PIZZA STONE
NOTICE
DO NOT use soap on the cooking stone. This will leave a soap
taste in food.
STEP 01
Wash the cooking stone with warm water.
STEP 02
Rinse and dry completely.
HOW TO USE YOUR PIZZA OVEN
WARNING
Oven door handle gets hot while in use. Use insulated oven
mitts/ gloves when opening or touching the oven door
handle.
FOR BEST RESULTS:
• Always cook with door closed.
• Rotate pizza 90° (a quarter turn) when the cooking time has
reached the halfway point.
FRESH PIZZA
STEP 01
Preheat oven to 700° F (380° C).
STEP 02
Pizza cooking time is about 2-4 minutes depending on the
size and thickness of the dough of the pizza. Thicker or denser foods
require more time.
STEP 03
Pull out the pizza when the crust has reached your desired
readiness, or when the edges of the pizza crust are golden-brown.
FROZEN PIZZAS, COOKIES, ETC.
Follow the food manufacture’s directions on box/ recipe.
CLEANING YOUR OVEN INTERIOR
Apply a strong solution of detergent and water, or use an oven
cleaner with scrub brush on insides of oven lid and bottom. Rinse
and allow to completely air dry.
CLASSIC MARGHERITA
Pizza
NEW YORK STYLE
Pizza dough
BBQ CHICKEN BACON
Pizza
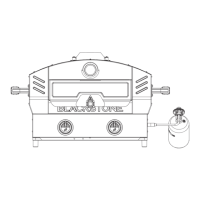
❶❶
Push the control knob in to
start gas flowing.
❷❷
Turn the control knob
counter-clockwise to activate
the starter.
❸❸
Adjust the temperature to
desired level.
2. PIEZO-ELECTRIC GRIDDLE IGNITION
DO NOT lean over the appliance while lighting.
IGNITION INSTRUCTIONS
1. CHECK VALVES
STEP 01
Turn knobs to OFF position.
STEP 02
Push in knobs and release. Knobs should spring back.
If knobs DO NOT spring back, replace valve assembly before using appliance.
STEP 03
Rotate knobs to LOW then turn back to OFF. Knobs should
turn smoothly.
STEP 01
To preheat the oven:
❶
Push the control knob(s) in to
start gas flowing.
❷
Turn the control knob(s)
counter-clockwise to activate
the starter.
❸
Turn the control
knob(s) to HIGH.
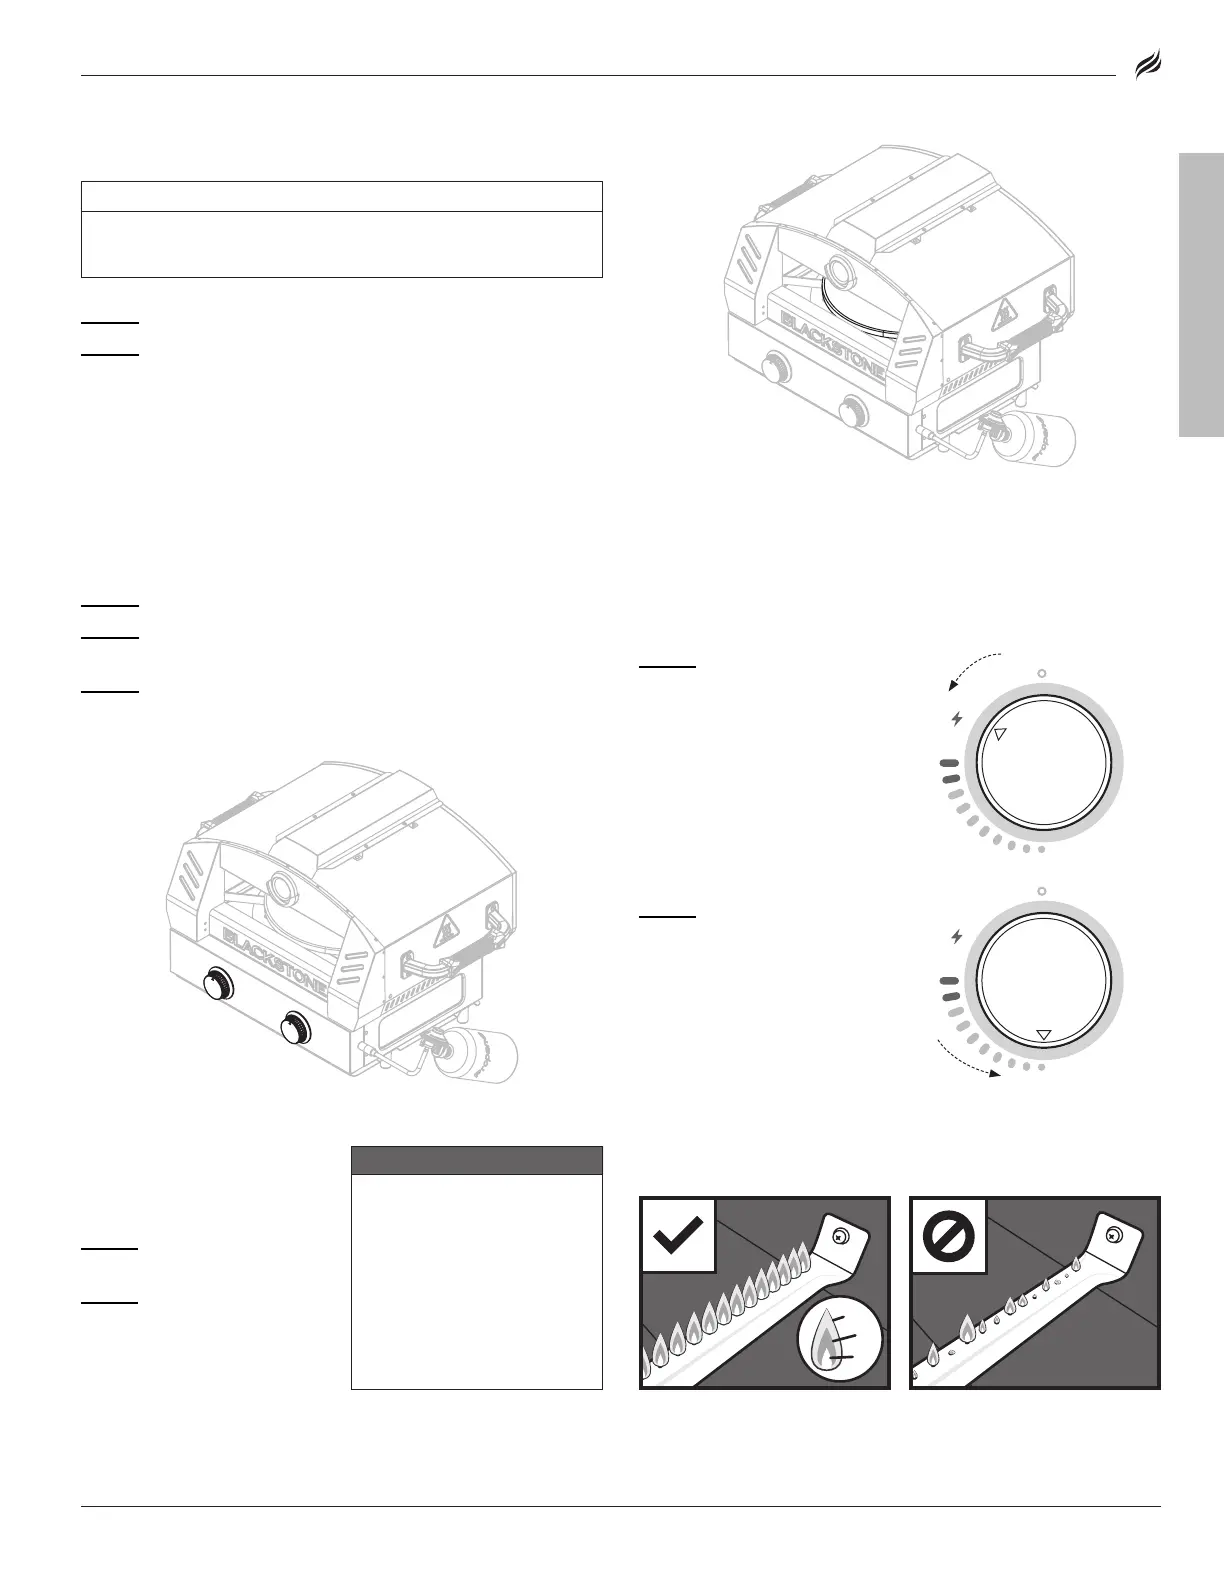
2. PIEZO-ELECTRIC PIZZA OVEN IGNITION
DO NOT lean over the appliance while lighting.
❷
❶
❸
STEP 02
Once the desired
temperature is reached, turn
the control knob to LOW for the
duration of the cook time.
Turn the other control
knob to OFF.
HEALTHY BURNER FLAME
PATTERN
BURNER FLAMES ARE YELLOW
OR IRREGULAR
3. CHECK BURNER FLAME
Always check burner flame
before use.
STEP 01
Light burners and rotate
knobs from HIGH to LOW.
STEP 02
Look below the cooking
top to view burners. When knob
is at HIGH, flames should be
larger than when knob is at LOW.
❶
Flickers of yellow color.
❷
Dark blue color.
❸
Vibrant blue.
WARNING
A clogged burner tube can
lead to a fire beneath the
appliance.
Burner should be removed
and cleaned annually or
whenever heavy build-up
or insects/insect nests are
found.
If there is a sudden drop or low
flame issue, please reference the
Troubleshooting chapter.
❶
❷
❸
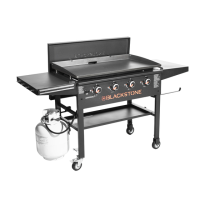
MODEL: