5.2 Turning the Bike On/Off
Hold the ‘M’ button for 2 seconds to turn the display on/off. The display will automatically turn off if there is no activity for 10 minutes.
Tip: If the display does not turn on, check that the battery is charged.
5.3 Increasing/Decreasing Assistance
Press the Plus (+) button to increase the power assist level and press the Minus (-) button to decrease. The bike has 5-levels of power assistance.
Always start off slowly and gradually speed up. Make sure your speed is appropriate to the riding conditions (weather, road surface, traffic/pedestrians etc).
5.4 Walk Mode
Stand at the side of bike with both hands on the handlebar and make sure the way in front of you is clear. Press and hold the
Minus (-) button for 2-3 seconds to start walk assist status. The bike will keep at an even speed of 6km/h. until the button is
released.
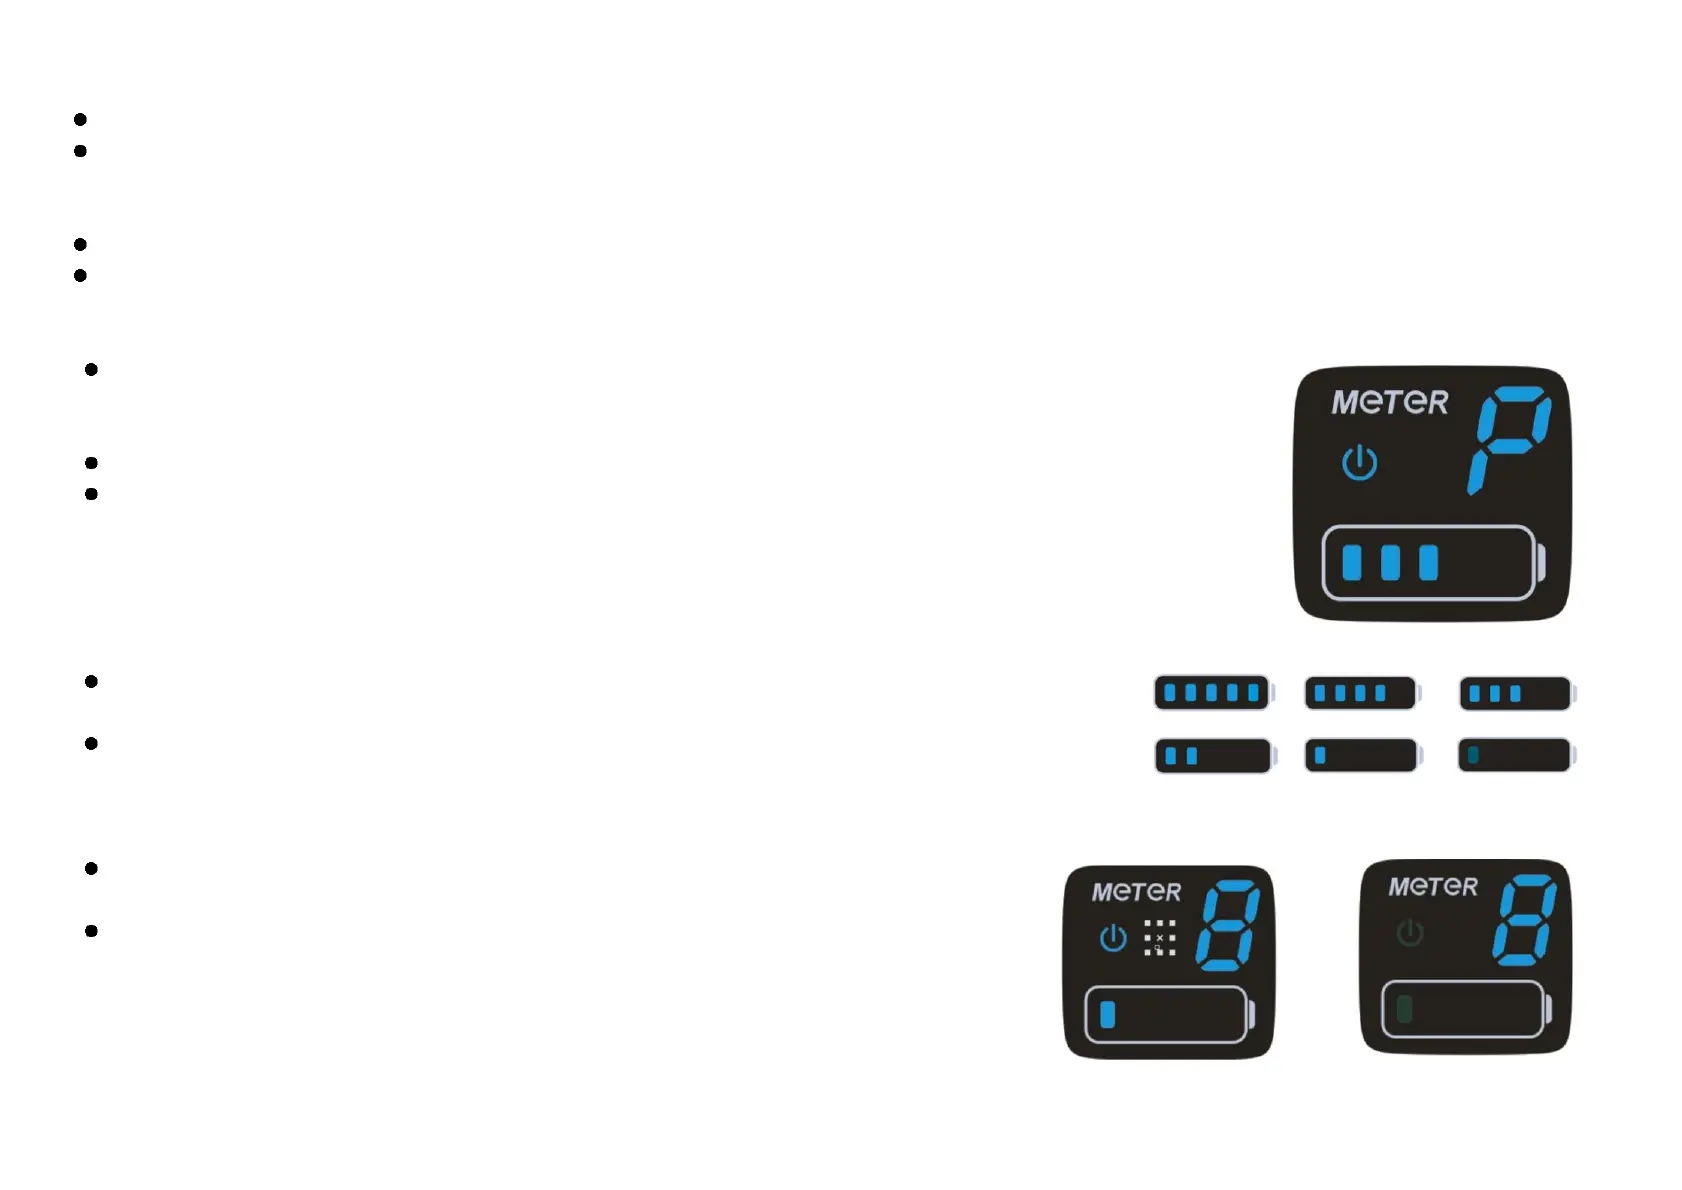
When operating in Walk Mode the display will show a ‘P’ (see right).
WARNING: Walk assist should only be used when pushing the bike; do not use this function when riding.
5.5 Battery Charge Indicator
Five segments will show when the battery is fully charged. When it is at low voltage, the last segment will flash to
warn of imminent power loss.
WARNING: Try to avoid letting your battery indicator get to the flashing stage often as repetitive low-charge
states will reduce the battery life. If the battery indicator is flashing, charge immediately.
If there is an error in the electrical function of the bike, the headlight indicator light and low voltage light
will flash. Contact your dealer and arrange for the bike to be inspected.
WARNING: The power assistance will not function if there is an error code.