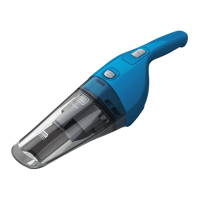
ENGLISH
5
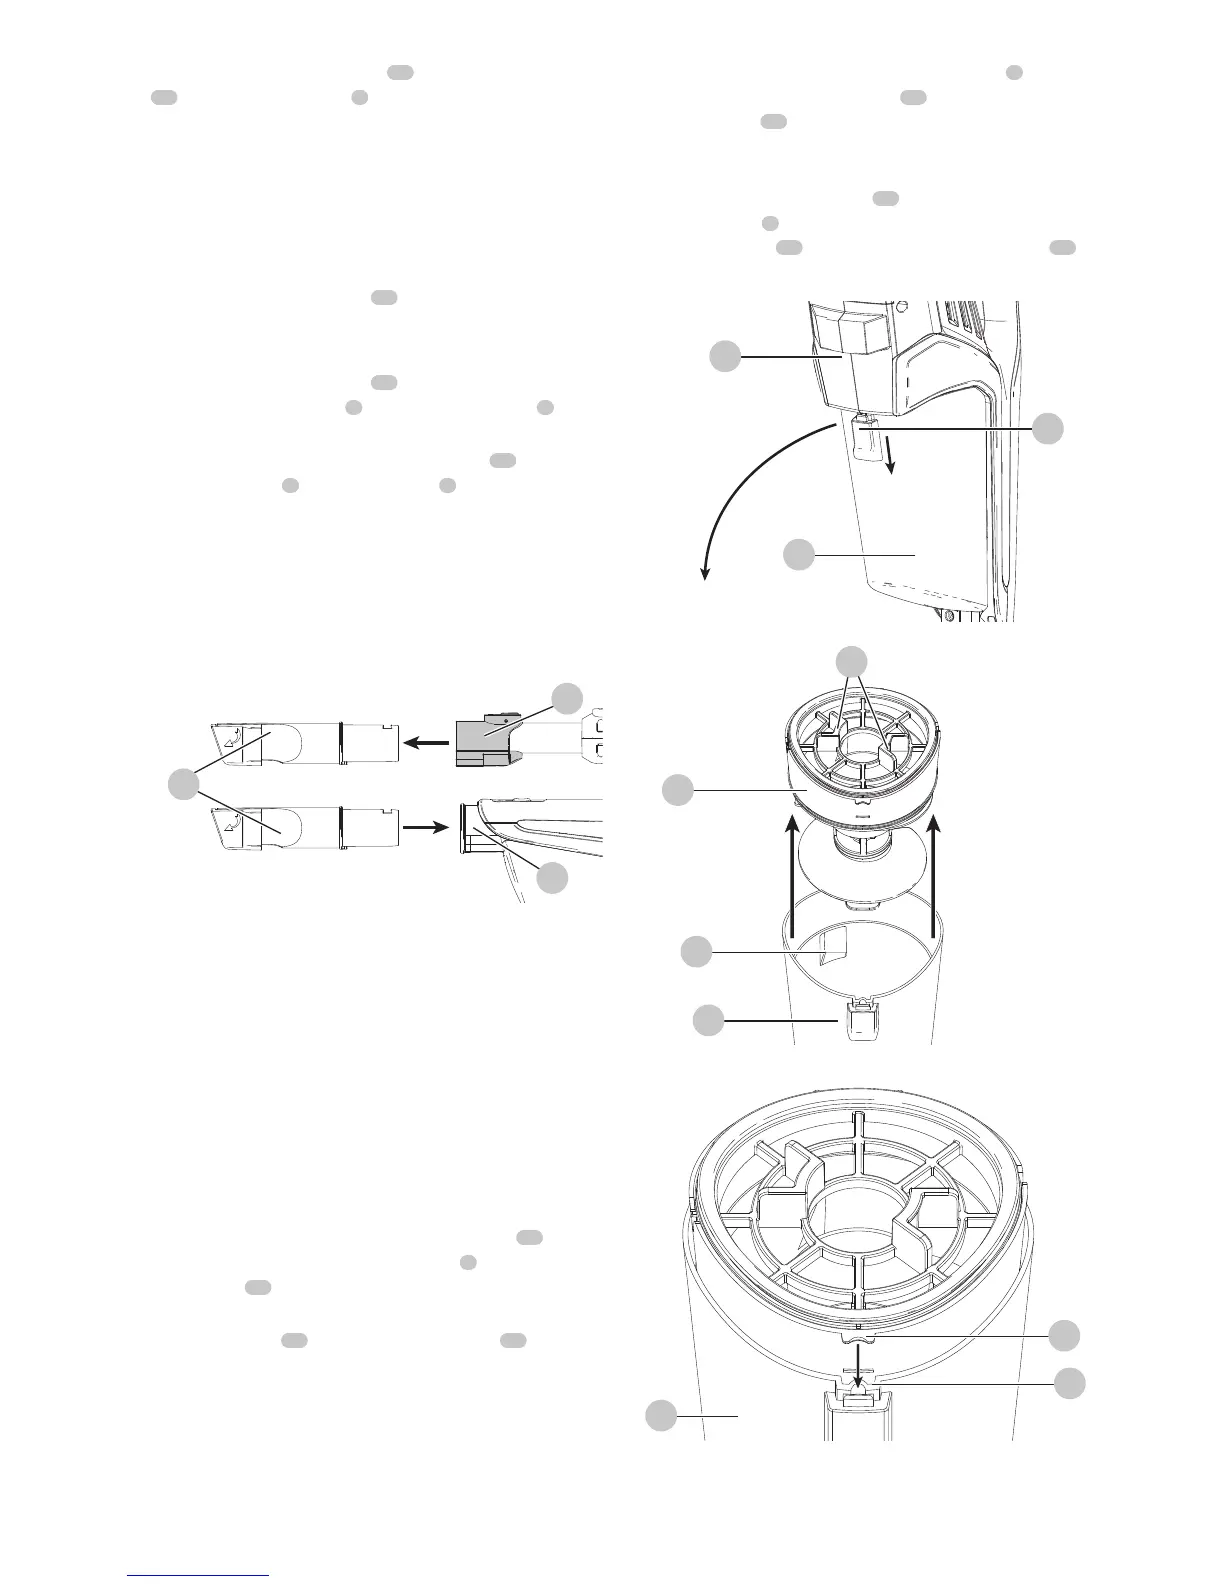
ON position, plug the jack plug
14
of the jack plug charger
11
into the charging port
4
of the vacuum. Plug the
charger into any standard 120 Volt 60 Hz electricaloutlet.
NOTE: The state of charge indicator is only an indication
of the charge left on the battery. It does not indicate tool
functionality and is subject to variation based on product
components, temperature and end-userapplication.
Using the 3 in 1 Accessory tool (Fig. J)
• The 3-in-1 accessory tool
10
has twoconfigurations.
- Brushmode.
- Small crevicemode.
• The 3-in-1 accessory tool
10
can be fitted either directly
to the extension tube
6
or to the vacuum inlet
5
as
shown in Fig. J.
• Align the top of the 3-in-1 accessory tool
10
with the
vacuum inlet
5
or extension tube
6
and push into
place so it locks into position as shown in Fig.J.
• The flat nozzle can be used to clean the wall corner,
stairs, furniture crevices, and household appliance
cooling fins.
• The combination of a flat nozzle with a brush can be
used to clean the furniture, curtains, lamps and lanterns.
Fig. J
6
10
5
Cleaning and emptying the vacuum
WARNING: Projectile/Respiratory Hazard:
Never use the vac without itsfilter.
NOTE: The filter is re-usable, do not confuse it with a
disposable dust bag, and do not throw it away when the
product is emptied. We recommend that you replace the
filter every 6–9 months depending on frequency ofuse.
There are two methods of cleaning the canister, a quick
empty method and a thorough clean method.
To empty the dust canister (Fig. K, L, M, O)
• Pull back on the dust canister release button
16
to
release and remove the dust canister
8
from the
vacuum
15
as shown in Fig.K.
• Use your index finger and thumb to pinch the filter
housing tabs
17
and lift the filter housing
18
from the
dust canister as shown in Fig. L.
NOTE: The filter housing fits snuggly in the dust canister
and may be difficult to remove at first.
• Place the dust canister over a trash can and empty the
dust canister.
• Install the filter housing into the dust canister
8
ensuring the dust canister slots
19
align with the filter
housing tabs
20
as shown in Fig.M.
• Install the dust canister onto the vacuum, until it
“clicks”
firmly intoposition.
NOTE:
Ensure the dust port
21
is placed towards the
main handle
2
of the vacuum and the dust canister
release button
16
is facing away from the vacuum
15
as shown in Fig O.
Fig. K
16
8
15
Fig. L
17
8
18
21
Fig. M
20
8
19