MICRO - BIRD
34
REAR VISION
1. Remove filler strip from channel in glazing rubber.
2. Apply pressure against glass from the outside of the bus
starting at a corner, push glass and glazing rubber off of metal
flange.
3. Remove glazing rubber from around glass.
4. Replace glass and place glazing rubber on new glass.
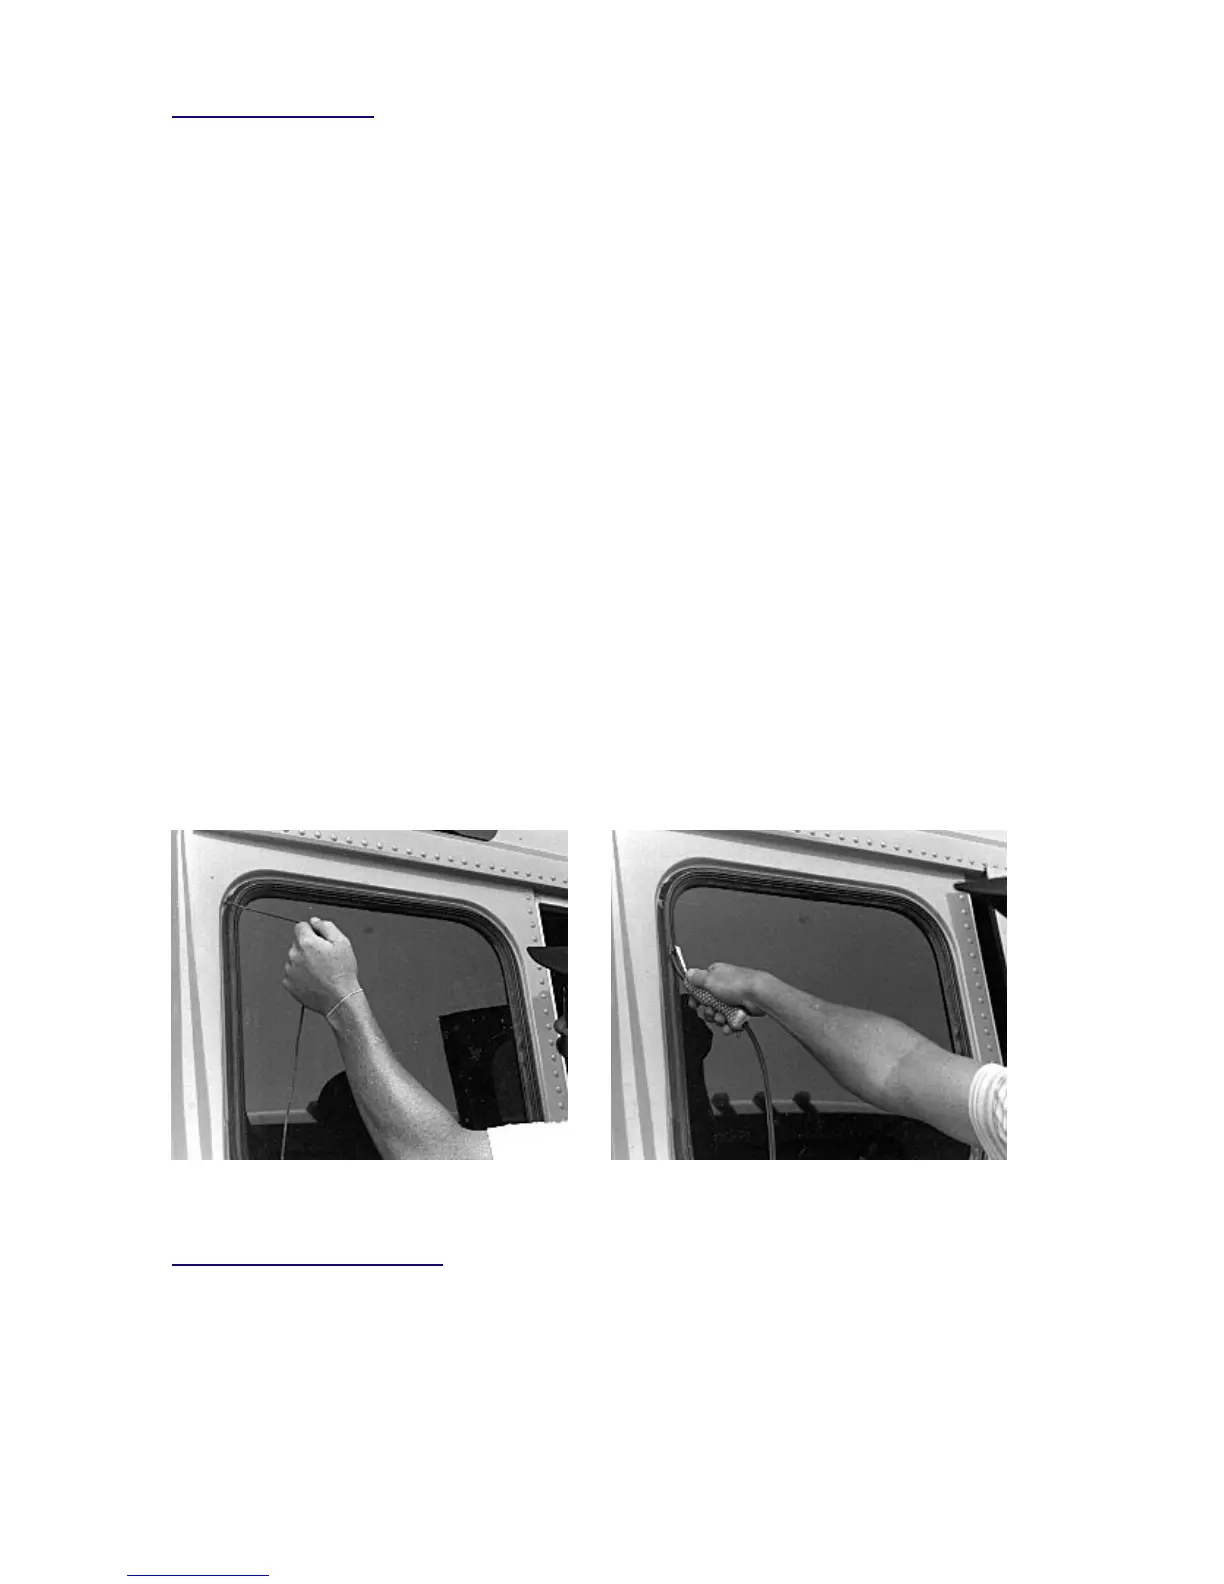
5. Apply soapy solution to the flange on the bus body and to the
filler strip channel on the glazing rubber. This act as a
lubricant for easier installation. Wrap a cord around the
glazing rubber and rest glass on bottom window flange from
the inside of bus body. Pull cord slowly and work glazing
rubber onto the window flange (Fig. 7).
6. Apply pressure from the inside of bus body to insure glass is
seated properly.
7. Using filler strip tool, insert filler strip into channel on glazing
rubber (Fig. 8). (Filler strip tool is available from your
distributor).
8. Apply clear caulking around glass and window flange on the
outside of bus body to insure that no leaks occur.
Fig. 7 Fig. 8
ENTRANCE DOOR
1. Apply pressure against glass from the outside of the bus
starting at a corner, push glass and glazing rubber off of
metal flange.
2. Remove glazing rubber from around glass.
3. Replace glass and put glazing rubber around new glass.