CYLINDER, PISTONS AND CONNECTING RODS
(Cont'd)
Disassembly And Assembly (Cont'd)
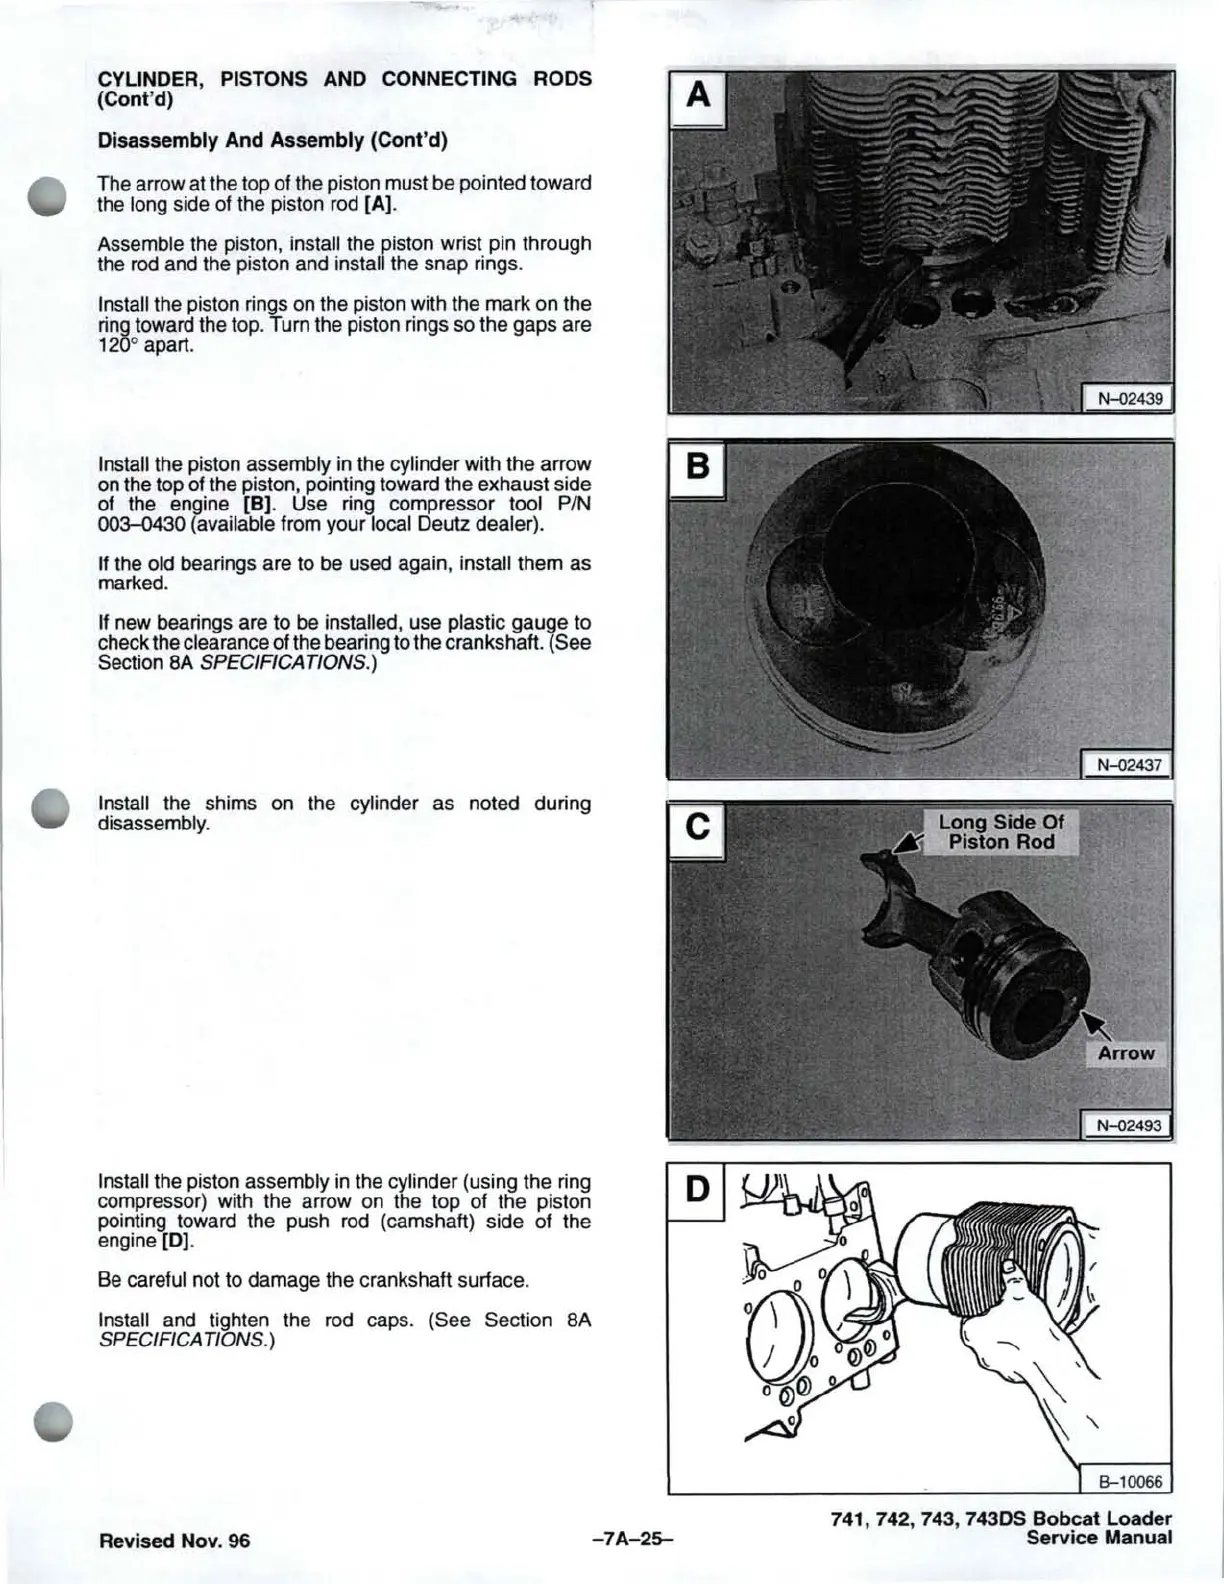
The arrow at the top of the piston must be pointed toward
the
long side of the piston rod [A].
Assemble the piston,
install the piston wrist pin through
the
rod
and the piston and install the snap rings.
Install the piston rings
on
the piston with the mark on the
ring
toward the top. Turn the piston rings so the gaps are
120
0
apart.
Install the piston assembly
in
the cylinder with the arrow
on
the top of the piston, pointing toward the exhaust side
of the engine [B]. Use ring compressor
tool
PIN
003-0430 (available from your local Deutz dealer).
If the old bearings are to be used again, install them as
marked.
If new bearings are to be installed, use plastic gauge to
check the clearance of the bearing to the crankshaft.
(See
Section
8A SPECIFICATIONS.)
Install the shims on the cylinder as noted during
disassembly.
Install the piston assembly
in
the cylinder (using the ring
compressor) with the arrow
on
the top of the piston
pointing toward the push
rod
(camshaft) side of the
engine
[0].
Be careful not to damage the crankshaft surface.
Install and tighten the rod caps. (See Section 8A
SPECIFICA TlONS.)
Revised Nov.
96
-7A-25-
741,742,
743, 743DS
Bobcat
Loader
Service Manual



 To Next Page