Do you have a question about the Body Champ VKR 1700 and is the answer not in the manual?
Essential safety precautions to be followed before undertaking any exercise program.
Guidelines for storing and using the product in clean, dry conditions to prevent corrosion.
Information on the product warranty period, terms, conditions, and exclusions.
Contact details, operating hours, and support channels for customer inquiries.
Lists various types and sizes of bolts required for assembly.
Lists the types and quantities of washers included in the hardware kit.
Lists the types and quantities of nuts included for securing components.
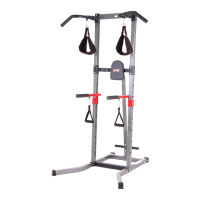
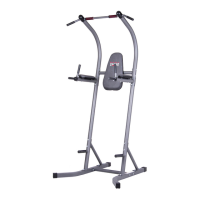
Details all parts of the unit with their corresponding numbers and descriptions.
Attaching the Push Up Bar to the Left Stabilizer.
Connecting the Upright Base to the Left Stabilizer.
Attaching the Bottom Crossbar and Support Plate A.
Connecting the Support to the Stabilizers and Upright Base.
Inserting Uprights and attaching Dip Arms with Support Plates.
Attaching Top Crossbar between Dip Arms using Support Plates.
Attaching the Pull up Bar to the Uprights.
Attaching the Backrest to the Top Crossbar.
Securing Arm Pads to Dip Arms and final tightening.
Ensuring all bolts are tightened and checking for loose parts or damage.
| Dimensions | 40.5 x 30 x 61 inches |
|---|---|
| Weight Capacity | 300 lbs |
| Material | Steel |
| Max User Weight | 300 lbs |
| Resistance Type | Bodyweight |
| Foldable | No |
| Warranty | 1 year |
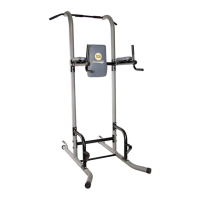
| Type | Vertical Knee Raise and Dip Station |
| Exercises | Knee raises, dips, pull-ups |