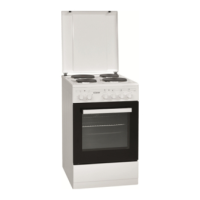
Drill two mounting holes
Ø 7 mm at the respective
positions in the wall, meas-
ured in a height from the
ground level of about
750 mm. Insert the dowels
and screw in the hooks.
• Connect the chains
Electrical connection
Electrical connectionElectrical connection
Electrical connection
Information for the
Information for the Information for the
Information for the
authorized expert
authorized expertauthorized expert
authorized expert
WARNING:
WARNING:WARNING:
WARNING:
•
The installation to the mains supply must conform
to the local standards and regulations.
Connecting the appliance to a domestic power
socket or using multiple sockets or extension c
Improper connection may cause to an
Before connecting, ensure that the power supply
corresponds with the information on the rating l
bel and the wiring diagram.
•
The appliance is suitable for three
current (400V 3N~50/60Hz).
•
The appliance can be adjusted for single
current by a respective bypass on the terminal
based on the circuit diagram below. Select
a suitable cord as mains cable, considering the
connection type and nominal power of the oven.
le in the tension relief.
Make sure to connect the protective ground to the
the marked terminal block.
The electrical installation of the oven should be
equipped with an emergency switch, which
switches off the whole appliance from the mains
supply in an emergency. The distance between
the contacts of the emergency switch must be at
authorized expert
authorized expertauthorized expert
authorized expert
The installation to the mains supply must conform
to the local standards and regulations.
Connecting the appliance to a domestic power
socket or using multiple sockets or extension c
Improper connection may cause to an
electric
electric electric
electric
Before connecting, ensure that the power supply
corresponds with the information on the rating l
The appliance is suitable for three
The appliance can be adjusted for single
current by a respective bypass on the terminal
based on the circuit diagram below. Select
a suitable cord as mains cable, considering the
connection type and nominal power of the oven.
le in the tension relief.
Make sure to connect the protective ground to the
the marked terminal block.
The electrical installation of the oven should be
equipped with an emergency switch, which
switches off the whole appliance from the mains
supply in an emergency. The distance between
the contacts of the emergency switch must be at
Arrange the mains cable in such a way that it
does not get in contact with any hot components
of the appliance. Do not lead it over sharp edges
or corners.
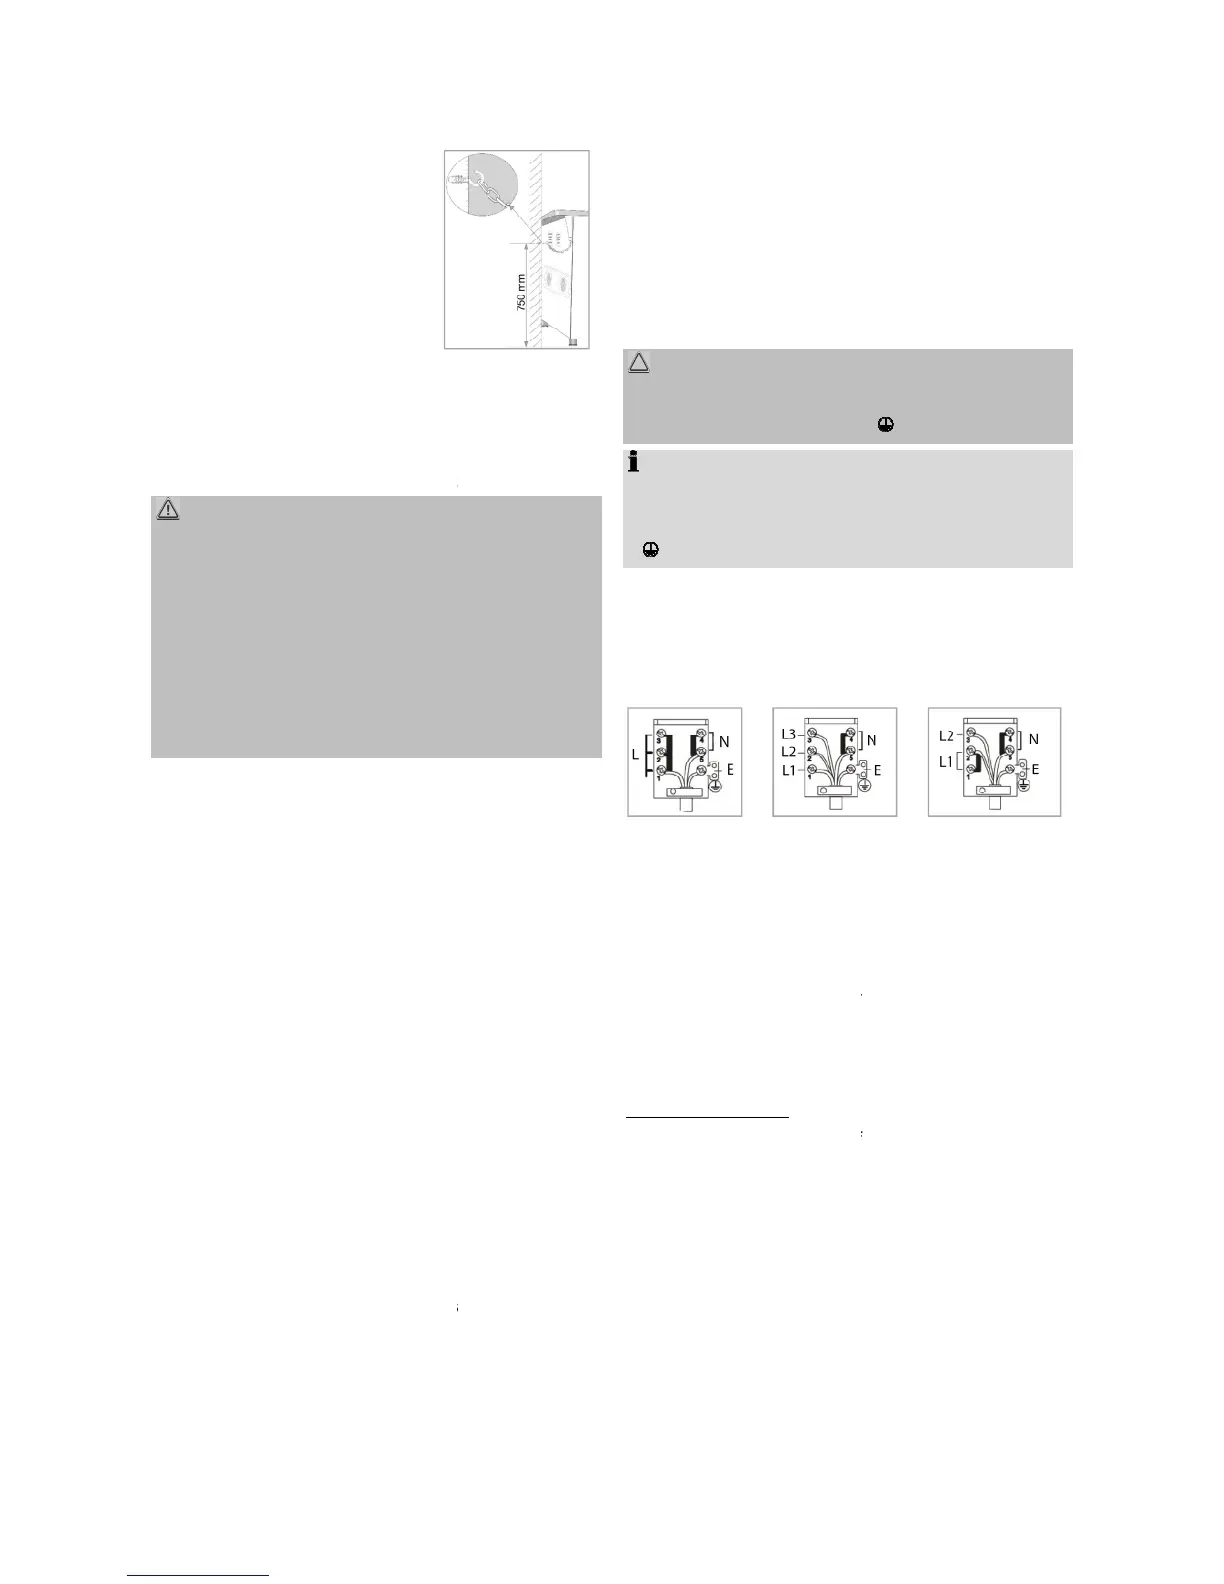
Connection wiring diagram
Connection wiring diagramConnection wiring diagram
Connection wiring diagram
Permissible connection methods
Permissible connection methodsPermissible connection methods
Permissible connection methods
CAUTION:
CAUTION:CAUTION:
CAUTION:
Each connection requires the protective ground of the
mains to be connected to the E
HINWEIS
HINWEISHINWEIS
HINWEIS:
::
:
L1, L2, L3 = Phase
N = Neutrale Leitung
E = Schutzleiter
Recommendation
Recommendation Recommendation
Recommendation
is the connection option to a three
is the connection option to a threeis the connection option to a three
is the connection option to a three
phase circuit 3 x 16 A!
phase circuit 3 x 16 A!phase circuit 3 x 16 A!
phase circuit 3 x 16 A!
220-240V~
50/60Hz
380-
1.5mm²
Startup / Operation
Startup / OperationStartup / Operation
Startup / Operation
Information to reduce the environmental effect of
Information to reduce the environmental effect of Information to reduce the environmental effect of
Information to reduce the environmental effect of
cooking
cookingcooking
cooking
(acc. VO (EU) No. 66/2014 appendix I, No. 2)
(acc. VO (EU) No. 66/2014 appendix I, No. 2)(acc. VO (EU) No. 66/2014 appendix I, No. 2)
(acc. VO (EU) No. 66/2014 appendix I, No. 2)
Hob / Induction hob
Hob / Induction hobHob / Induction hob
Hob / Induction hob
Use pans and pots with flat floors. Uneven floors
increase the energy consumption.
The diameter of the pot and pan floors should be
according to the size of the cooking zone, or
Pans and pots, which are too small on the cooking
zone lead to energy losses. Note: Dishes producer
partly indicate the upper pot diameter. It is usually
larger than the diameter of the pot floor.
Arrange the mains cable in such a way that it
does not get in contact with any hot components
of the appliance. Do not lead it over sharp edges
Permissible connection methods
Permissible connection methodsPermissible connection methods
Permissible connection methods
Each connection requires the protective ground of the
mains to be connected to the E
is the connection option to a three
is the connection option to a threeis the connection option to a three
is the connection option to a three
Information to reduce the environmental effect of
Information to reduce the environmental effect of Information to reduce the environmental effect of
Information to reduce the environmental effect of
(acc. VO (EU) No. 66/2014 appendix I, No. 2)
(acc. VO (EU) No. 66/2014 appendix I, No. 2)(acc. VO (EU) No. 66/2014 appendix I, No. 2)
(acc. VO (EU) No. 66/2014 appendix I, No. 2)
Use pans and pots with flat floors. Uneven floors
increase the energy consumption.
The diameter of the pot and pan floors should be
according to the size of the cooking zone, or
Pans and pots, which are too small on the cooking
zone lead to energy losses. Note: Dishes producer
partly indicate the upper pot diameter. It is usually
larger than the diameter of the pot floor.
 Loading...